Step 4 a
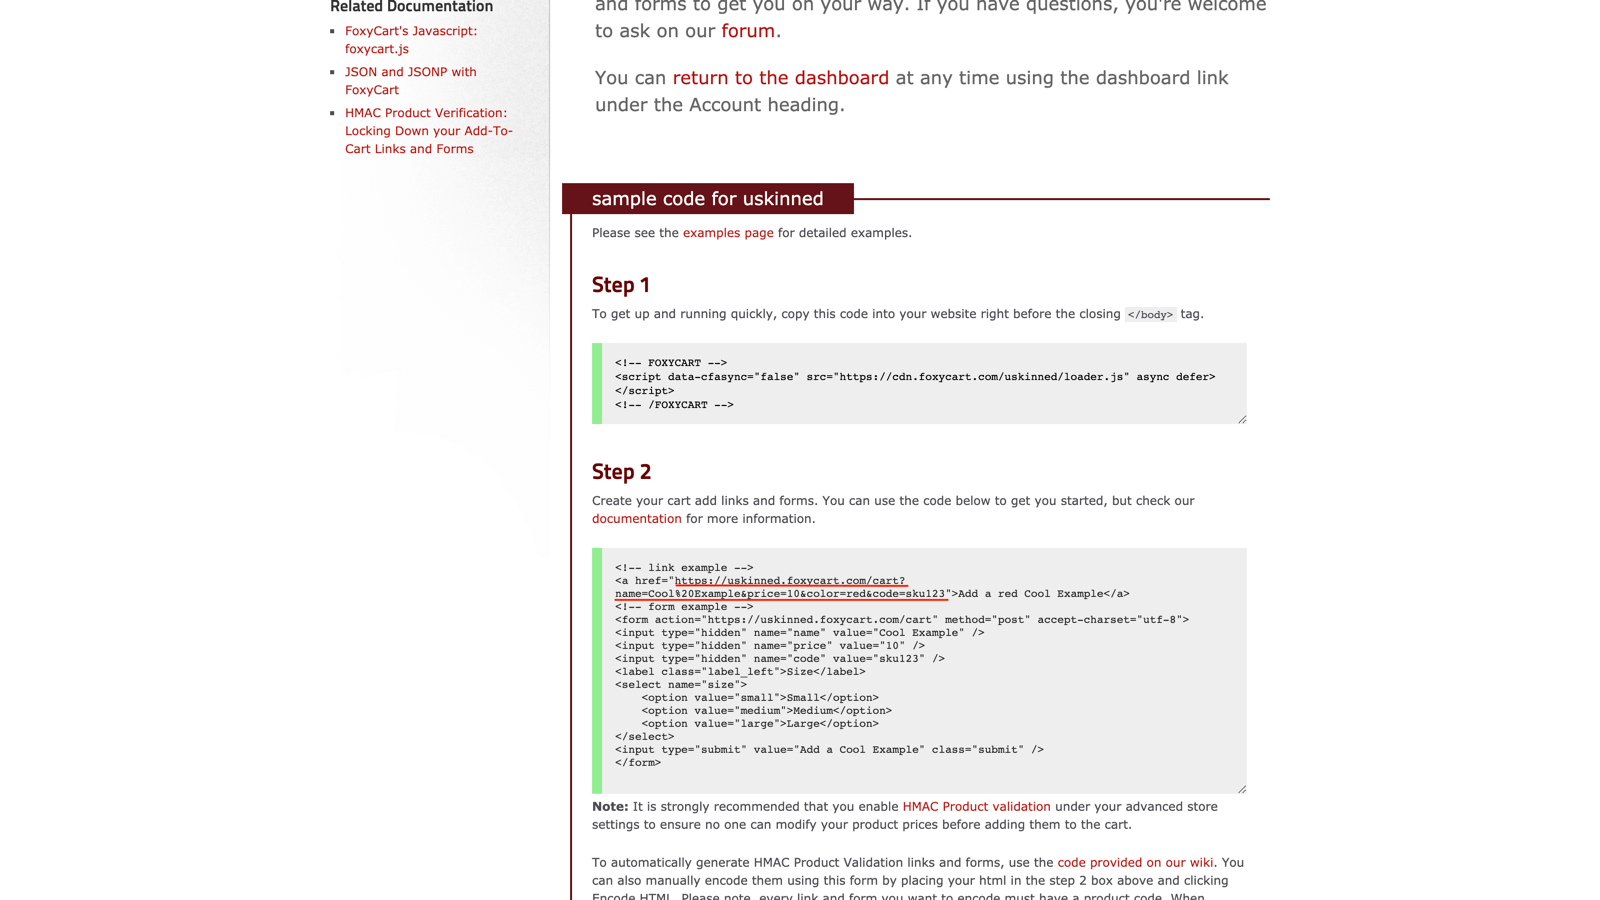
Return to the Foxy.io dashboard and copy only the product URL.
https://uskinned.foxycart.com/cart?name=Product%20Name&price=10
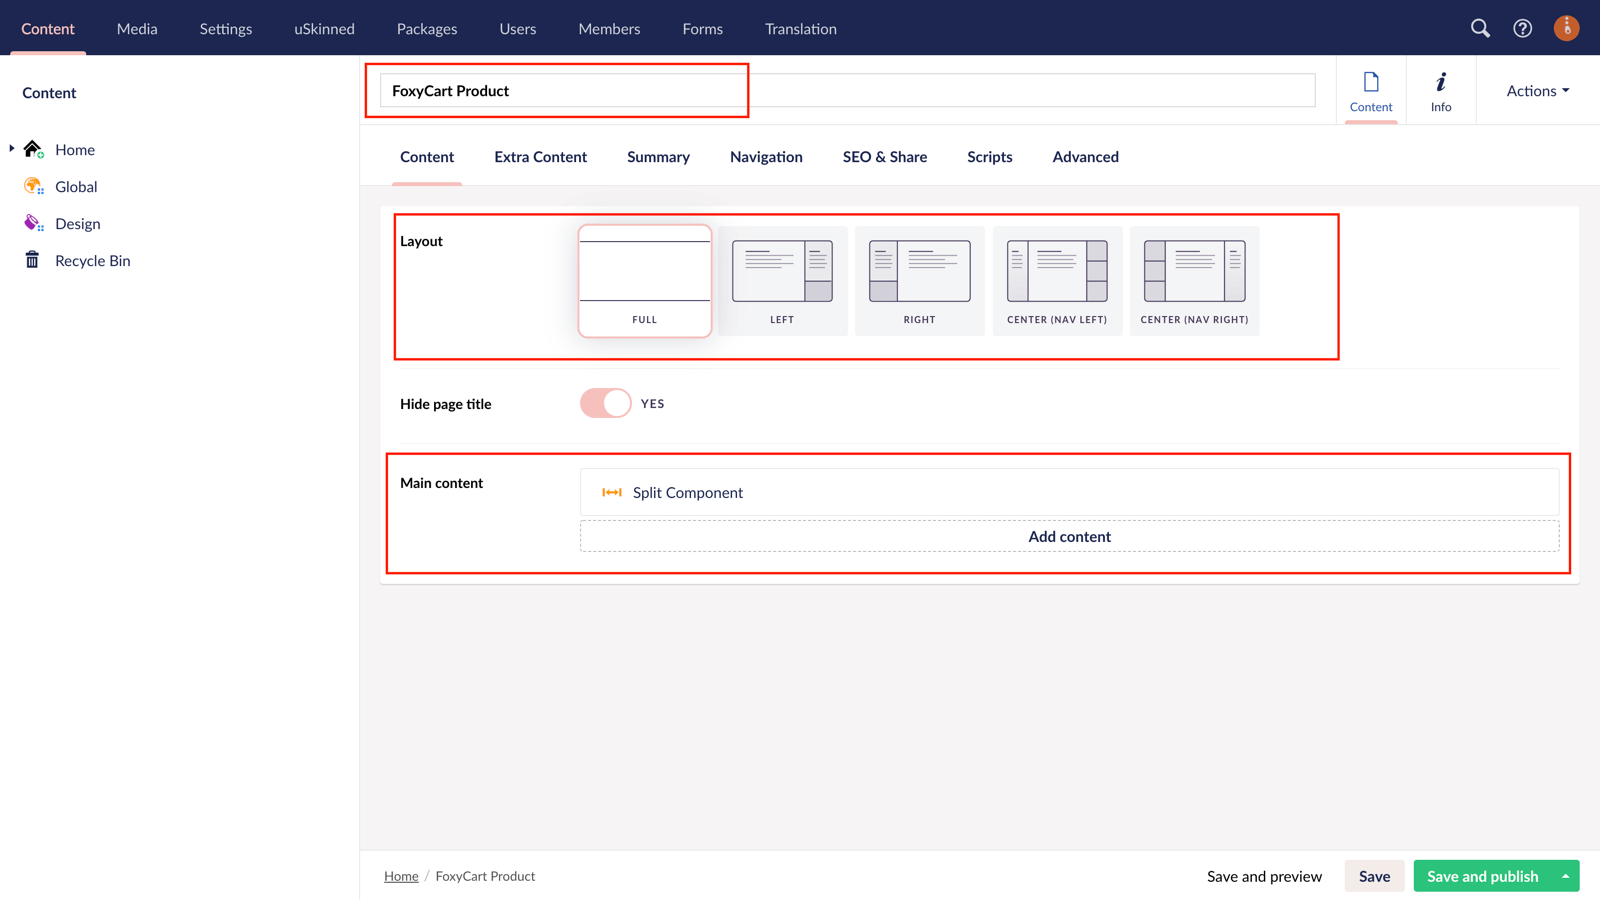
Step 4 b
Return to the CMS > On Split Section 1, click 'Add Content' > choose the 'Text' block.
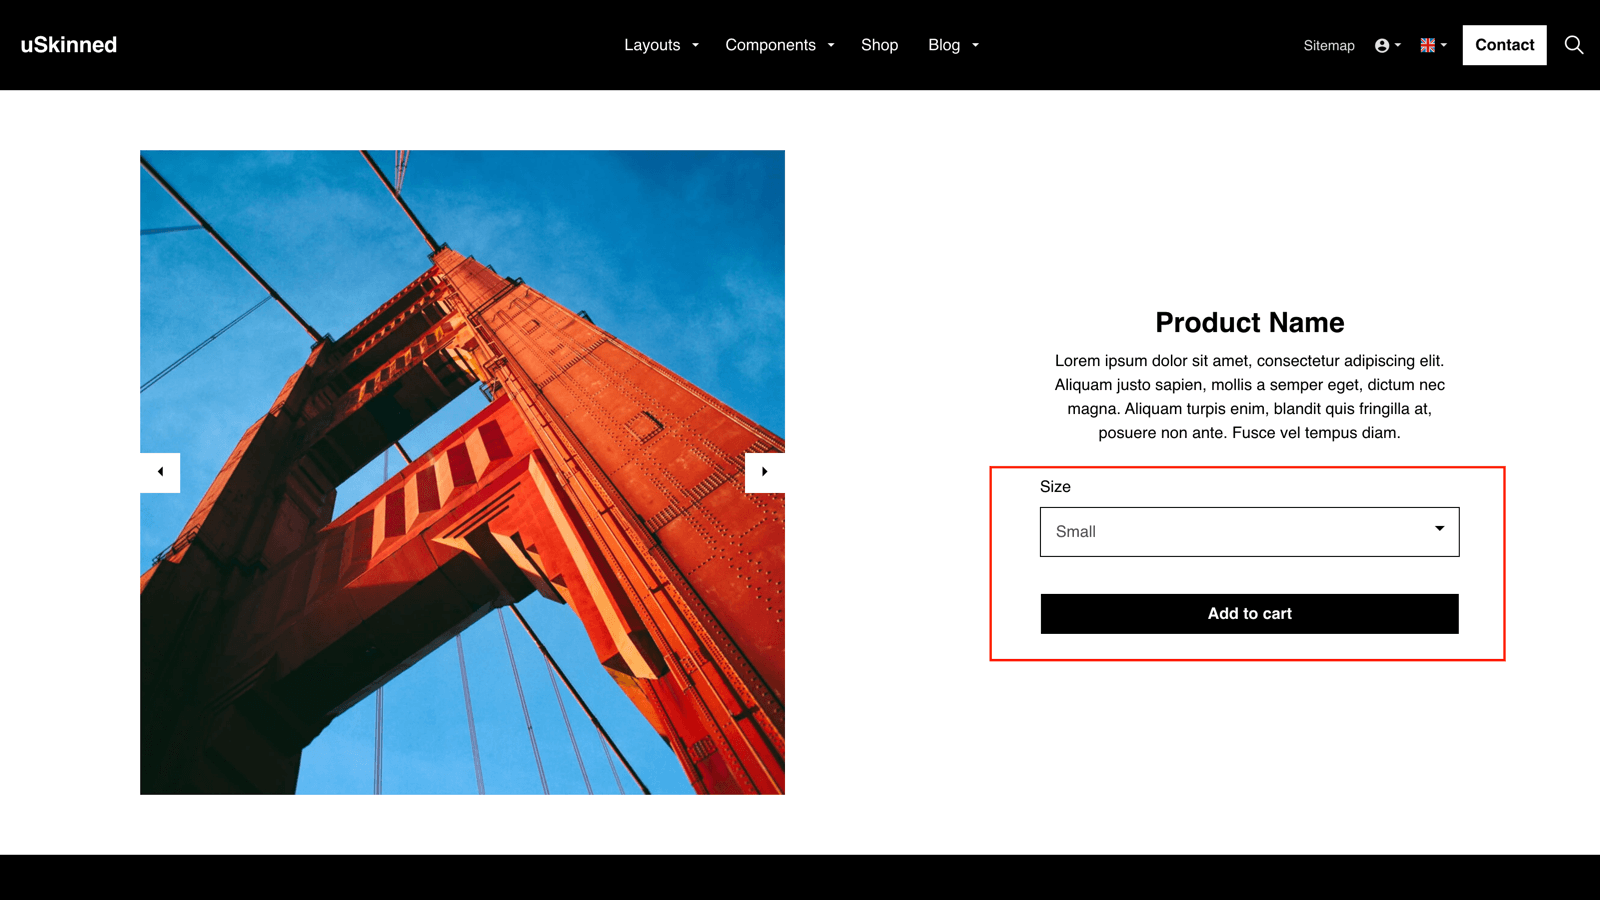
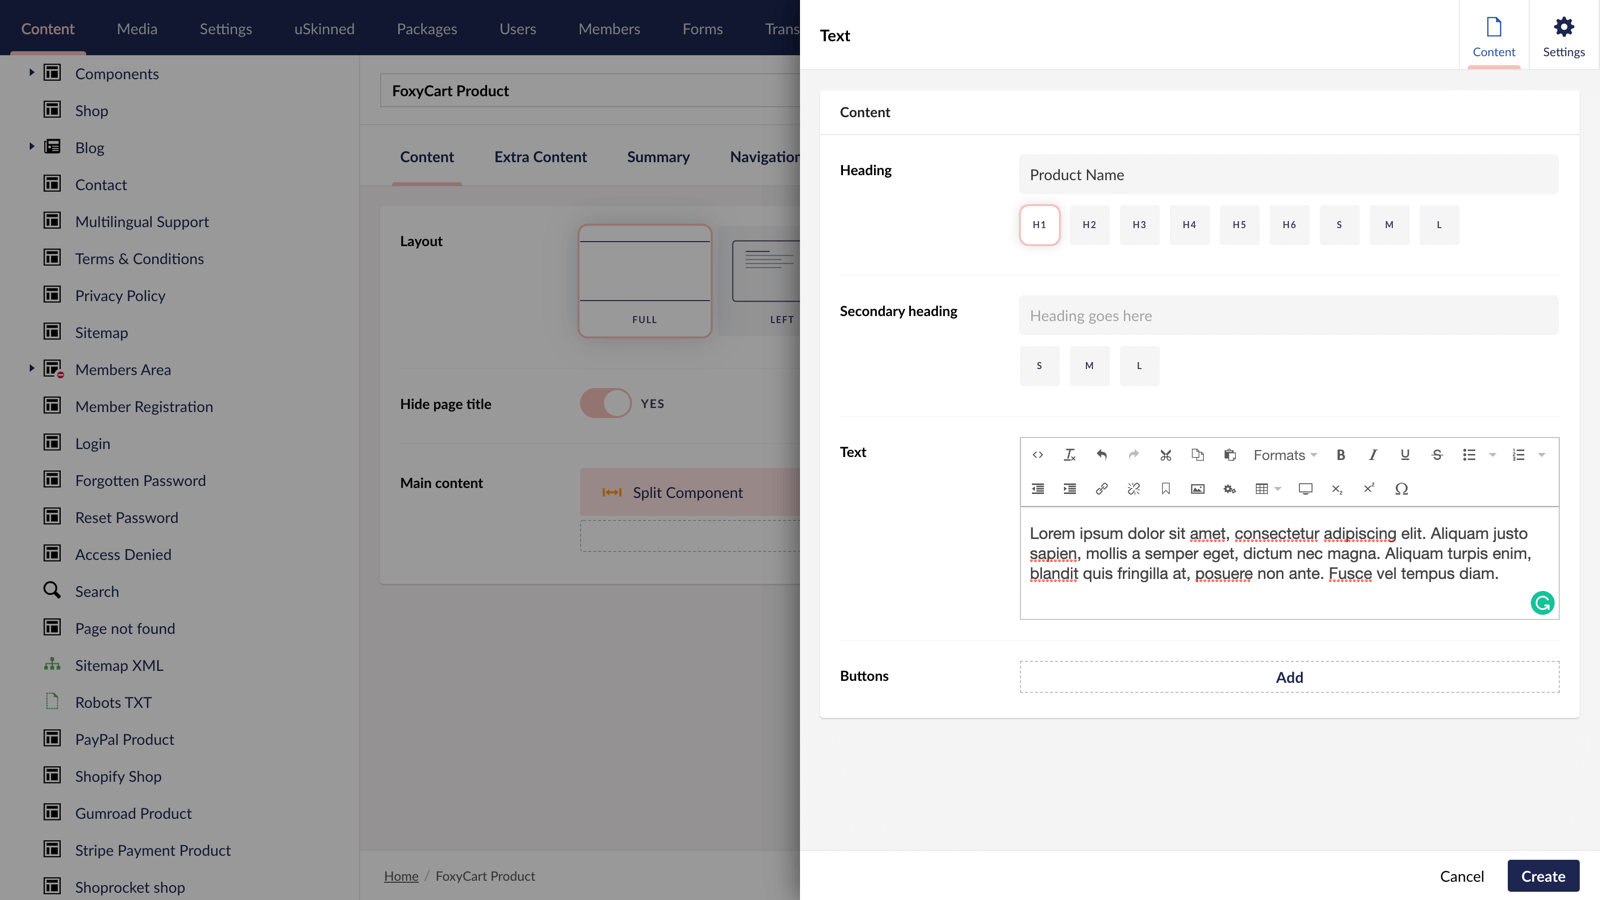
Step 4 c
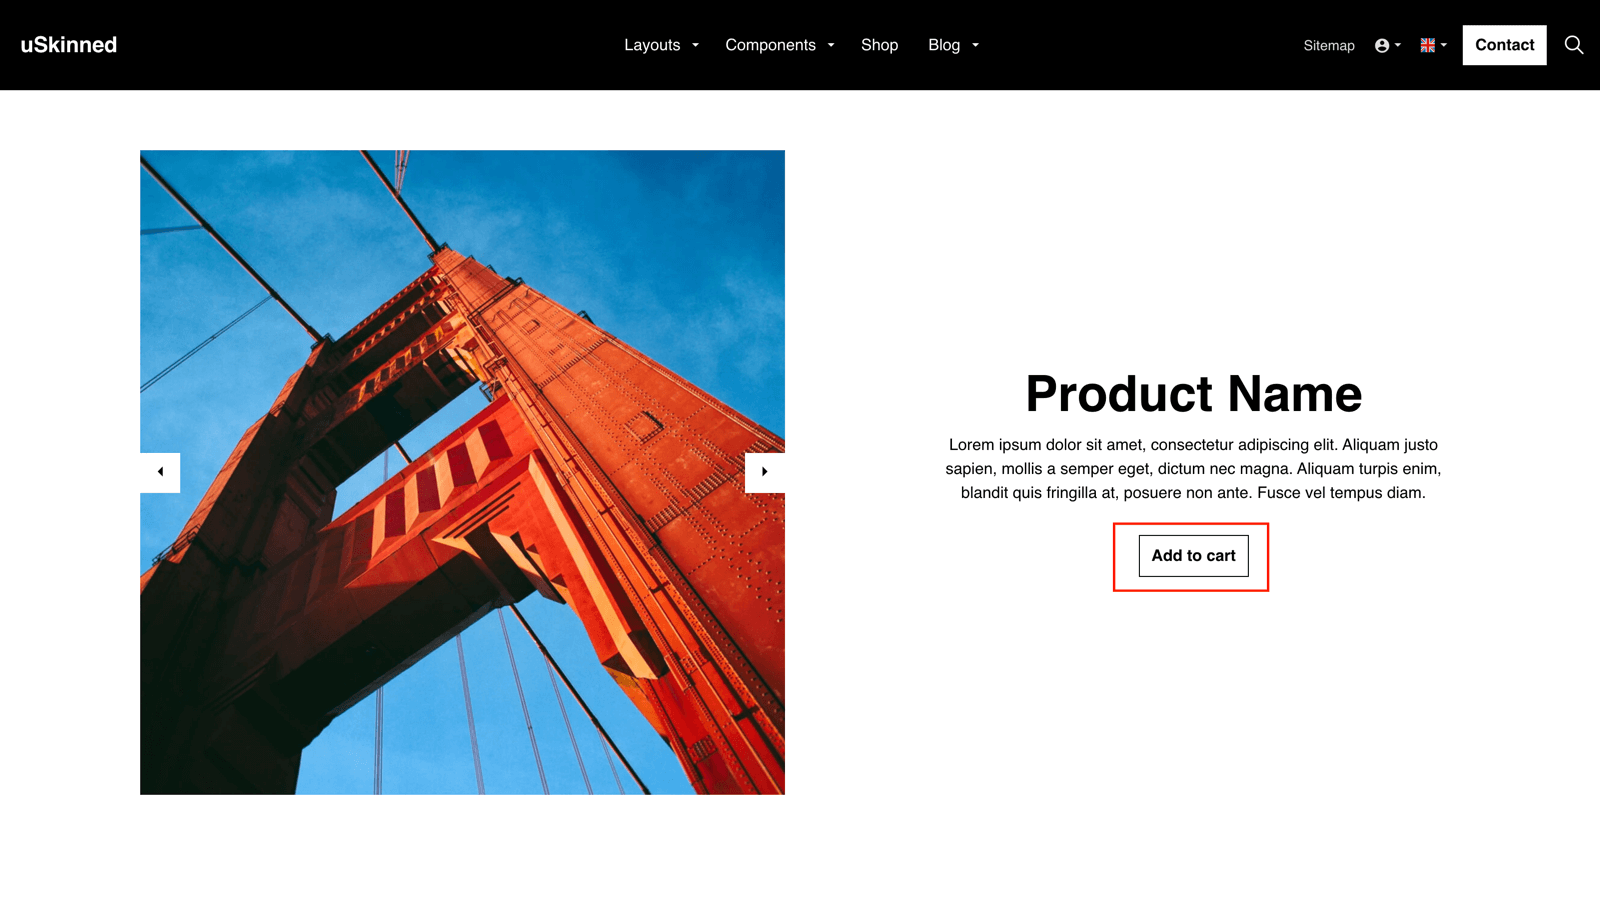
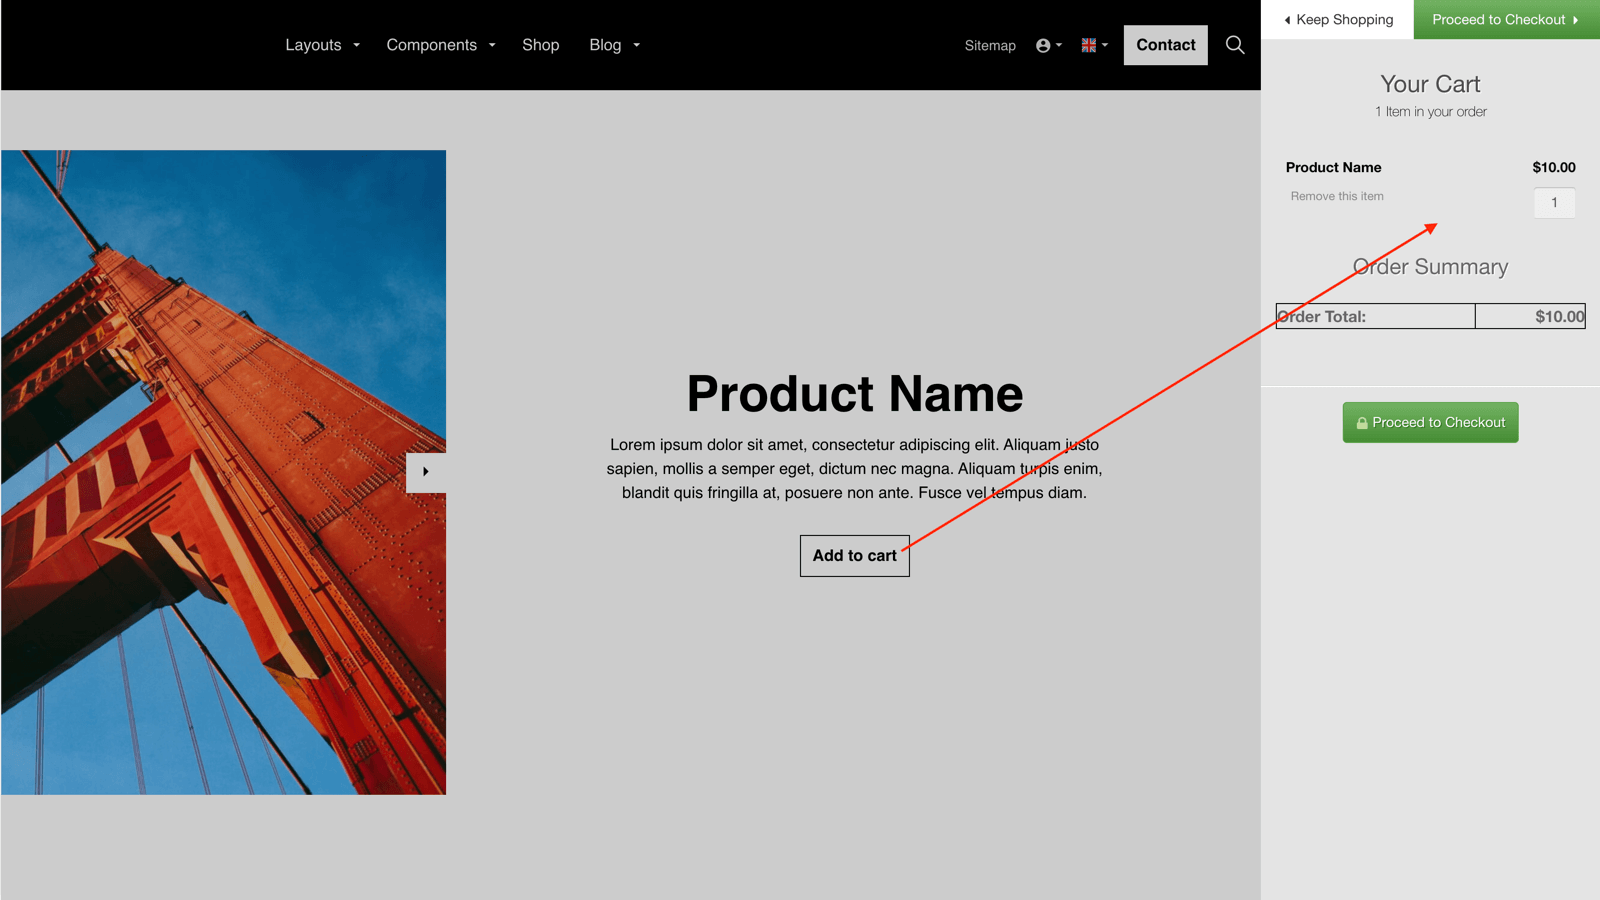
At the label 'Heading', enter a product name.
At the label 'Text', enter a product description.
At the label 'Buttons', click 'Add'.
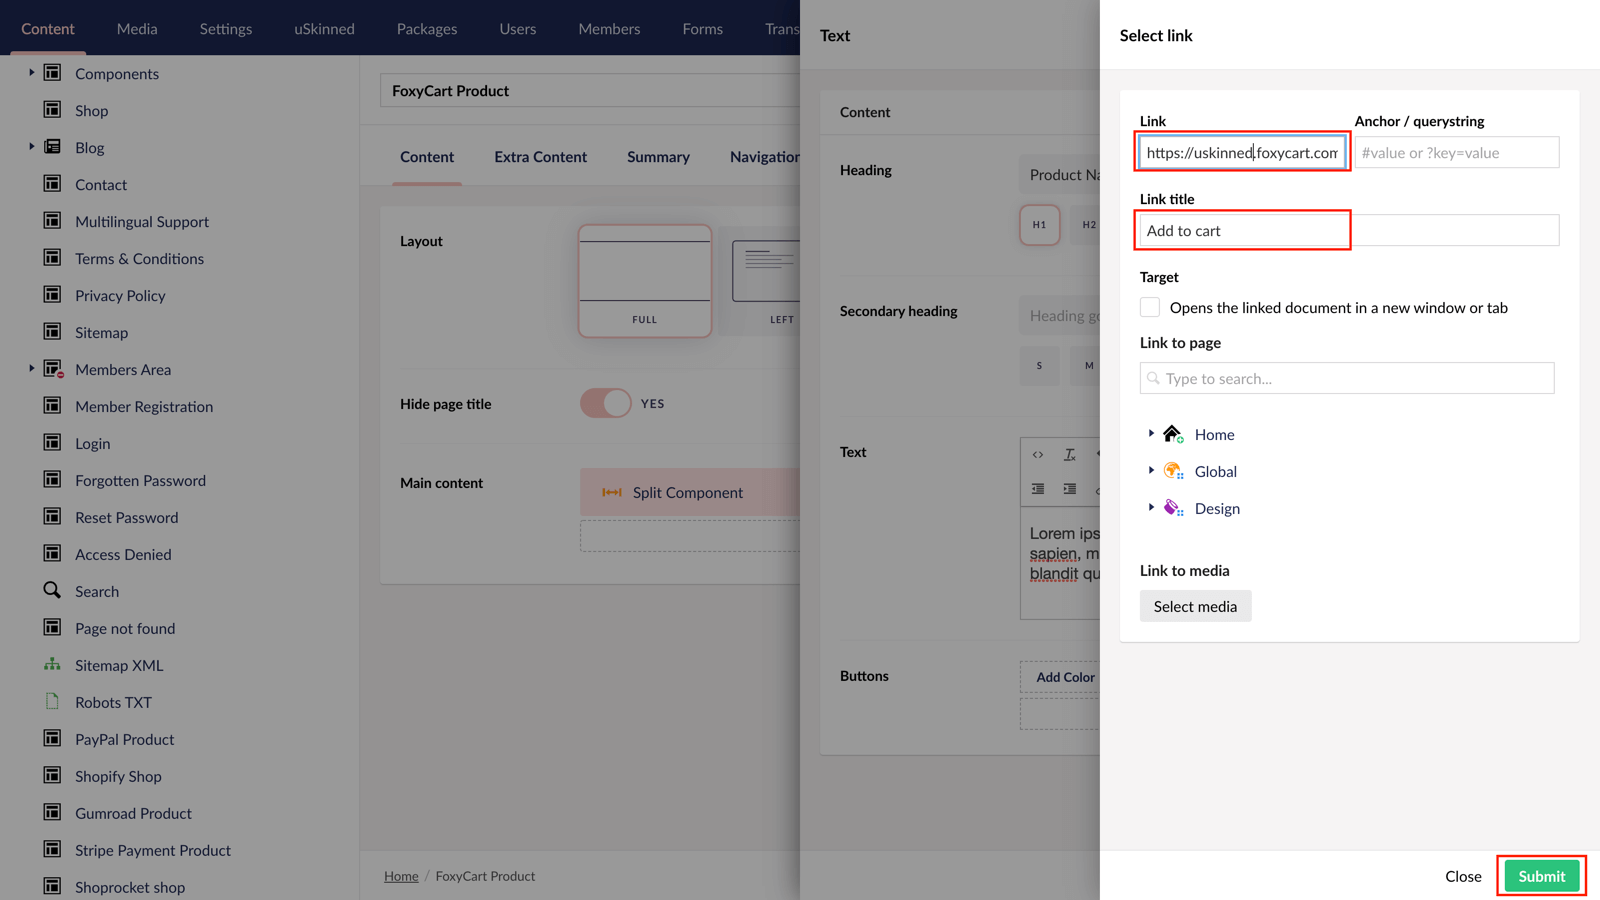
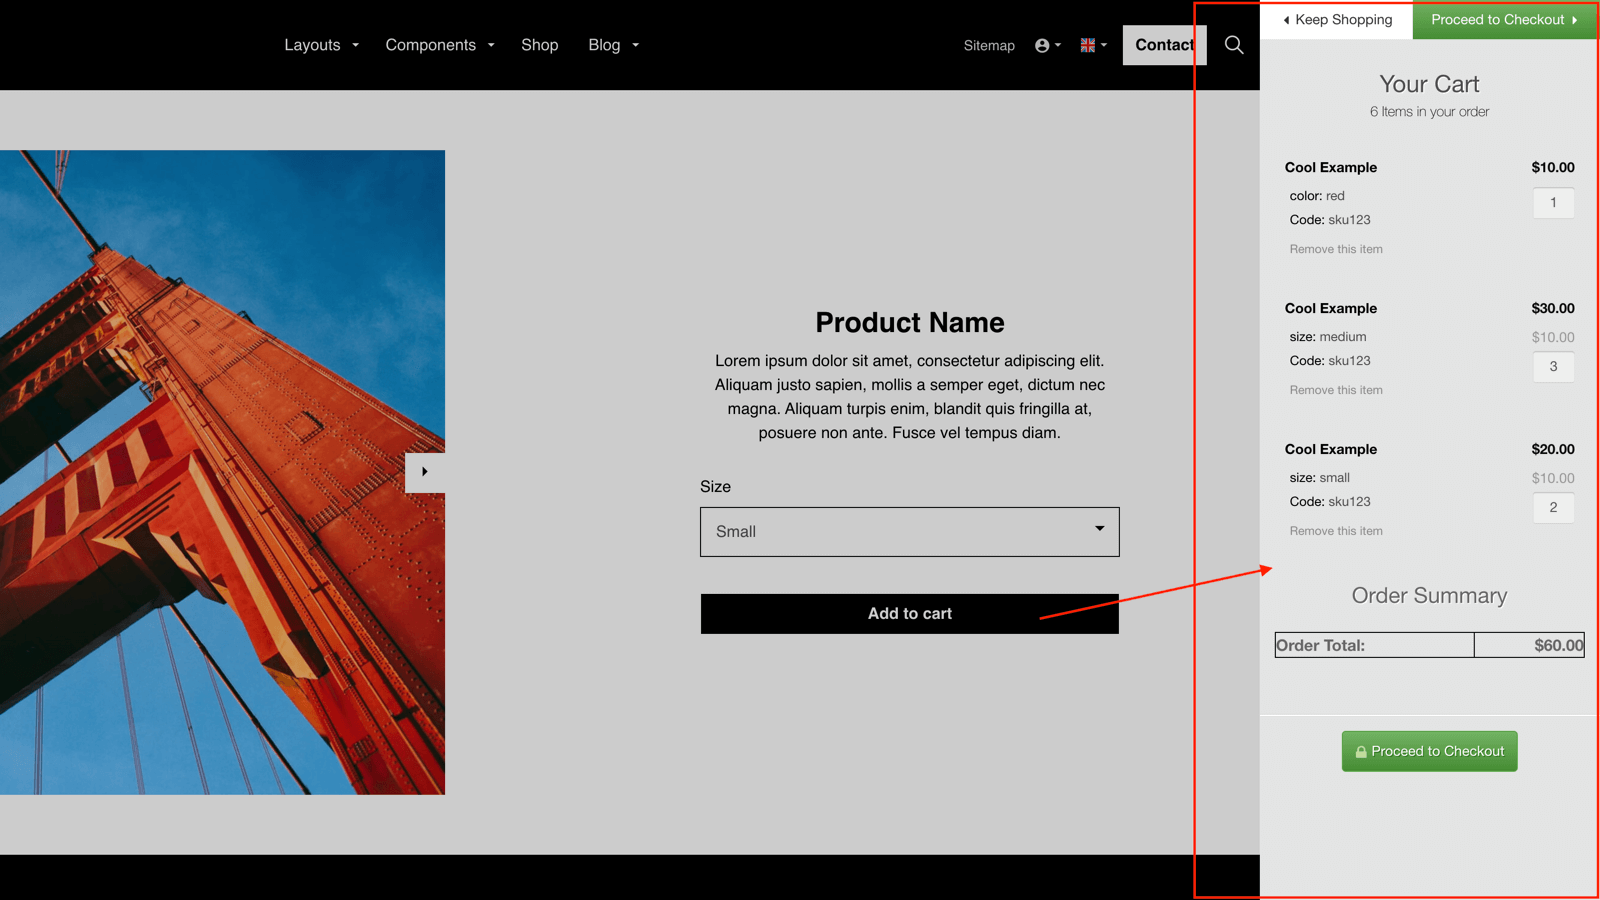
Step 4 d
In the slide-out panel, at the label 'Link' paste the URL that you copied from Foxy.io in step 4 a.
At the label, 'Link title', enter "Add to cart" (or whatever you'd like the button to say).
In the bottom right, click 'Submit'.