Navigate to the ~/umbraco/Licenses/ folder.
Add your uSkinned license file.
If /license/ folder does not exist inside ~/umbraco/, then you can create this folder.
When you add a uSkinned license file to Umbraco Cloud you need to make sure it is added to your Source Control, otherwise, there is a risk that the file could be overwritten by a future update.
You must add the file locally first and then push it to your Umbraco Cloud environment.
Before we start, make sure you have created a uSkinned license file.
Step 1
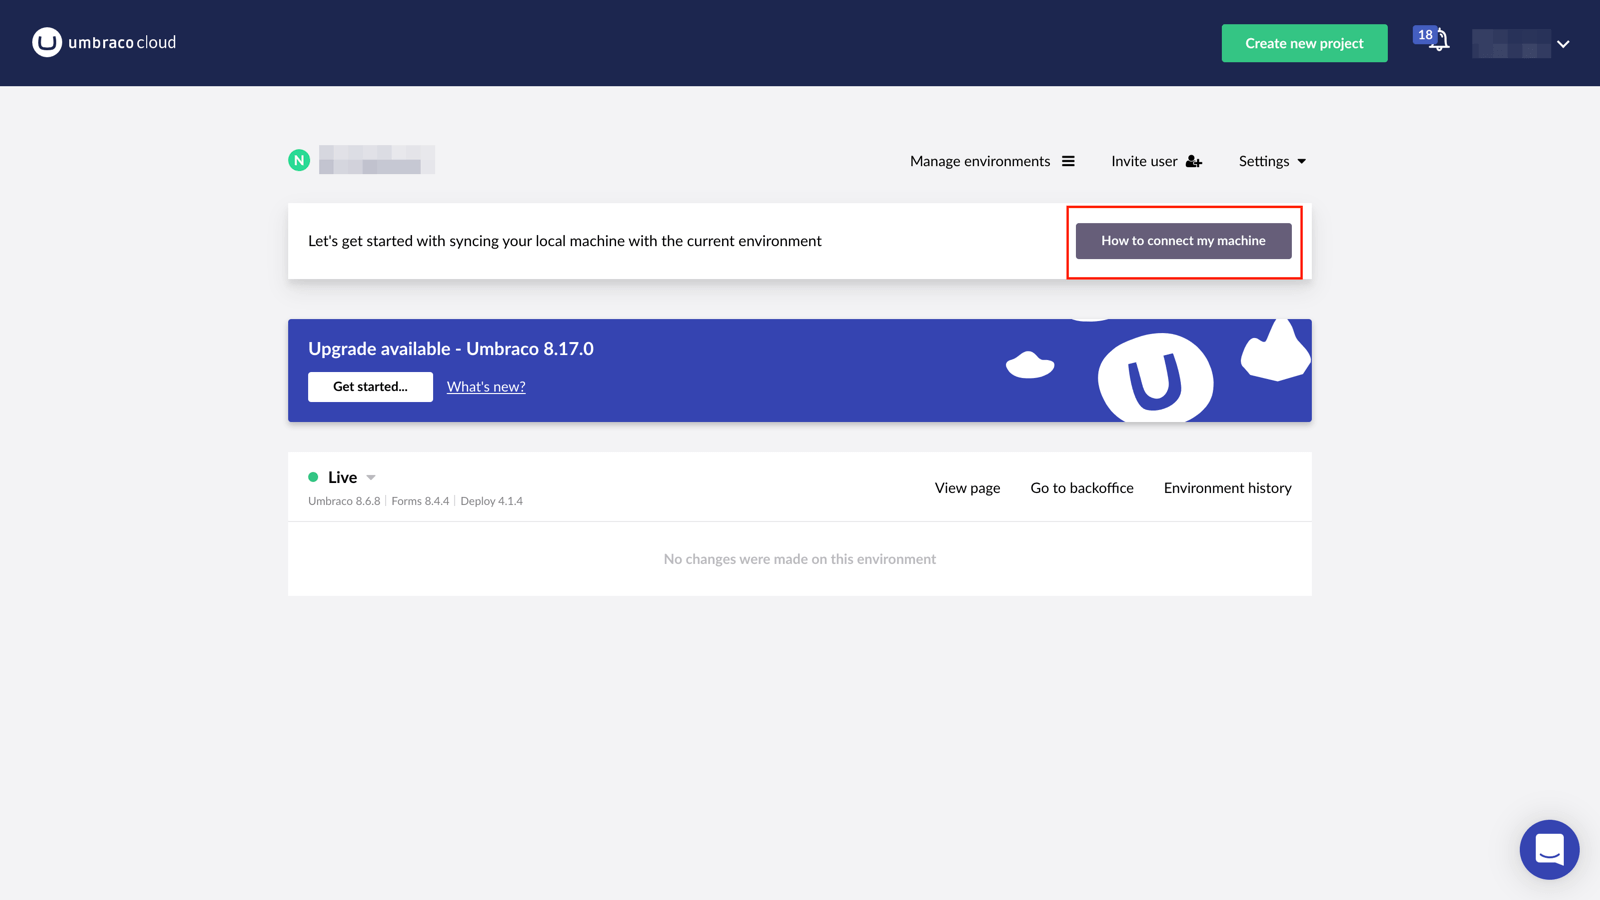
Go to the Umbraco Cloud portal.
Step 2
Click 'How to connect my machine'.
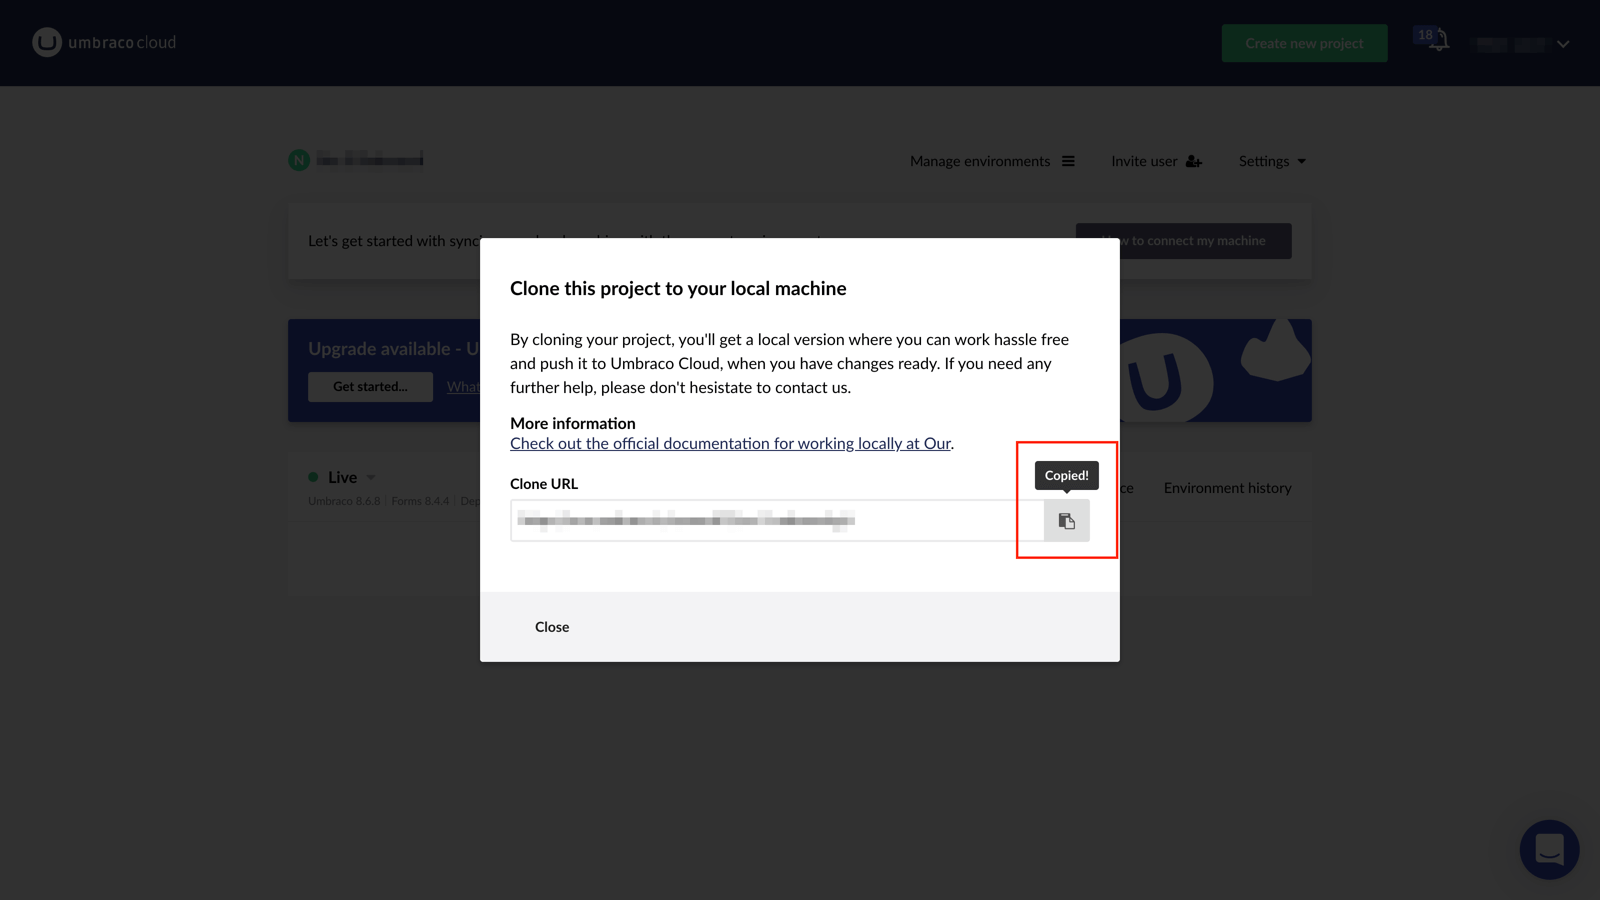
Step 3
In the modal box, click to 'copy' the Git URL.
Step 4
On your local machine, open your Git client. We would recommend GitKraken.
Open a new tab, click on 'Clone a repo'.
Step 5
Paste your Git URL in the relevant field and choose a location on your local machine for the project.
Click 'Clone the repo!'
Step 6
Go to the file location of your project on your local machine.
Step 7
This step will differ slightly, depending on what version of Umbraco you are running.
Step 8
Return to your Git client, there should be at least one change that is ready to push.
Push your license file up to Umbraco Cloud.
Step 9
Once complete, return to the Umbraco Cloud portal.
If you have more than one environment here, you will need to deploy the license file to each of those separately.
Step 10
Your uSkinned license file is now activated and locked into your Source Control.
Your website is ready to go.

#h5yr
Related content
Step 3
Create
Create content with the Visual Editor and utilise built-in eCommerce and integrations.
Step 4
Go Live
You can host securely on Azure with uSkinned Hosted, or go your own way with a Self-Hosted license.
