How to implement social sharing buttons
There are various ways to offer social sharing buttons on your website, including third-party providers such as ShareThis (sharethis.com), AddThis (addthis.com) or Elfsight Apps (elfsight.com). In our example below, we will use ShareThis, which is an amazing free to use service.
Step 1
Go to https://www.sharethis.com/platform/share-buttons/.

Step 2
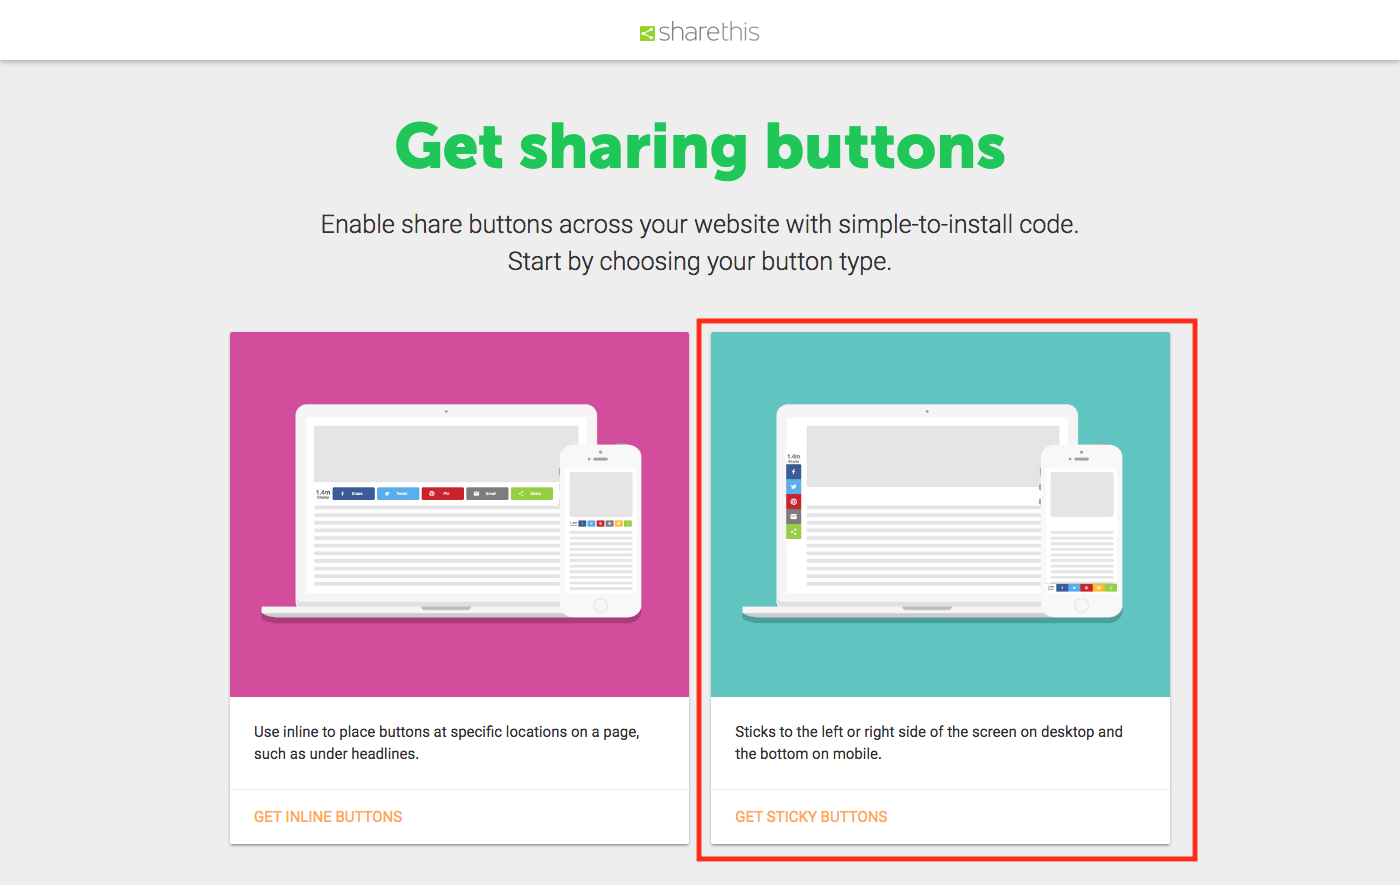
Choose to "Get Share Buttons" > Choose between "Inline" or "Sticky" button styles. For this example, we'll choose "Sticky".
Step 3
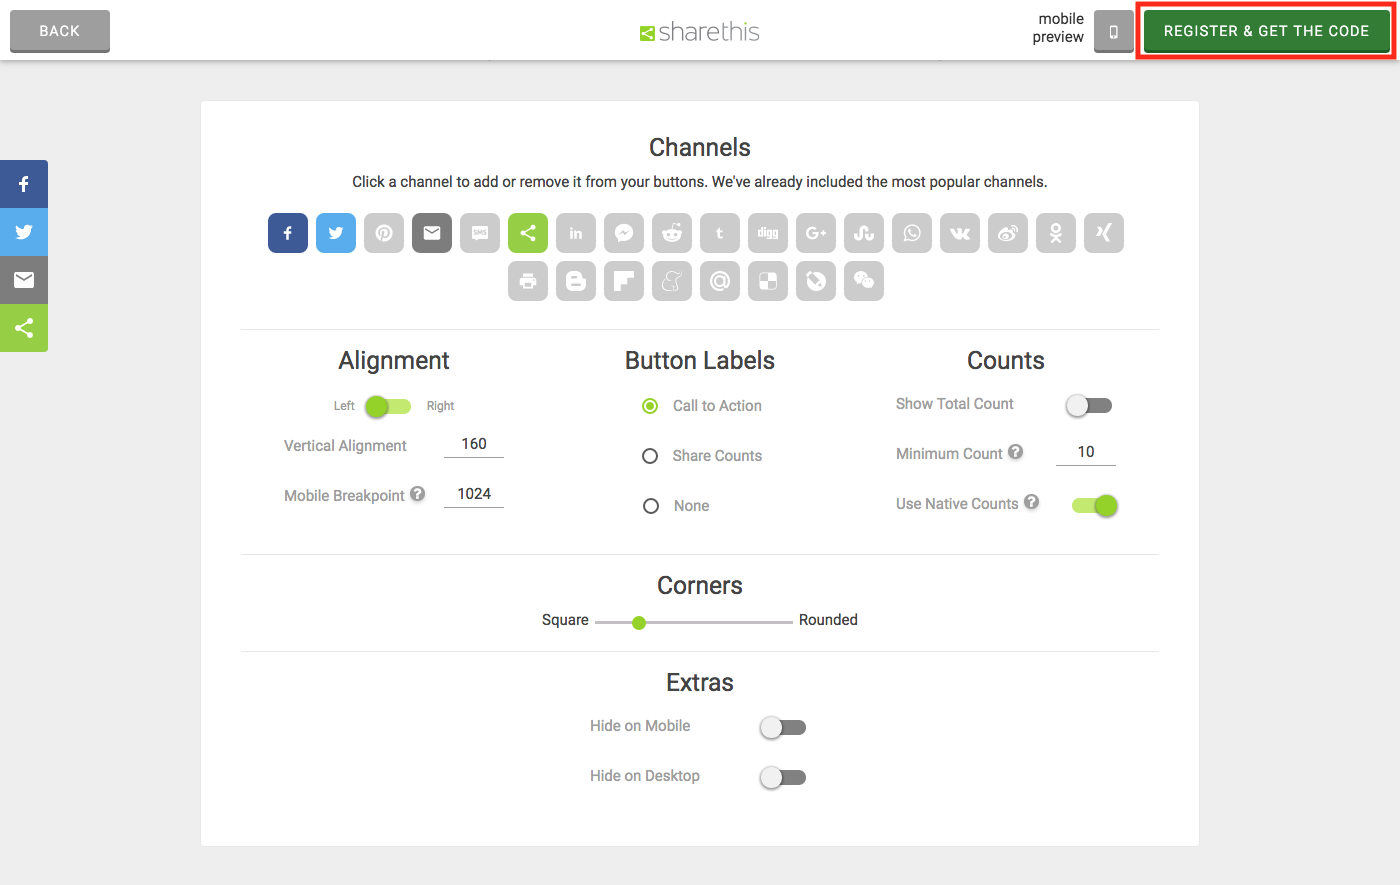
You'll now see a range of options to configure your sharing buttons. For our example, we'll choose to display Facebook, Twitter, Email and ShareThis buttons. We'll also choose not to display the total count of shares. Once you're happy with the look click "Register & Get Code".
Step 4
Once you've filled in your domain, email and password click sign up.

Step 5
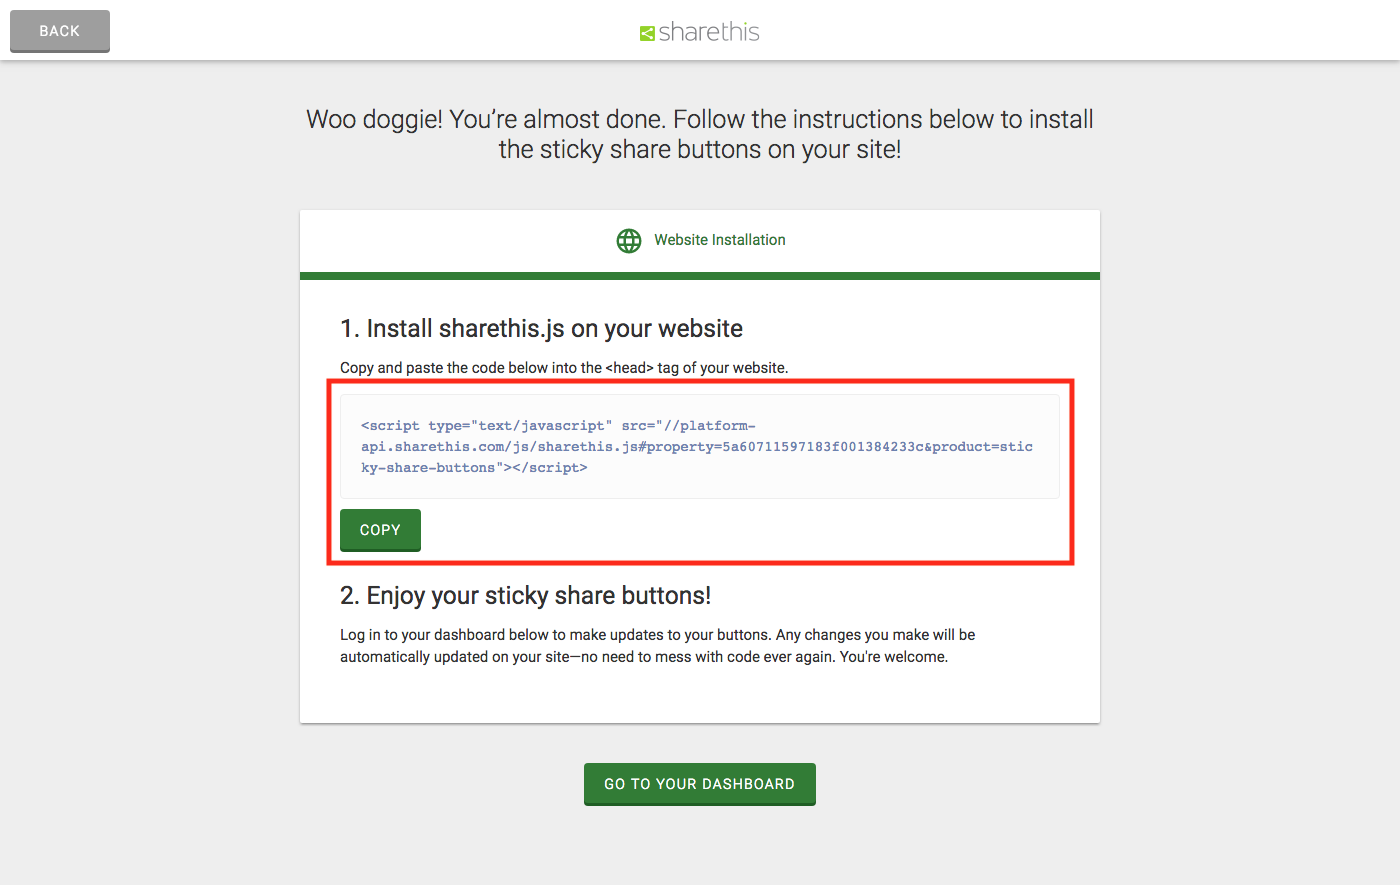
Now you'll be presented with the code to power your share buttons. Copy this code.
Step 6
Now we want to add the buttons to our uSkinned website. Navigate to your website and login to the CMS.
Step 7
In the tree menu, go to 'Global'.
Step 8
From the grid, click on 'Settings'.
Step 9
Go to the 'Scripts' tab.
Step 10
Paste the code you copied from ShareThis into 'Header Scripts'.
Alternatively, if you only want to show the sharing buttons on specific pages then you can go directly to a page or blog post in the CMS and paste the code in the 'Scripts' tab there.
For example, we have implemented the social sharing buttons on this page only to let you see for yourself! :-)
Step 11
Click 'Save and Publish'.
Step 12
Your Social Sharing buttons will now be present and responsive on the front end of your uSkinned Site Builder website.
#h5yr
Step 3
Create
Create content with the Visual Editor and utilise built-in eCommerce and integrations.
Step 4
Go Live
You can host securely on Azure with uSkinned Hosted, or go your own way with a Self-Hosted license.
