How to add Tawk Live Chat
Embed a Tawk Live Chat widget on your uSkinned Site Builder for Umbraco website using one of the many embed HTML options.
Tawk lets you monitor and chat with the visitors on your website, respond to support tickets and create a help centre to empower customers to help themselves – all 100% Free.
We use Tawk Live Chat on the uSkinned website (look, there is it in the bottom right corner — say Hello 👋) and we recommend it to everyone who needs to enable live chat. You can even download an app to your phone so you can Live Chat via your phone with customers.
There are plenty of other Live Chat widgets out there (Elfsight, Live Chat, Hub Spot, Intercom) a quick search on Google will help you find the one that suits your needs.
Generate your Live Chat widget code
Step 1
Sign up for Tawk Live Chat. Verify your account and log into your dashboard.
Step 2
Go to your dashboard settings > Locate your Live Chat widget code.
The code should look similar to this:
<!--Start of Tawk.to Script-->
<script type="text/javascript">
var Tawk_API=Tawk_API||{}, Tawk_LoadStart=new Date();
(function(){
var s1=document.createElement("script"),s0=document.getElementsByTagName("script")[0];
s1.async=true;
s1.src='https://embed.tawk.to/YOUR UNIQUE ID HERE/default';
s1.charset='UTF-8';
s1.setAttribute('crossorigin','*');
s0.parentNode.insertBefore(s1,s0);
})();
</script>
<!--End of Tawk.to Script-->
Copy the chat widget code provided.
Embed your Live Chat widget code
Step 3
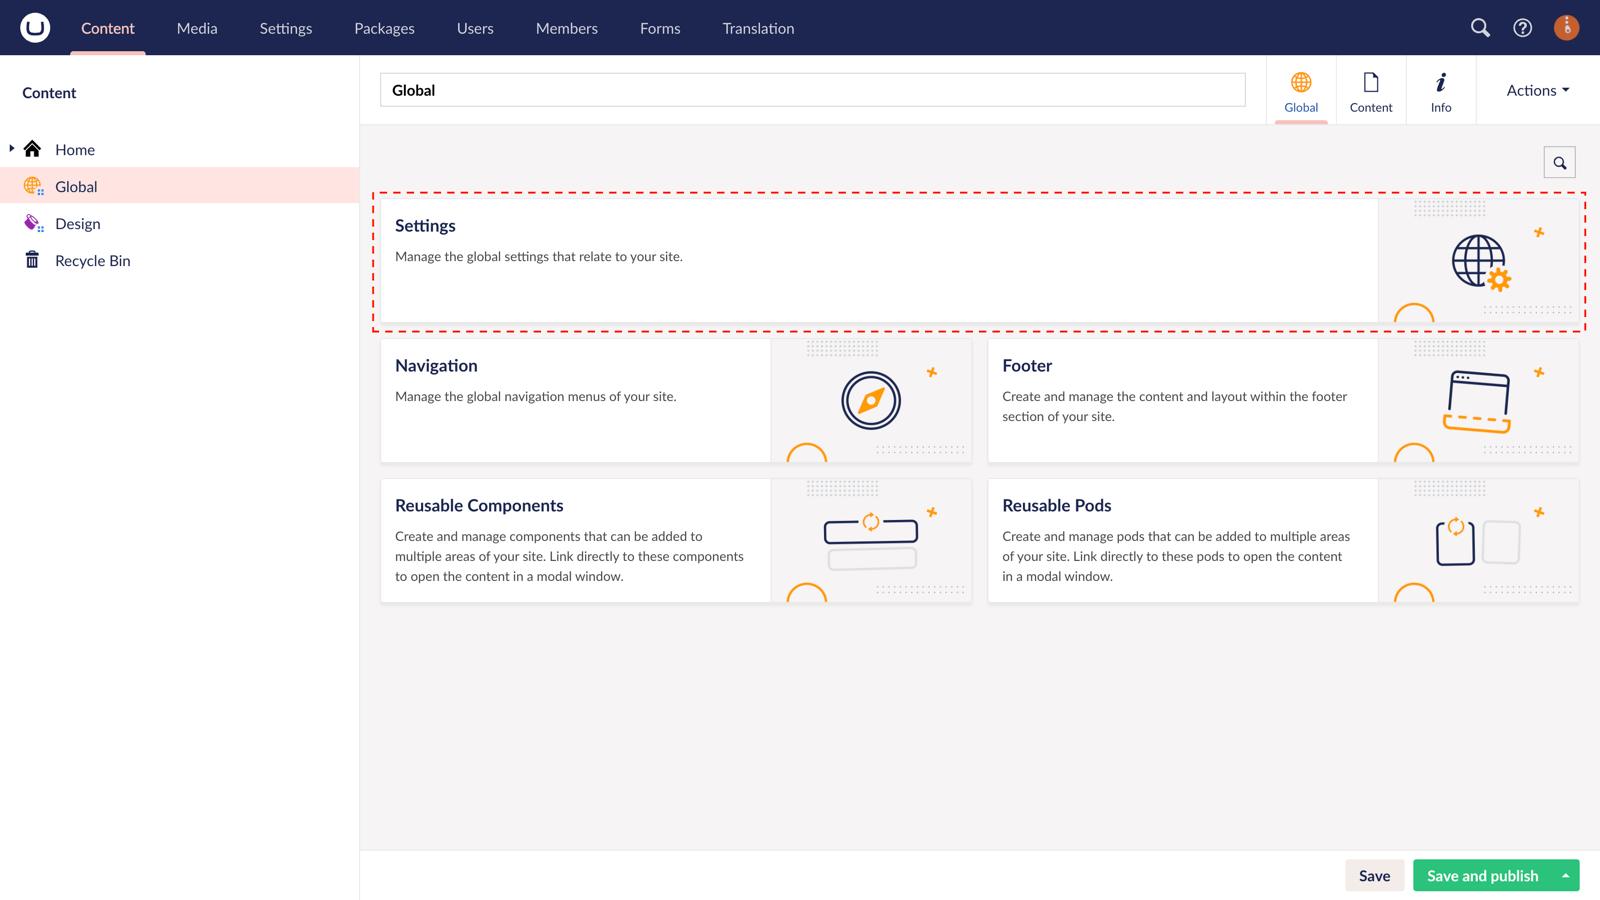
Login to your Umbraco CMS > In the tree menu, go to "Global" > From the grid, go to "Settings".
Step 4
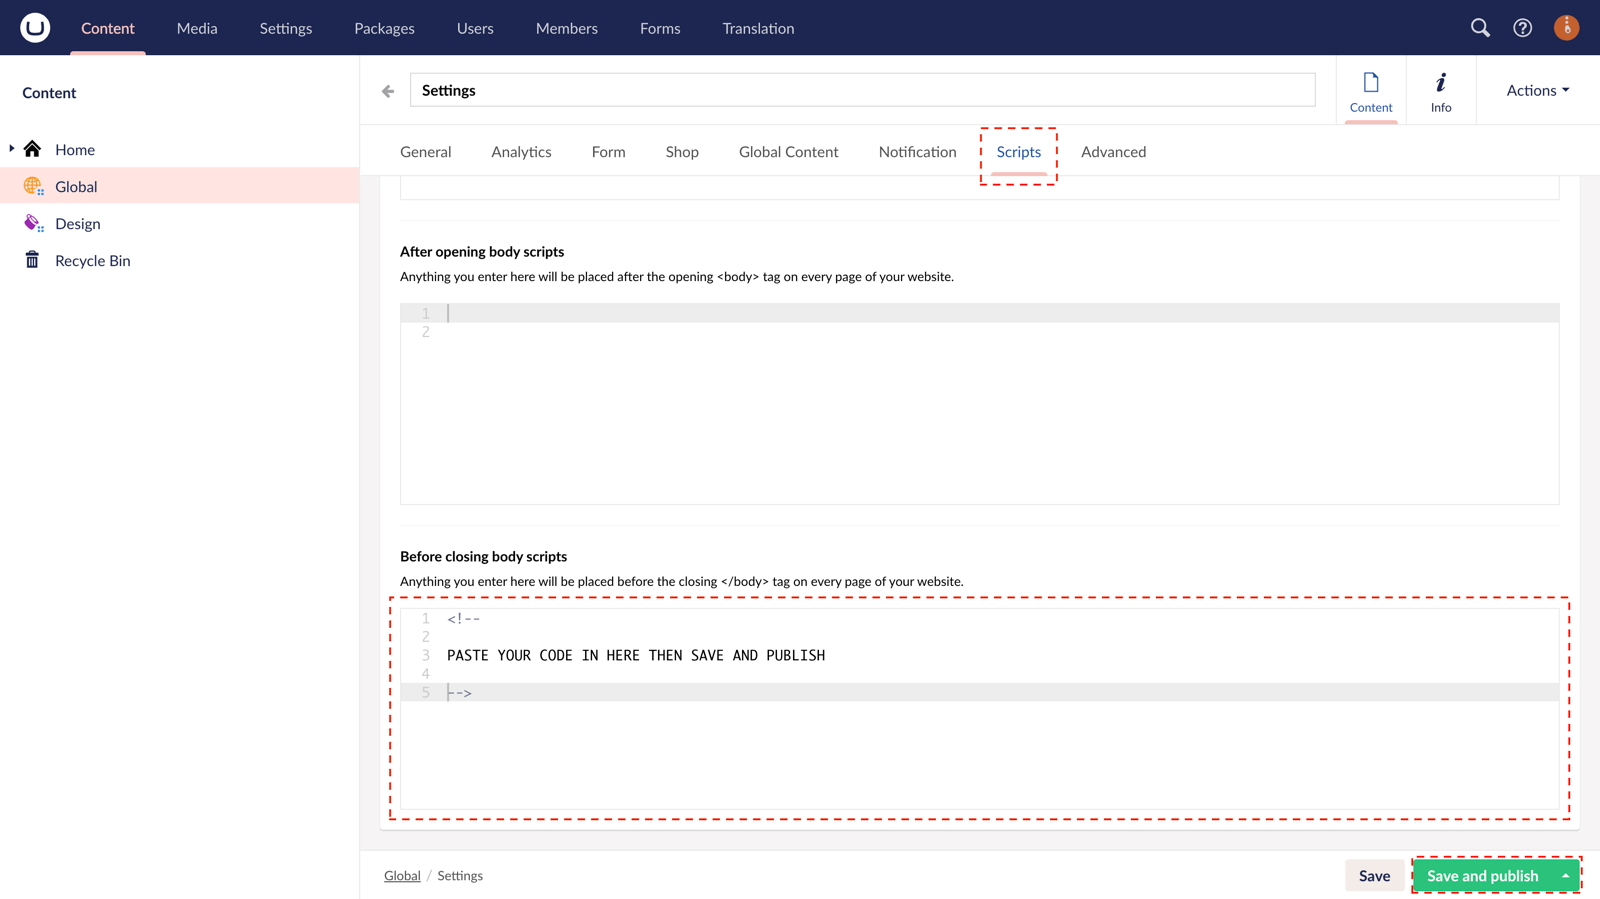
Go to the 'Scripts' tab > Locate the "Before closing body scripts" field, and paste the code from Step 2.
Step 5
In the bottom right corner, click "Save and Publish".
Your Tawk Live Chat widget will now be present on all pages within your website.
Bonus step
Embed your Live Chat widget code on a specific page
If you would prefer to only show your Tawk Live Chat widget on certain pages then instead of pasting the code into Global Settings > Scripts, you can go to any page in the CMS and find the "Scripts" tab. You can then paste the code into the field on the page you would like to see the widget appear.
#h5yr
Step 3
Create
Create content with the Visual Editor and utilise built-in eCommerce and integrations.
Step 4
Go Live
You can host securely on Azure with uSkinned Hosted, or go your own way with a Self-Hosted license.
