How to add Eventbrite ticketing
Promote free and sell paid-for event tickets with Eventbrite and uSkinned. Whether you're promoting free, paid, online or in-person events, your attendees can complete the full sign-up directly from your website.
Eventbrite is a global self-service ticketing platform for live experiences that allows anyone to create, share, find and attend events. From music festivals, marathons, conferences, community rallies and fundraisers, to gaming competitions, air guitar contests and everything in between.
Embed Eventbrite checkout
Step 1
Go to Eventbrite, create an account and log in to add your first event.
Step 2
Once you've added your first events, follow the steps in this guide (https://www.eventbrite.co.uk/support/articles/en_US/Multi_Group_How_To/how-to-sell-eventbrite-tickets-on-your-website-through-an-embedded-checkout) to generate the embed code for your Eventbrite checkout.
Step 3
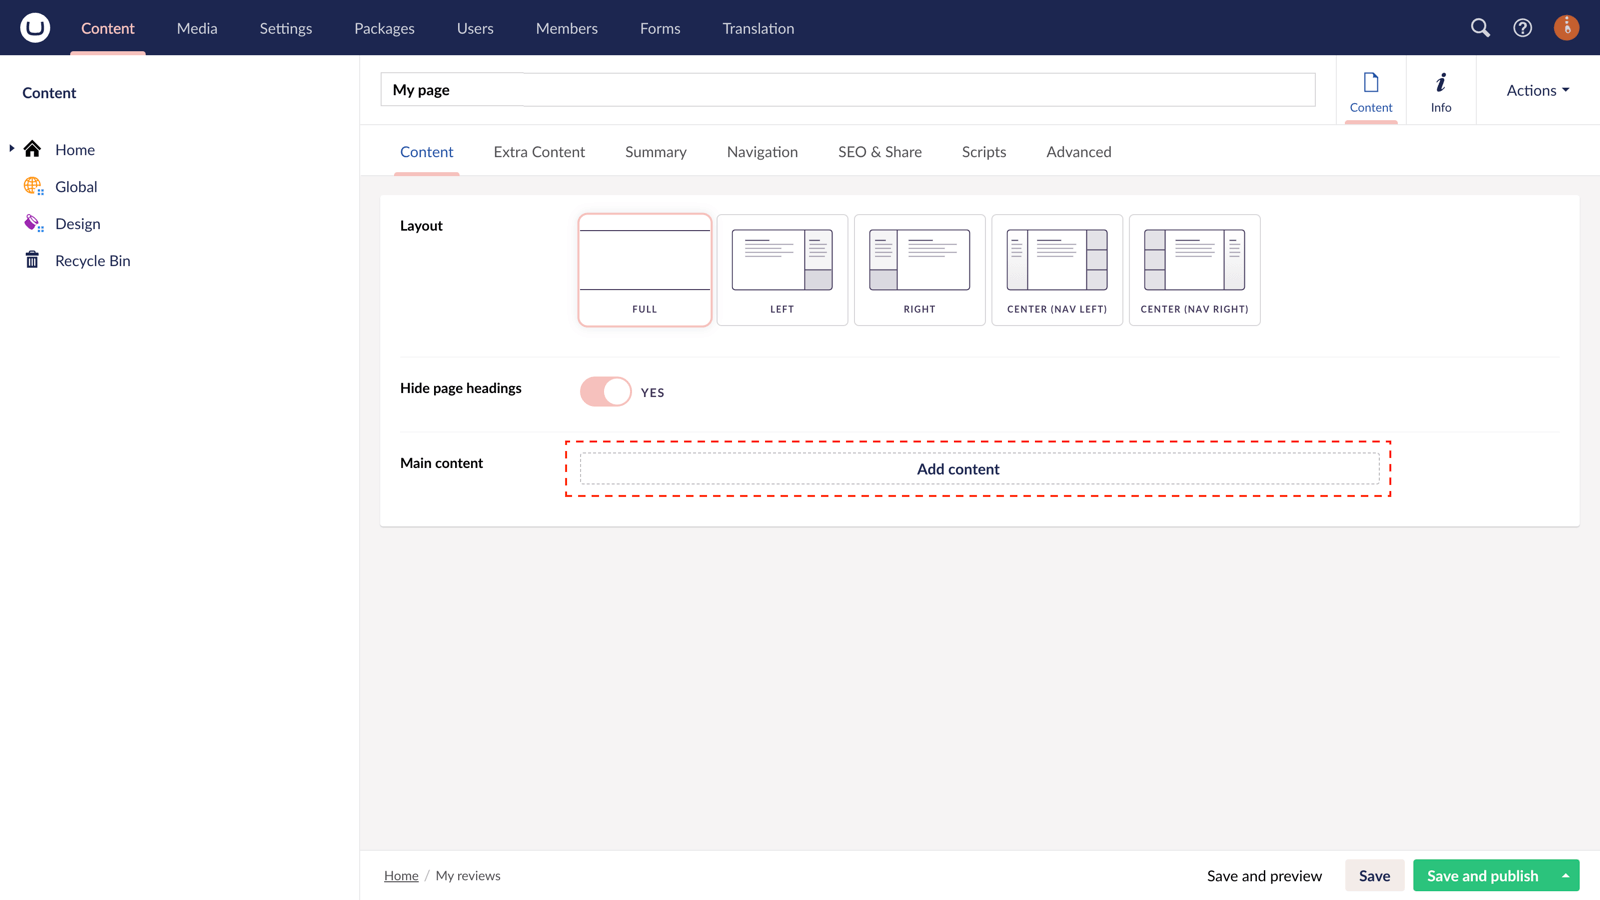
Login to uSkinned CMS. Create or go to any page.
Step 4
At the "Main Content" label, click "Add content".
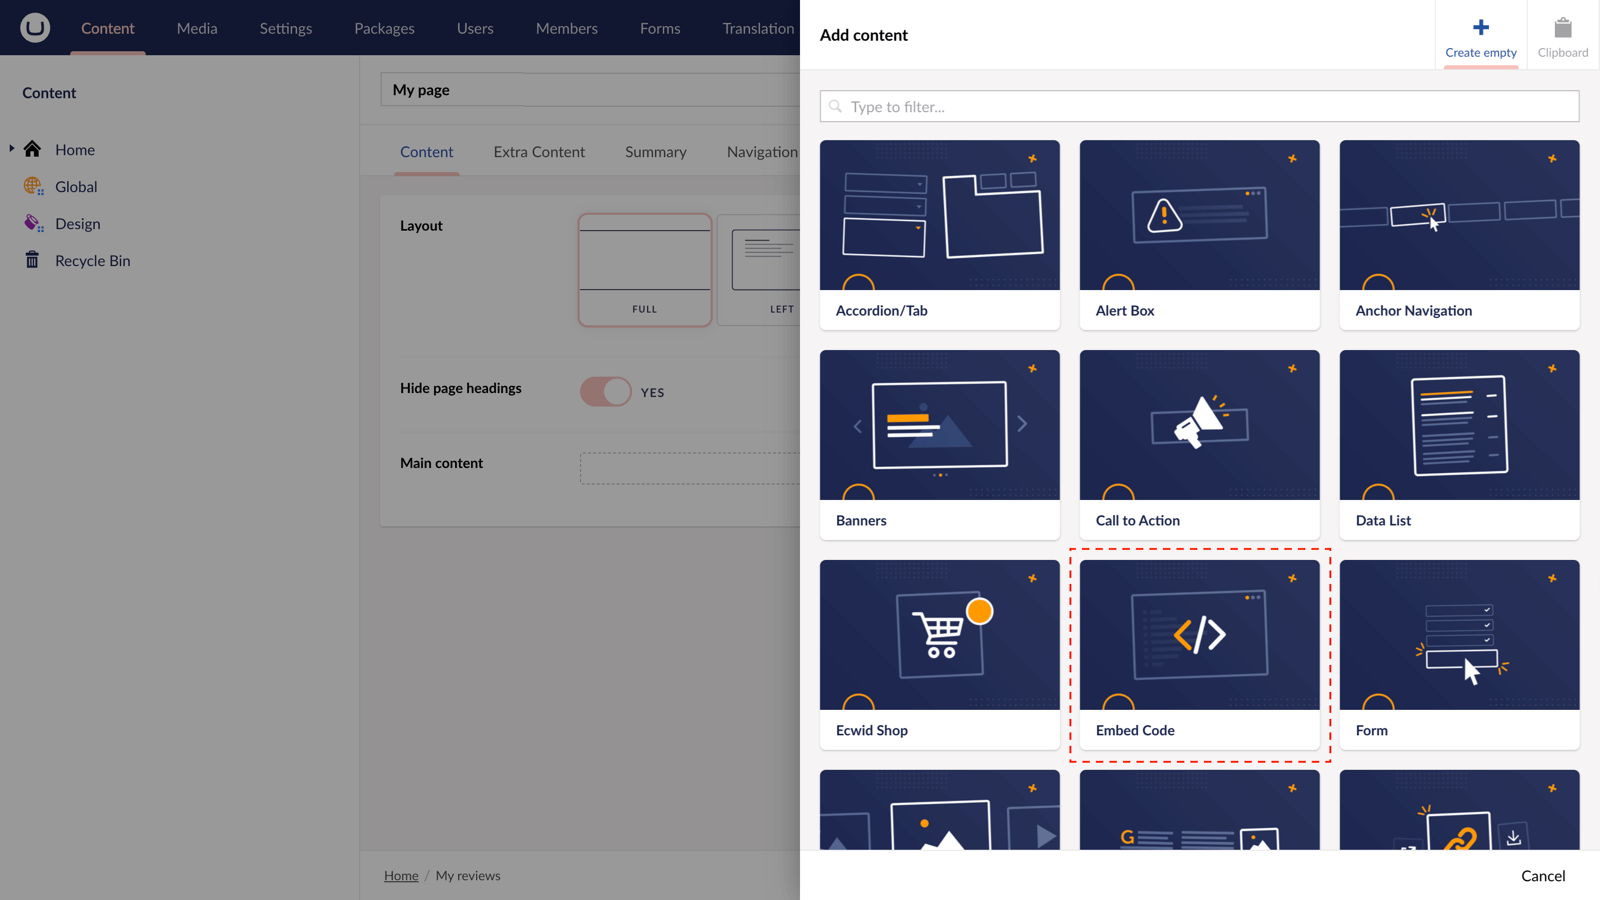
Step 5
From the options in the slide-out panel, select the "Embed code" block.
Step 6
Paste the embed code you copied in Step 2.
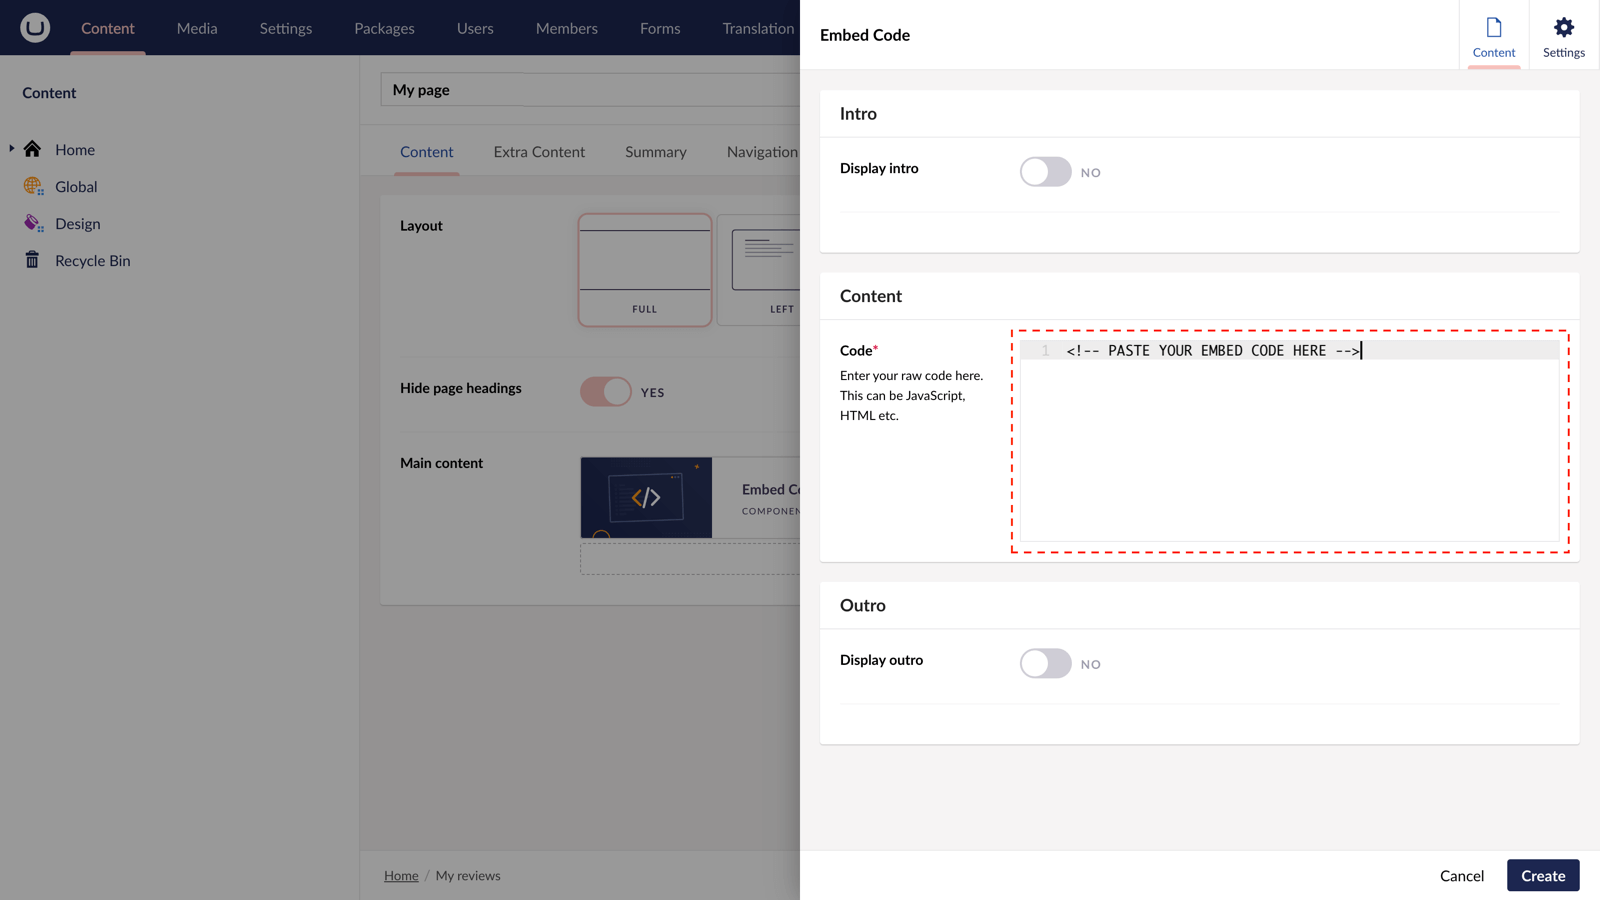
Step 7
Hit "Submit" in the slide-out panel.
Step 8
Now, "Save and publish" your page.
Your Eventbrite checkout is now active and your users can now book a space (and pay) directly from your uSkinned-powered website.
More ways to promote and sell Eventbrite tickets
There are a variety of places you can paste your Eventbrite embed code to automatically display them on your uSkinned Site Builder website.
You can try this out using the same steps for:
— Split component
— Pod component
— Windows component
— Global pods
— Extra Content pods
— Footer pods
— Reusable components
— Reusable pods
— Modal content
#h5yr
Step 3
Create
Create content with the Visual Editor and utilise built-in eCommerce and integrations.
Step 4
Go Live
You can host securely on Azure with uSkinned Hosted, or go your own way with a Self-Hosted license.
