How to add an eCommerce ready Stripe Payment product
Create a product page with the uSkinned Site Builder for Umbraco and integrate a Stripe Payment button.
Step 1
Login to the CMS.
Step 2
Under Home, create a new Page, name it and select the 'Full' layout option.
Step 3
Click 'Add Content' and choose the 'Split Component'.
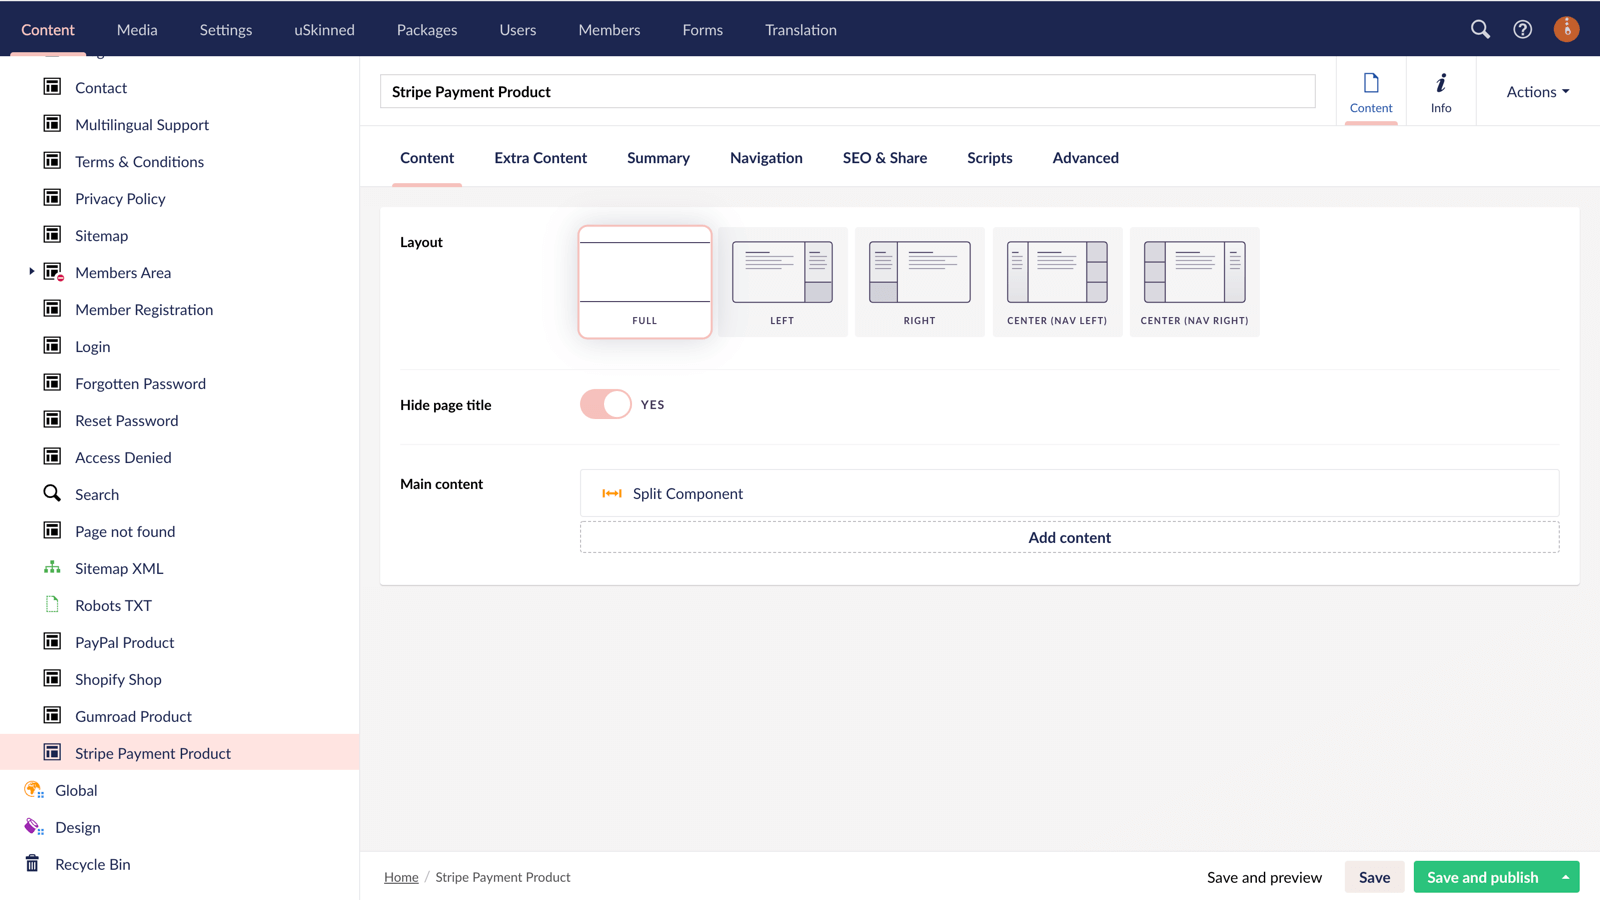
Step 4
On Split Section 1, click 'Add Content' and choose the 'Text' block.
Step 5
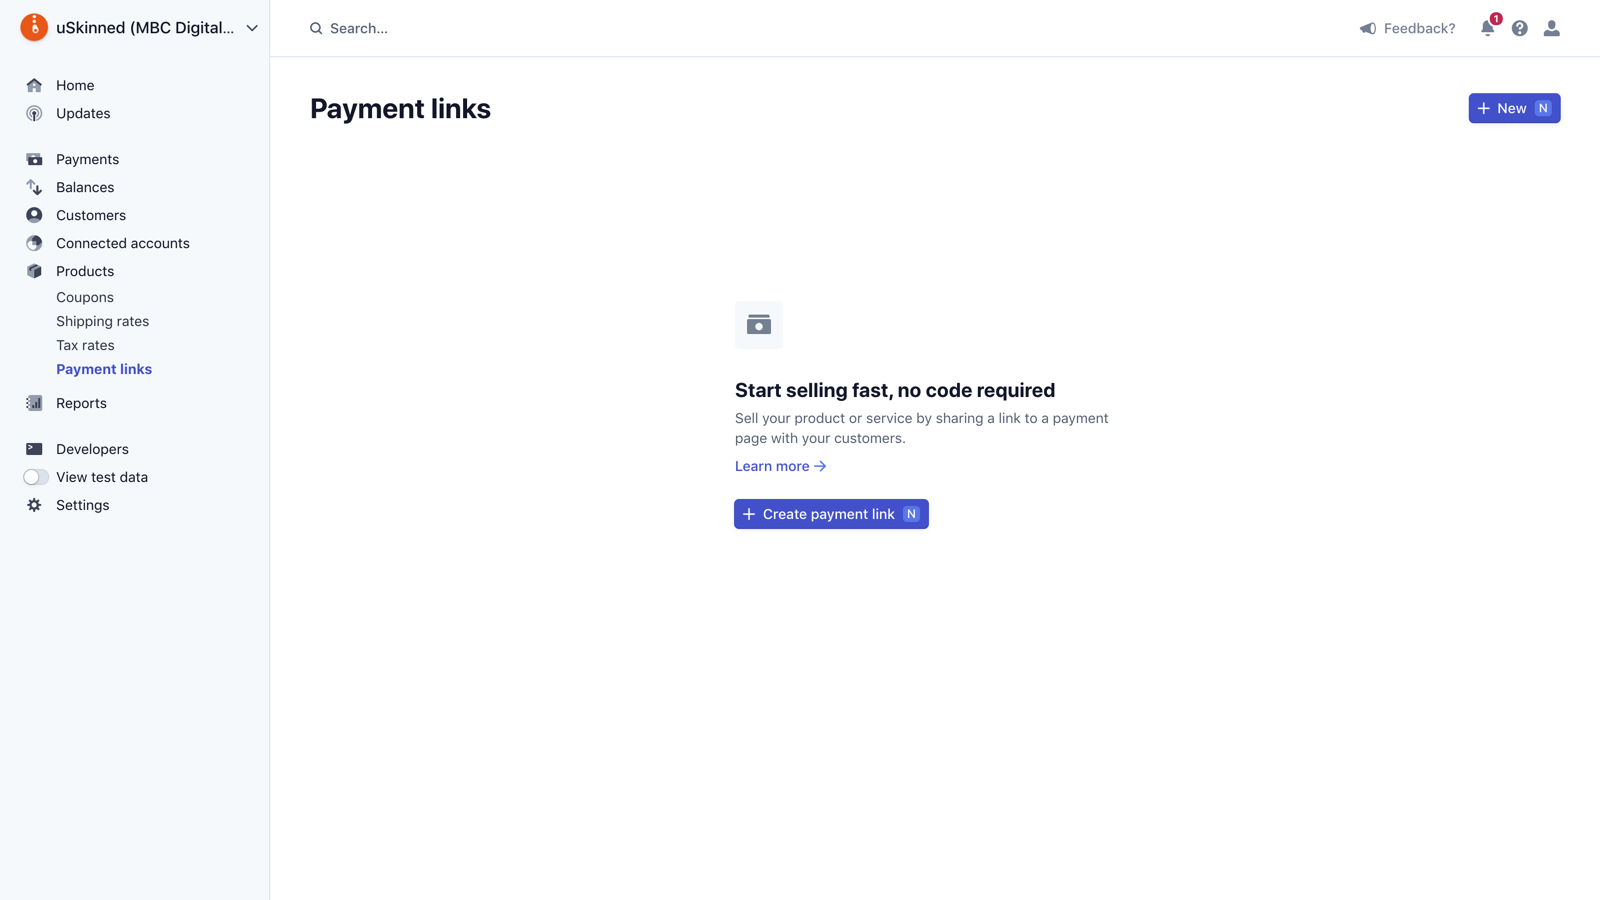
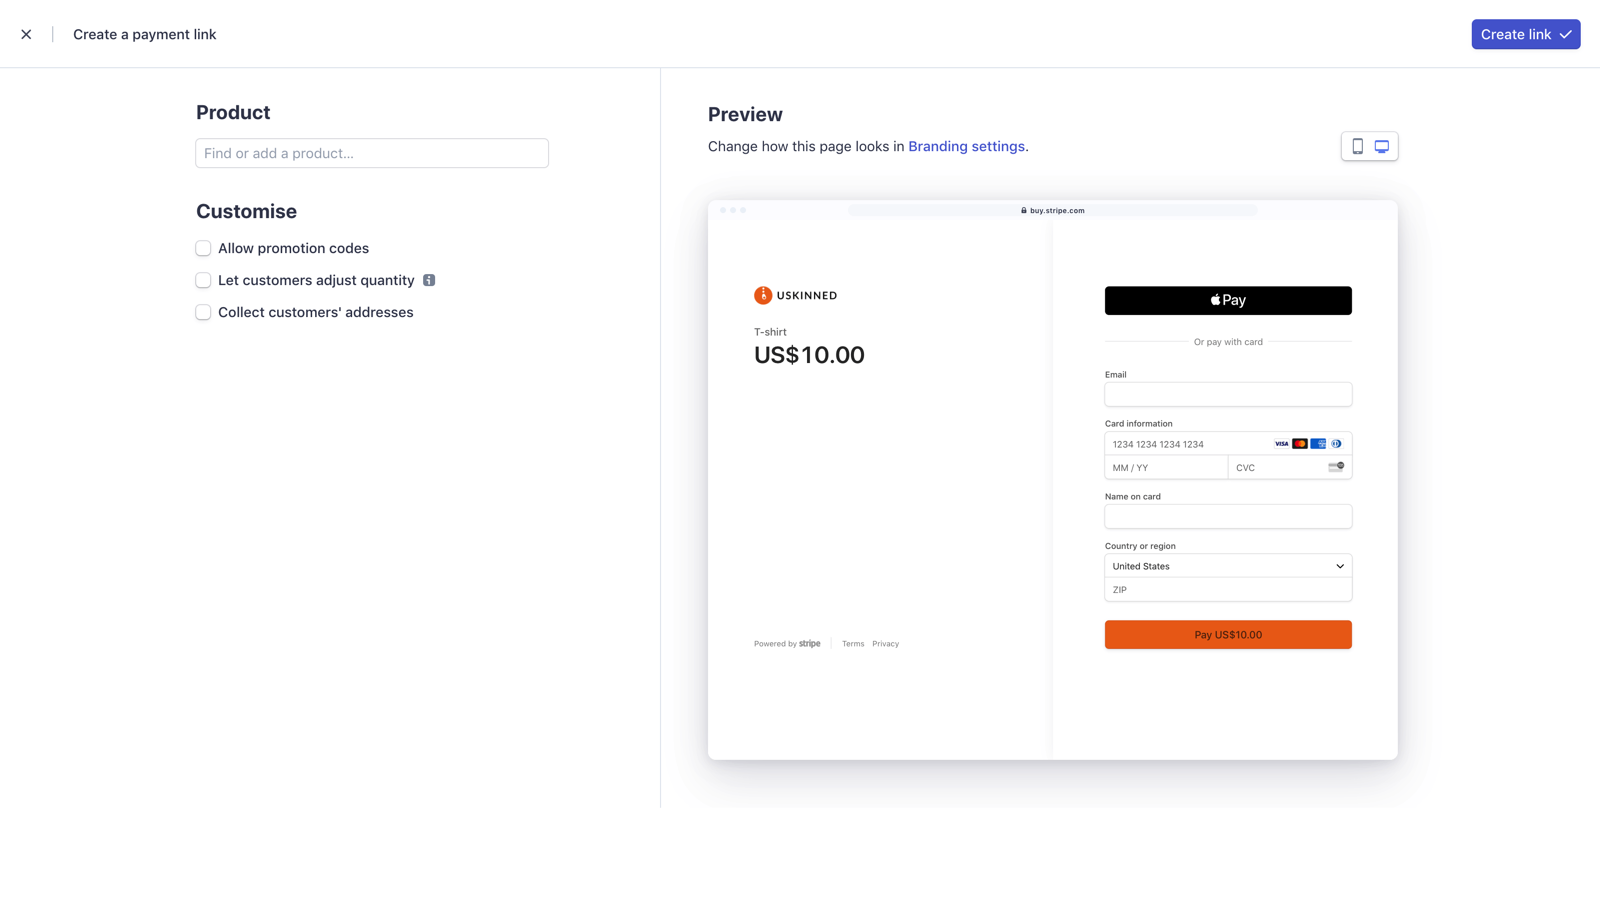
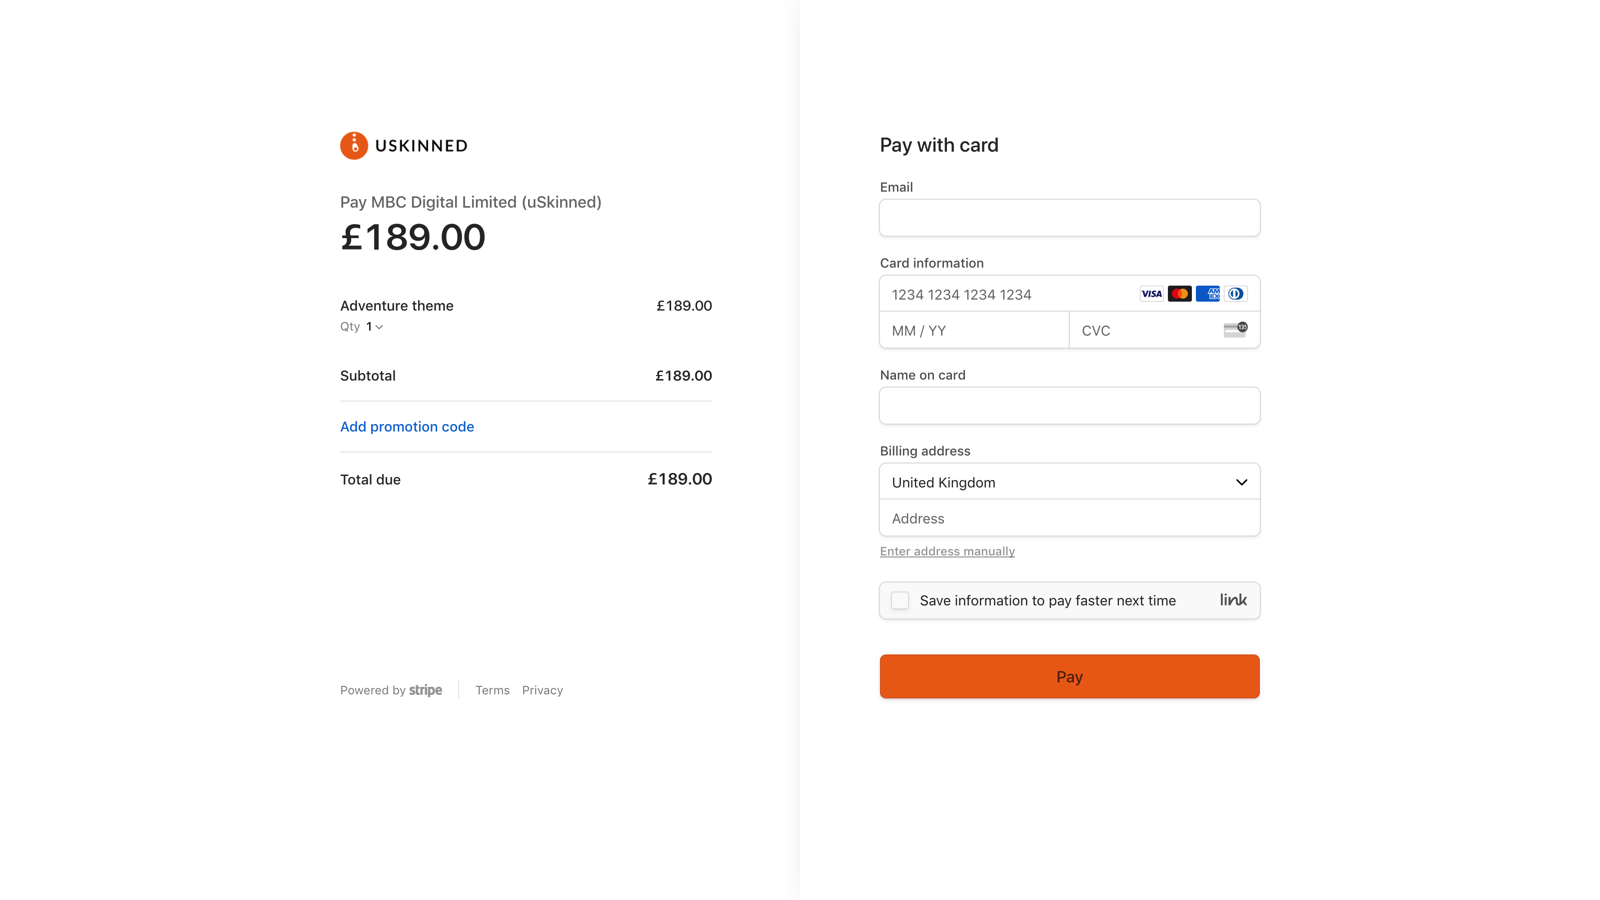
Follow the link (https://stripe.com/docs/payments/payment-links) to go to Stripe Payments and follow the steps provided in step 1.
- You will need to register for Stripe (if you have not already done so)
- Create a new product
- Fill out the required information for the product e.g. price and name
- Add the product
- Create the product link
Step 6
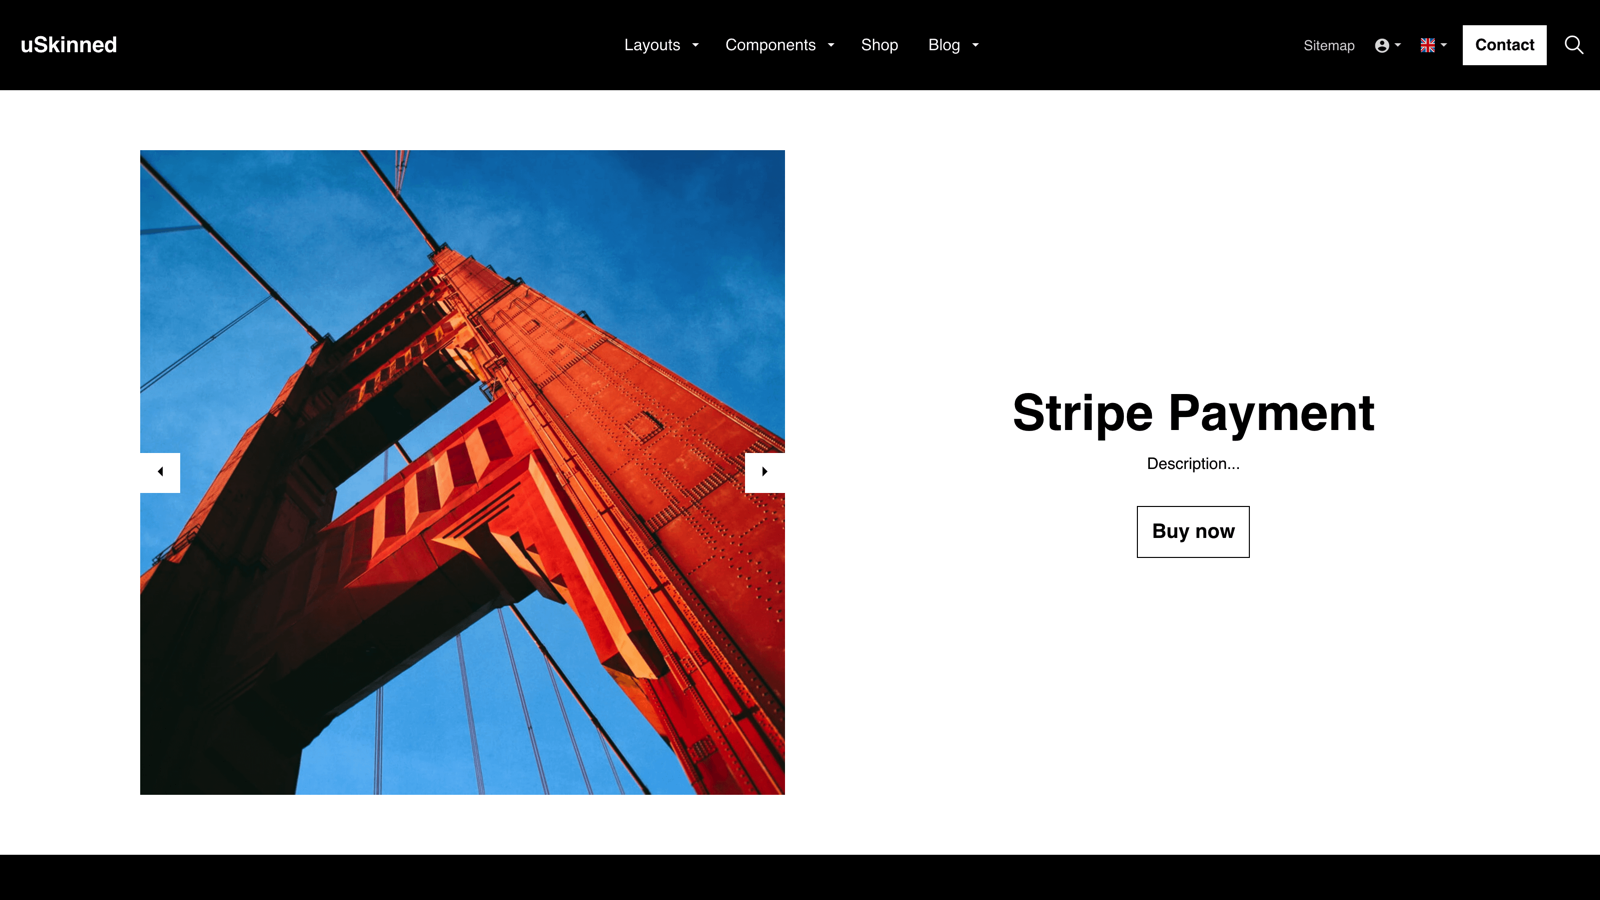
Return to the CMS. In the 'Text' block, enter a product name, description and click on the add link option next to the button then paste your Stripe Payment link. Now click 'Submit'.
Step 7
On Split Section 2, click 'Add Content' and choose the 'Gallery' block. This is to showcase the product images that support your new product.
Step 8
Click 'Add Content' to select your image or video type. In our example, we will use the 'Gallery Multiple Images' options to quickly select multiple images.
Step 9
Select the product images you wish to showcase. Please note, you are not limited to just showcasing images, you can use YouTube, Vimeo, or videos uploaded to your Media section too. Once you're happy, click 'Create' in the bottom right.
Step 10
Still on your 'Gallery', in the top right, click on 'Settings'. In our example, we will choose:
- Items per row — 1
- Image style — 1:1 Square
- Enable Carousel: Yes
- Show arrows: Yes
Once you're happy, click 'Submit' in the bottom right.
Step 11
Still on your 'Split Component', in the top right, click on 'Settings'. Choose the settings that best suit your site design. Now click 'Submit'.
Step 12
Since the product name in the 'Split Component' will be our page title, we can hit the switch to 'Hide Page Title'.
Step 13
Finally, hit 'Save and Publish'. You can now view your awesome and modern product page on the front end of the website.
Don't stop there though, thanks to the uSkinned Site Builder's modular approach, you can add more components such as parallax banners of accordions for FAQs to really showcase your products.
You can even use the 'SEO & Share' tab to enhance the product's visibility and ranking on search engines like Google.
#h5yr


Step 3
Create
Create content with the Visual Editor and utilise built-in eCommerce and integrations.
Step 4
Go Live
You can host securely on Azure with uSkinned Hosted, or go your own way with a Self-Hosted license.
