How to add a Mega Menu
Available for Hosted and Self-hosted users, running uSkinned Site Builder version 6.2 and above.
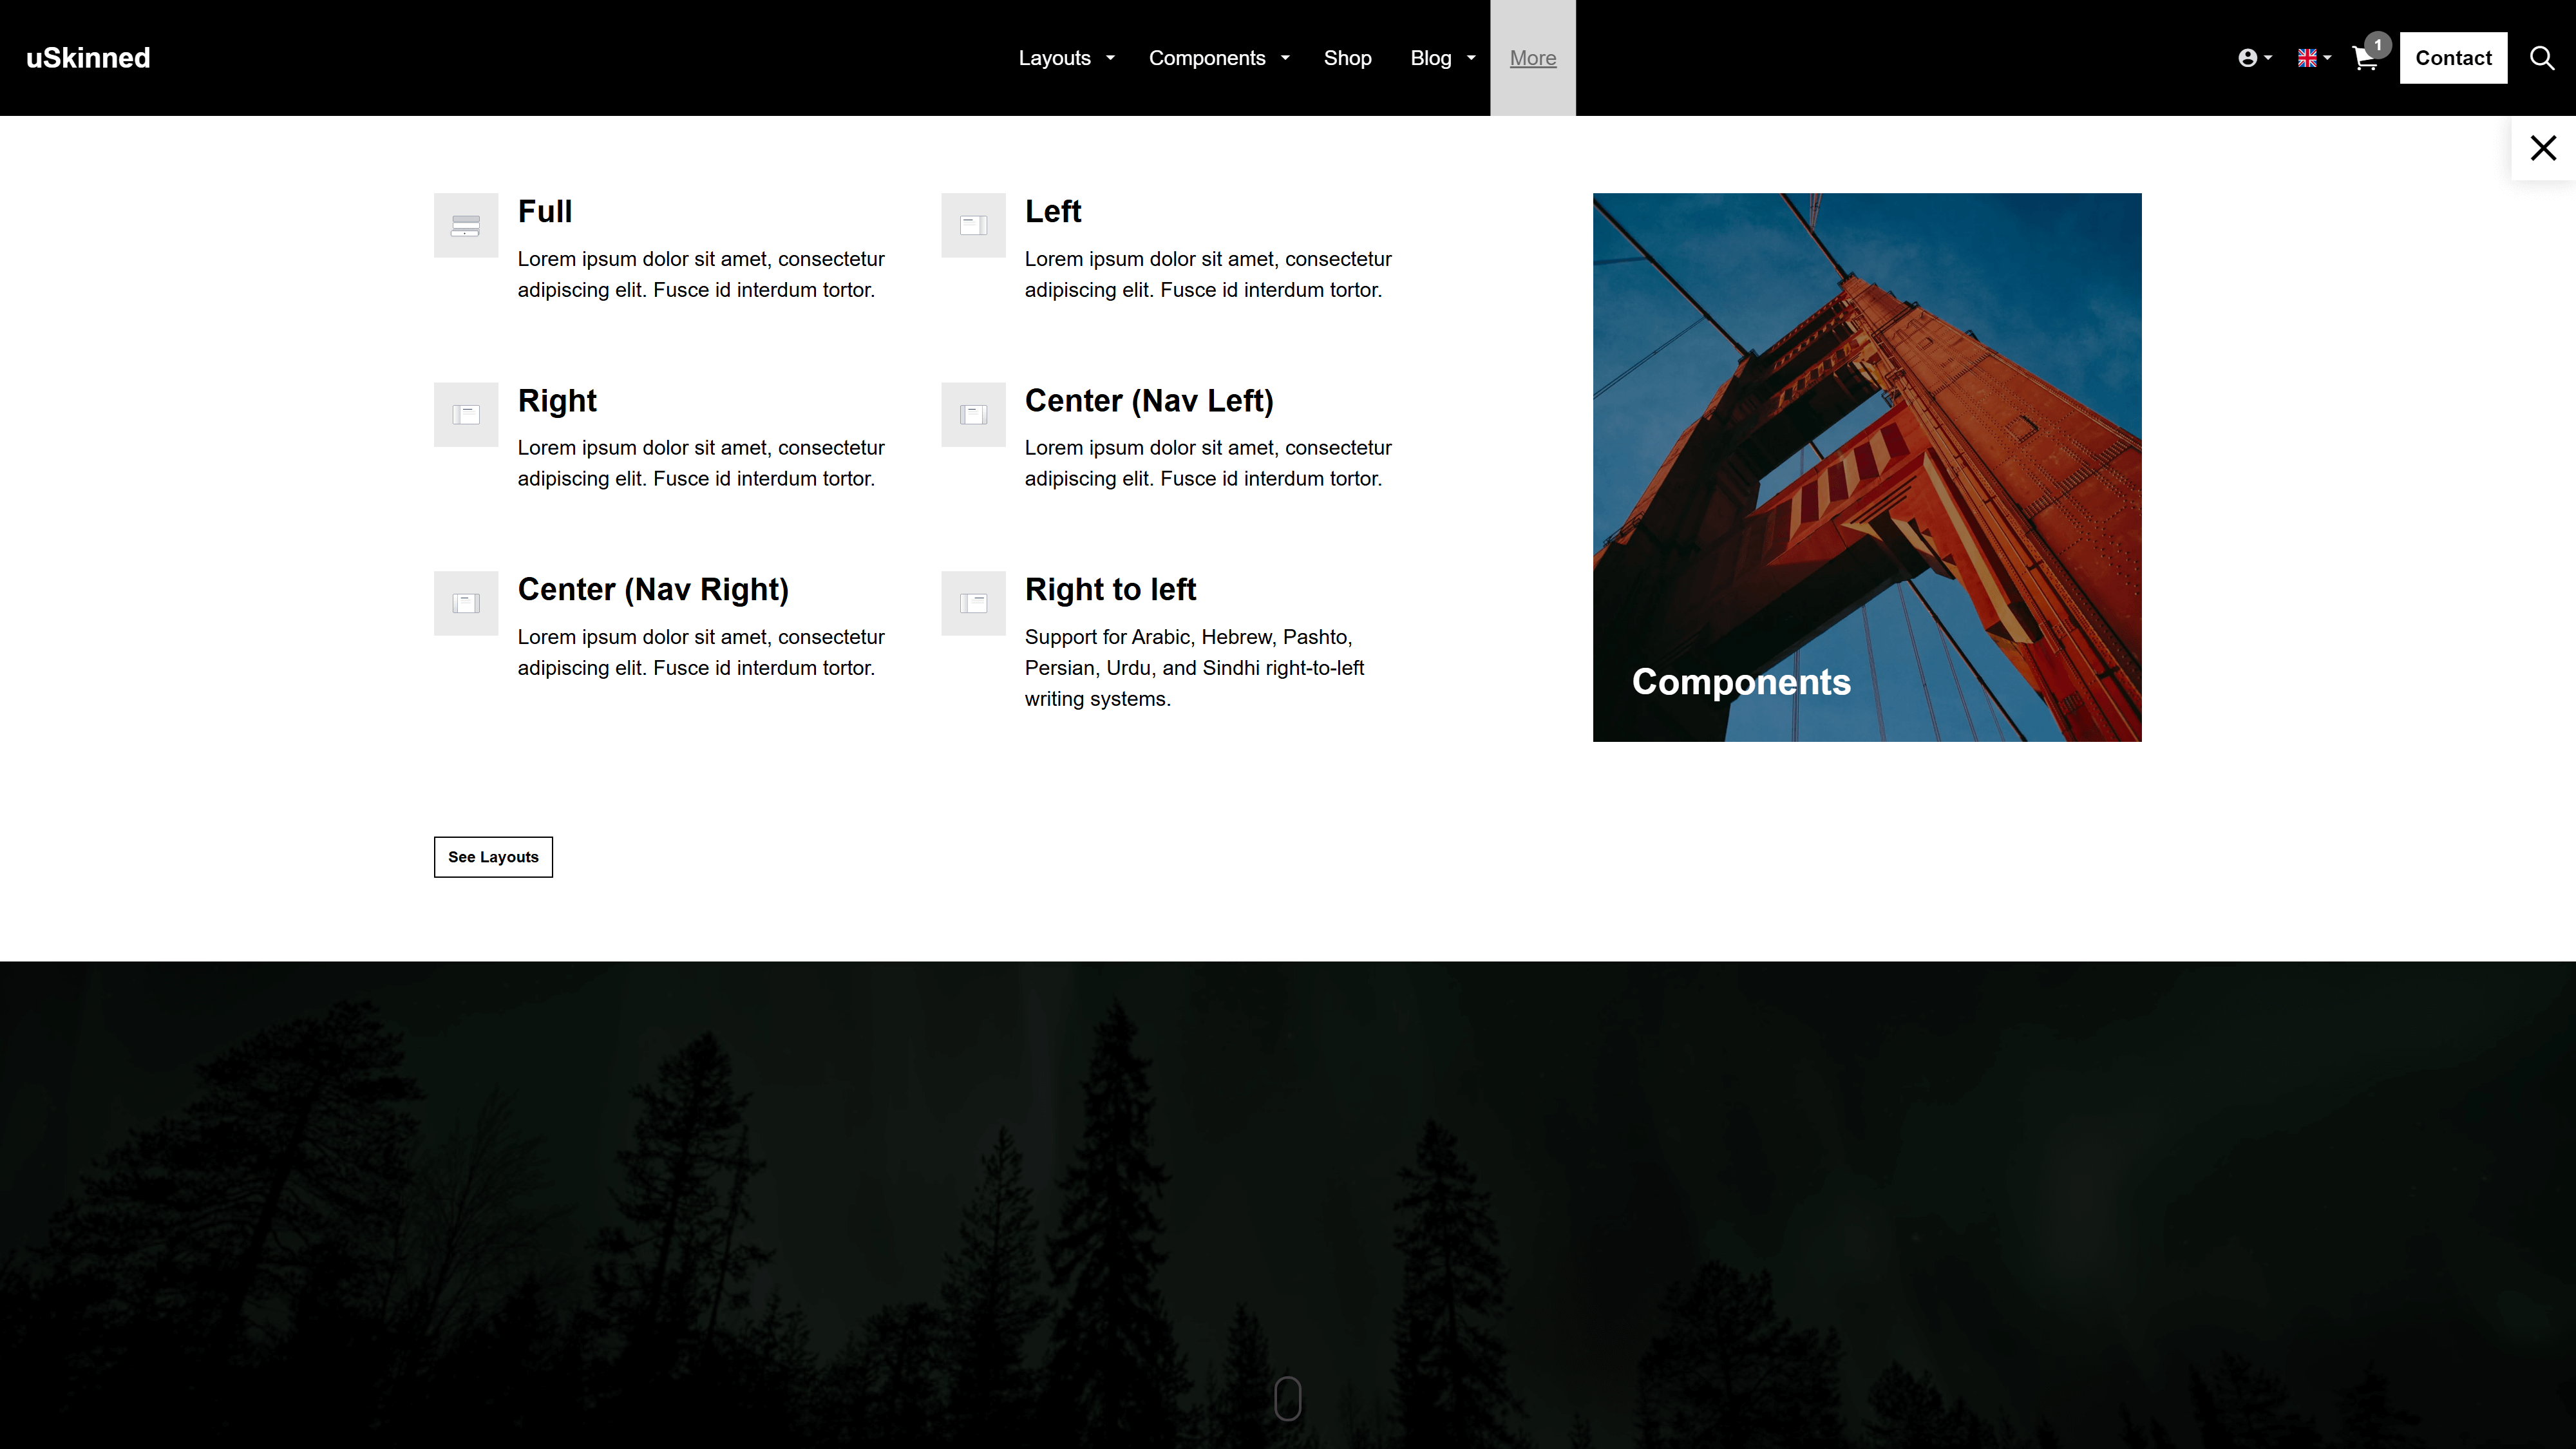
What is a Mega Menu?
A Mega Menu is a large, expandable navigation menu item in website design that can display multiple links, categories, or content sections at once. It enhances user experience by organising complex site structures.
Enable Mega Menu
Before adding a Mega Menu item, you must enable it on your chosen Design.
Step 1
Log in to uSkinned CMS.
Step 2
Go to Design > Your Theme Design.
Step 3
Go to Layout tab > Navigation.
Step 4
Use the switch provided to enable Mega Menu to YES.
Step 5
Once you're happy, click "Save and Publish".
Create a Mega Menu item
We will build up a Mega Menu item with Components, just as we do when creating a page. We store them globally, in the Reusable component section, so that we can link to them in our navigation.
Step 1
From the uSkinned CMS.
Step 2
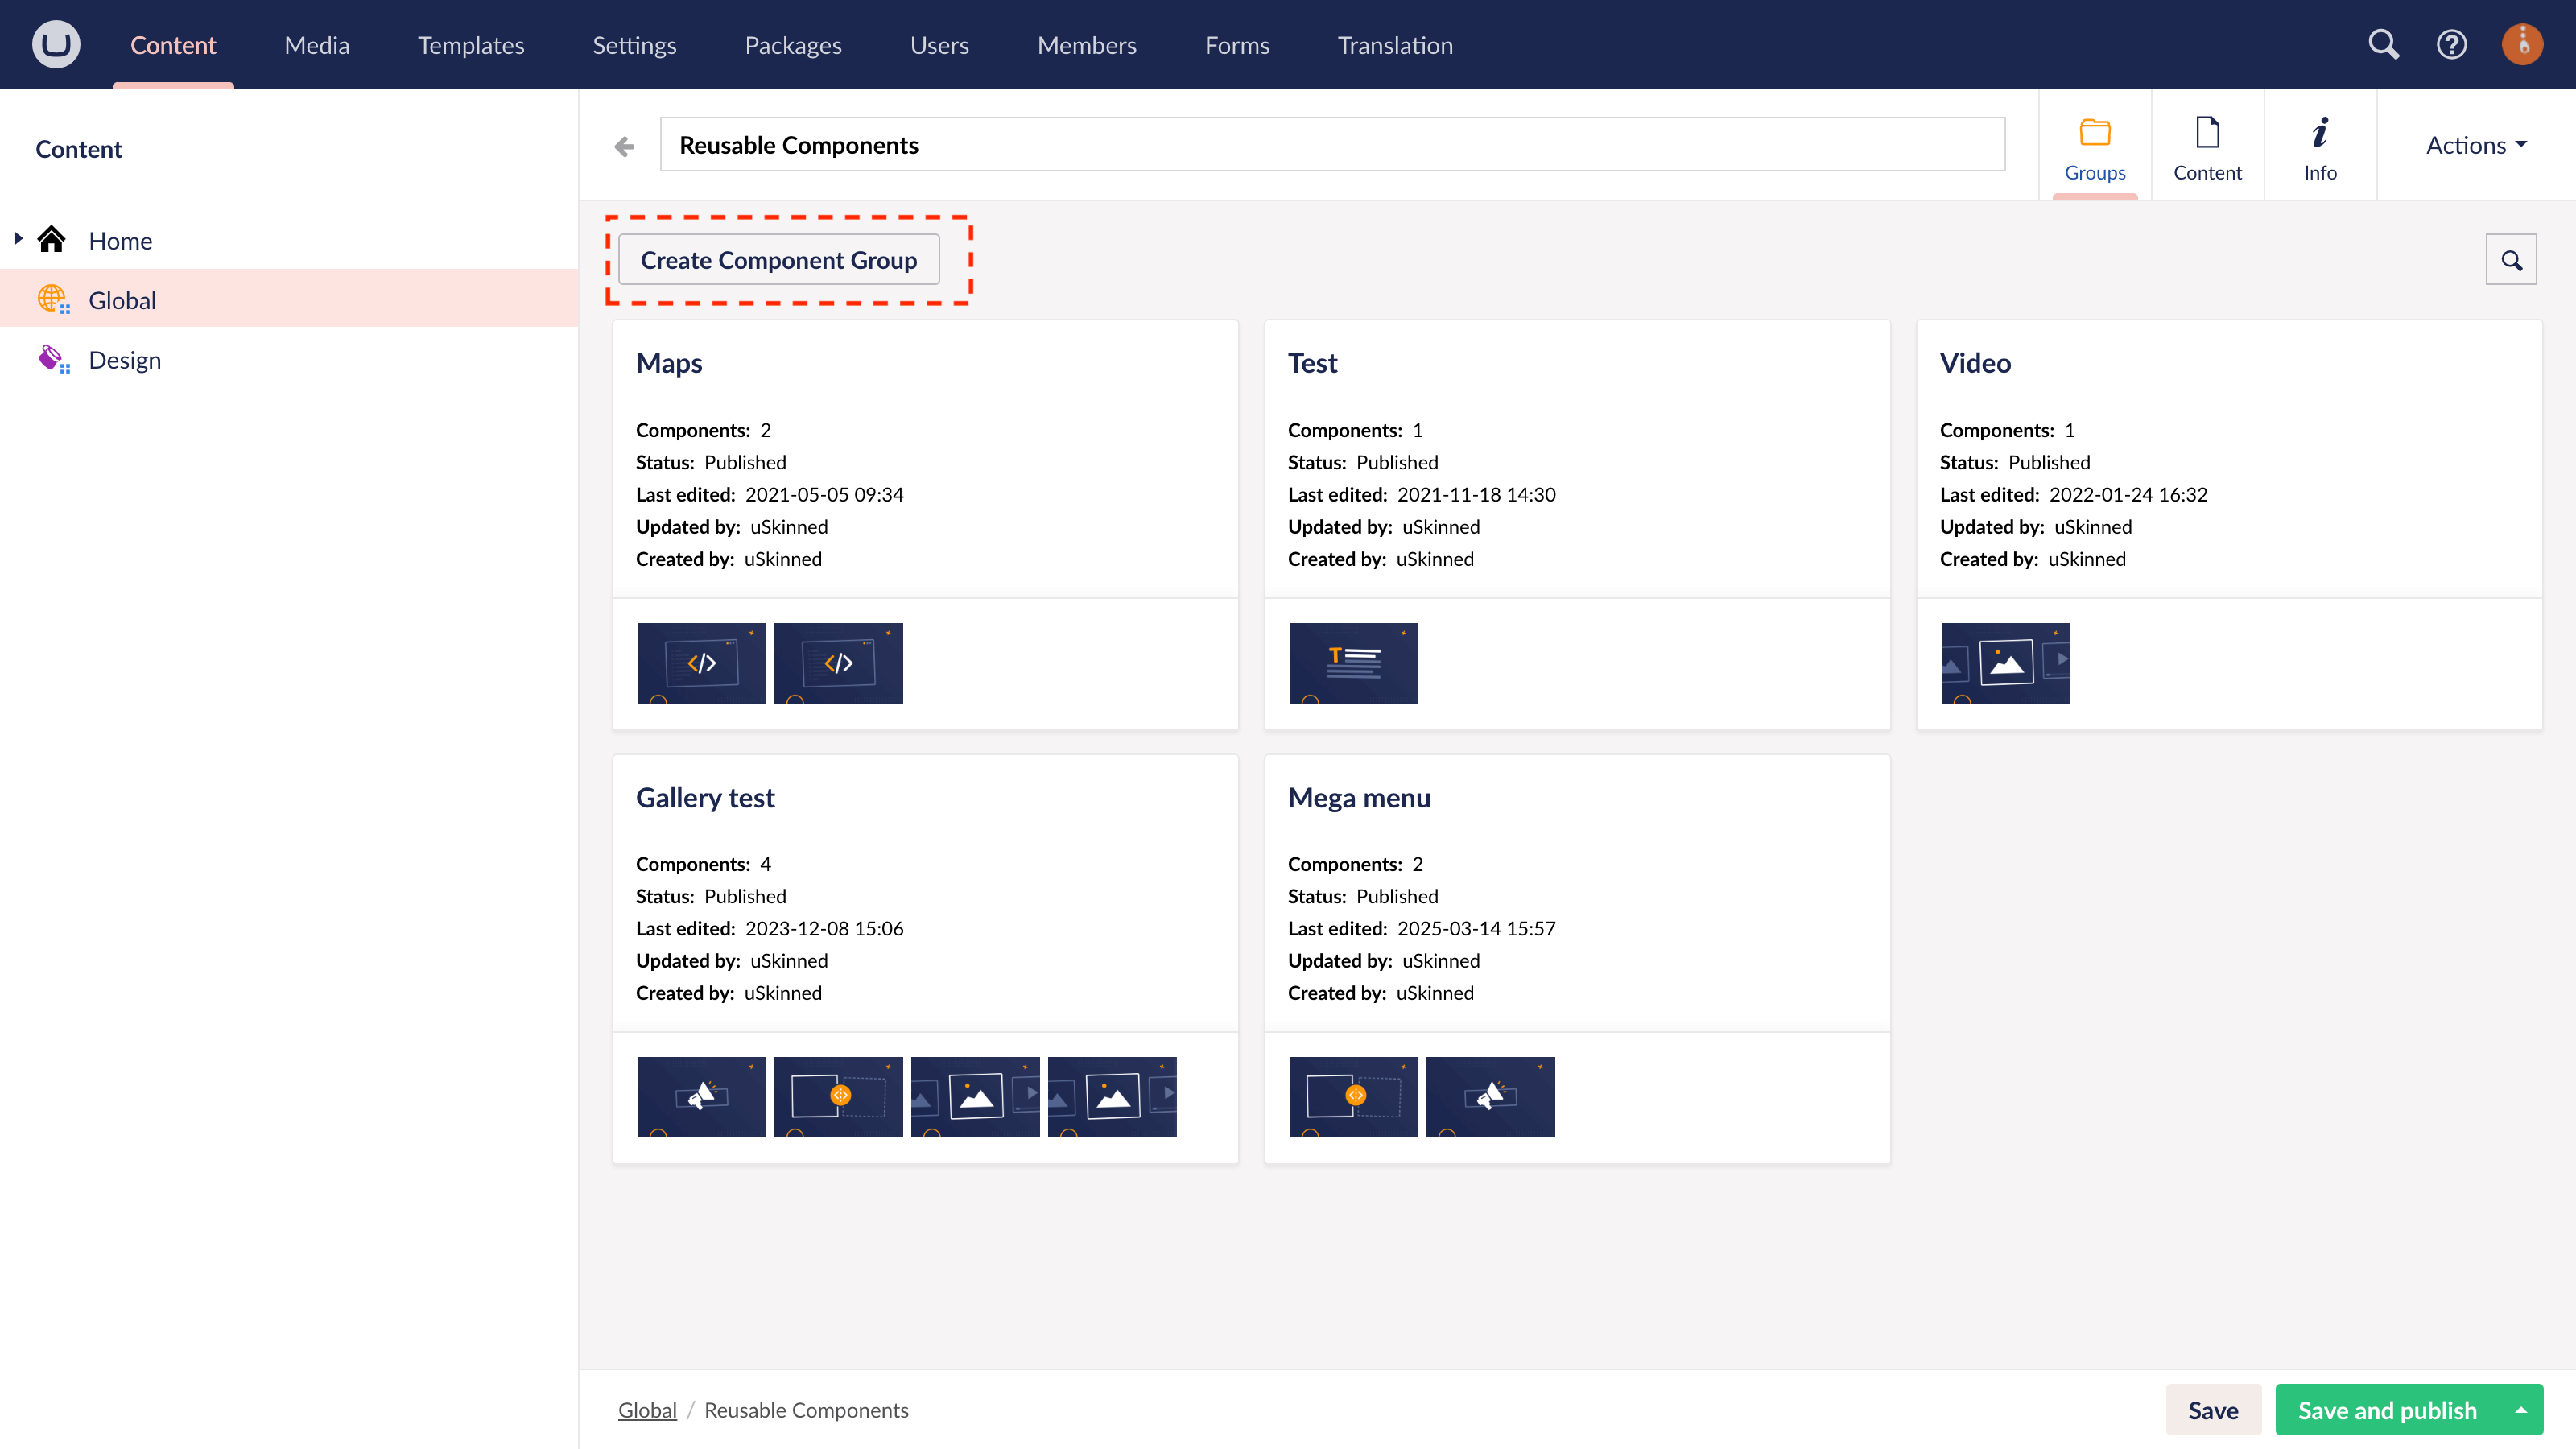
Go to Global > Reusable Components.
Step 3
Use the button "Create Component Group".
Step 4
Name the Group and save.
Step 5
Add the components you require for your Mega Menu item.
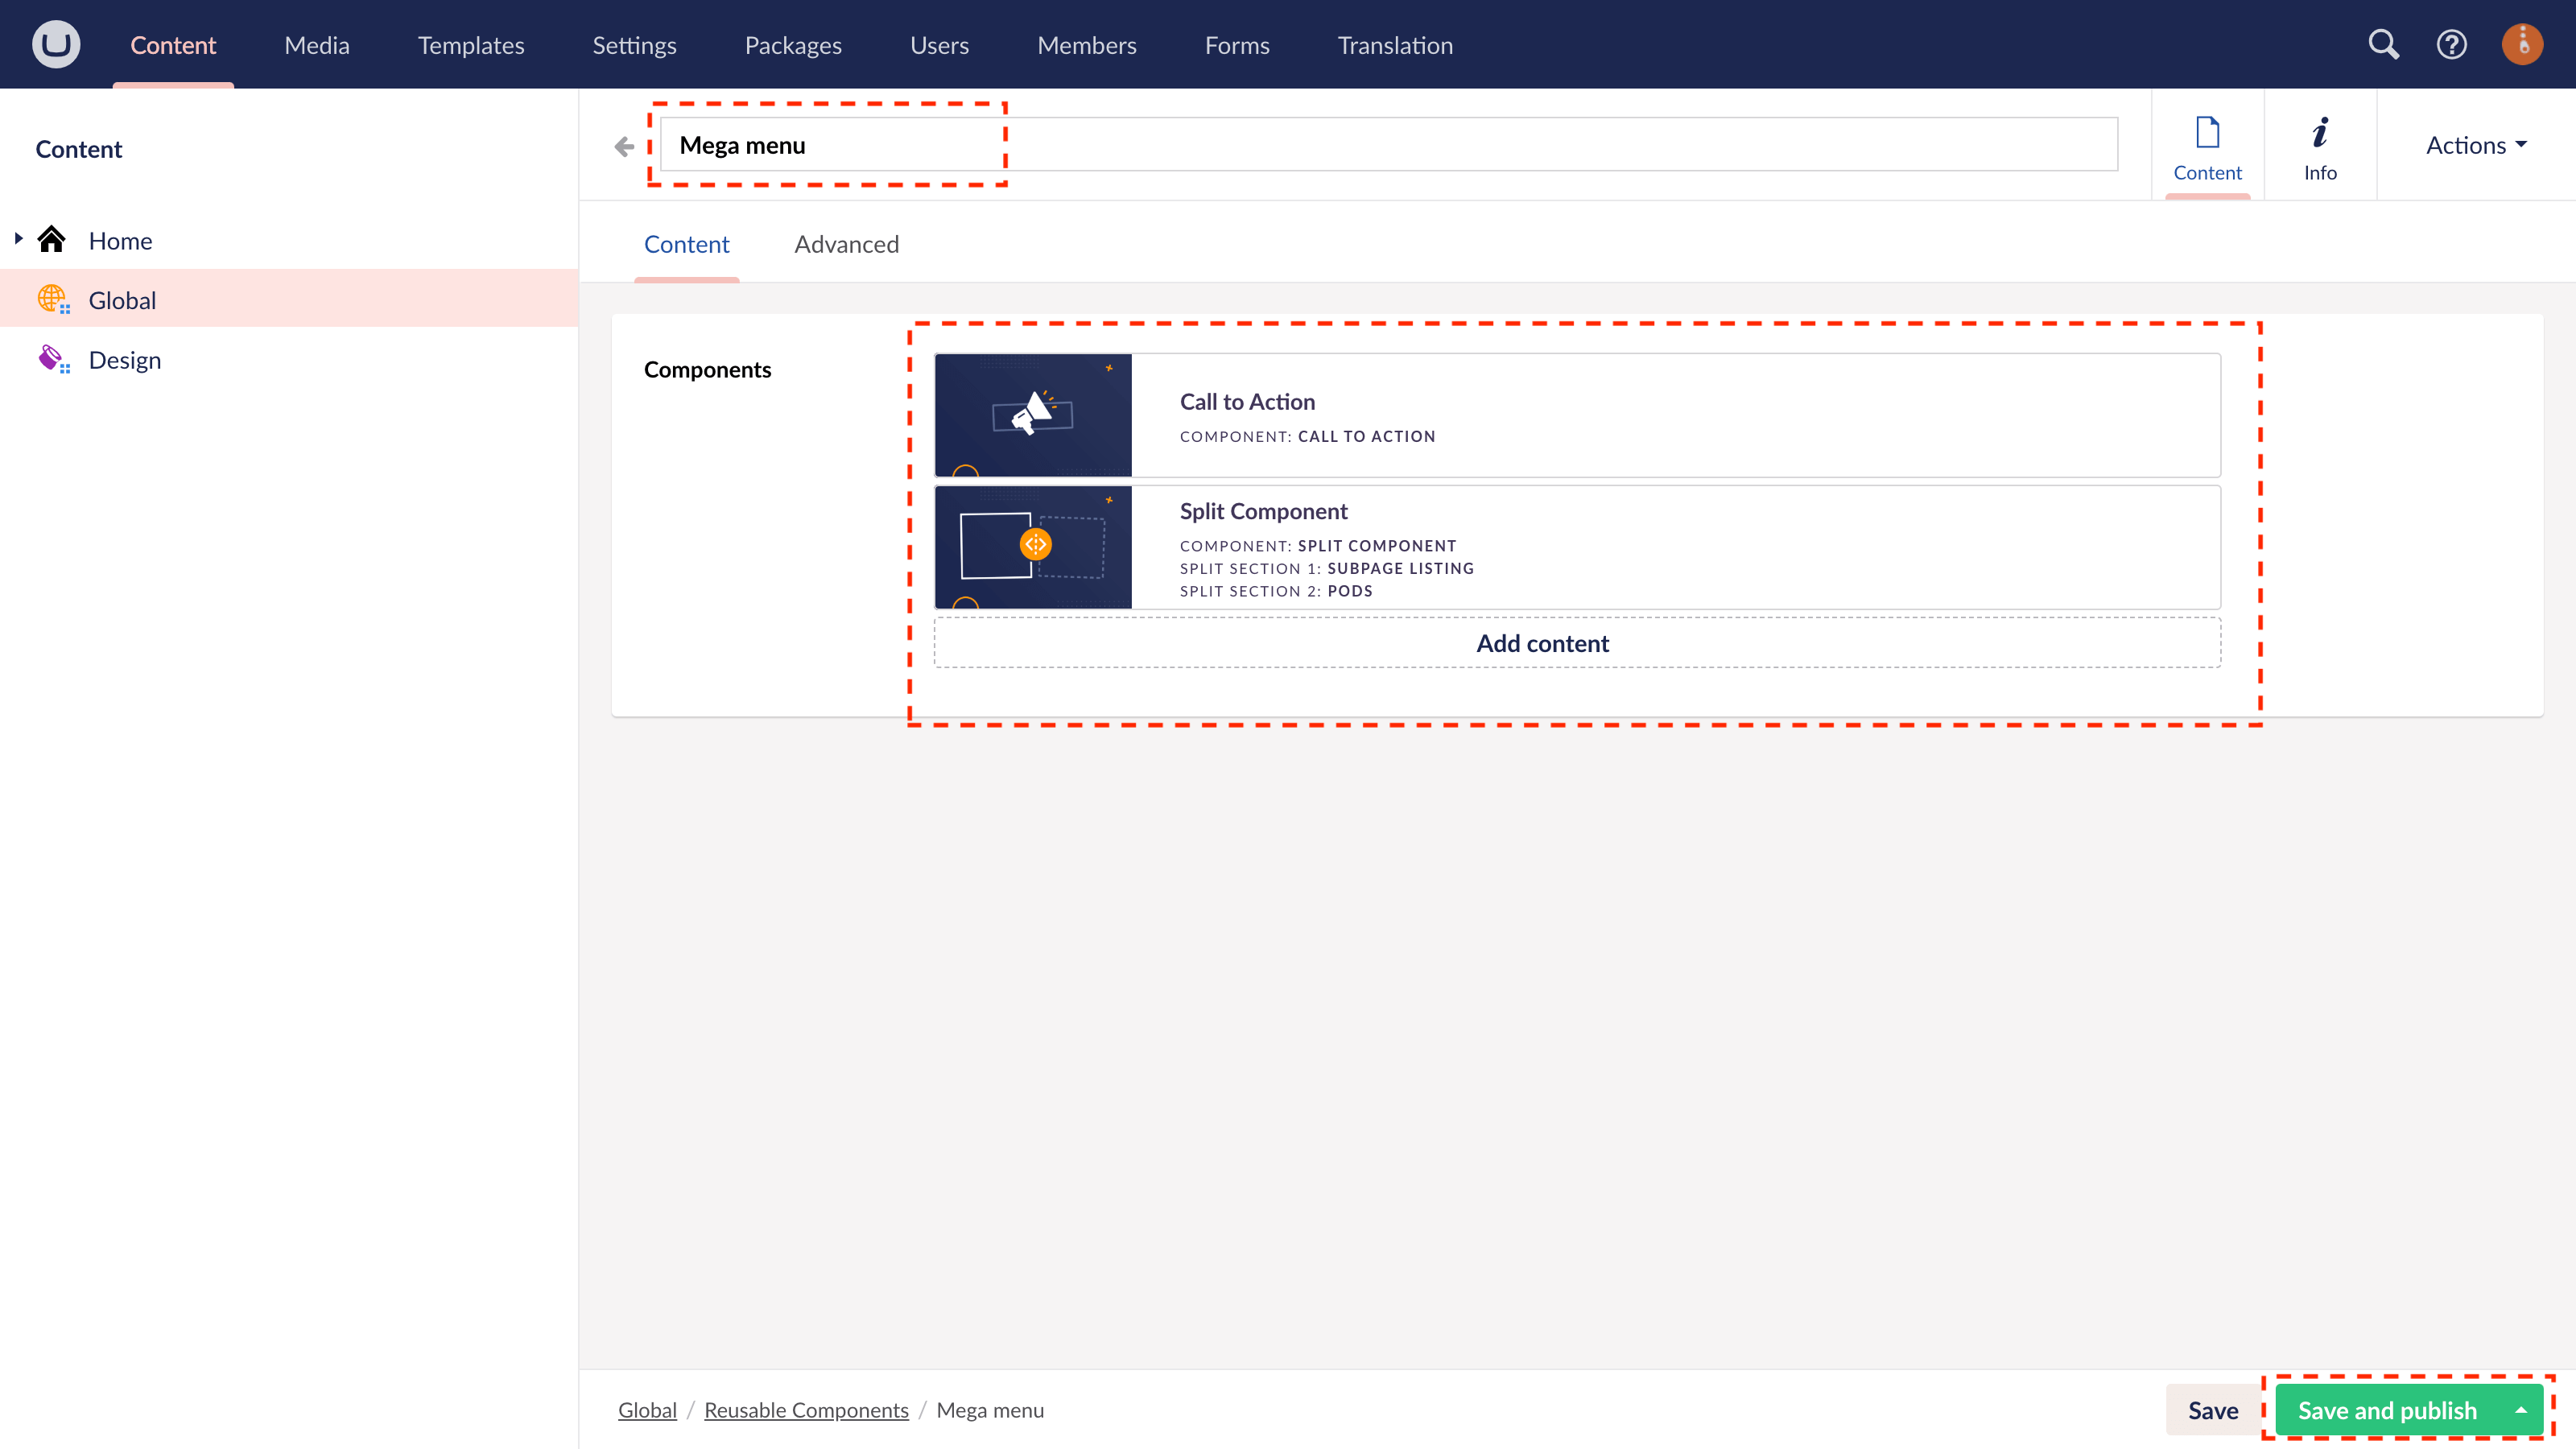
Step 6
Once you're happy, click "Save and Publish".
Link to the Mega Menu item
Now that we have created our first Mega Menu item, we can link directly to it from our Main Navigation.
Step 1
From the uSkinned CMS.
Step 2
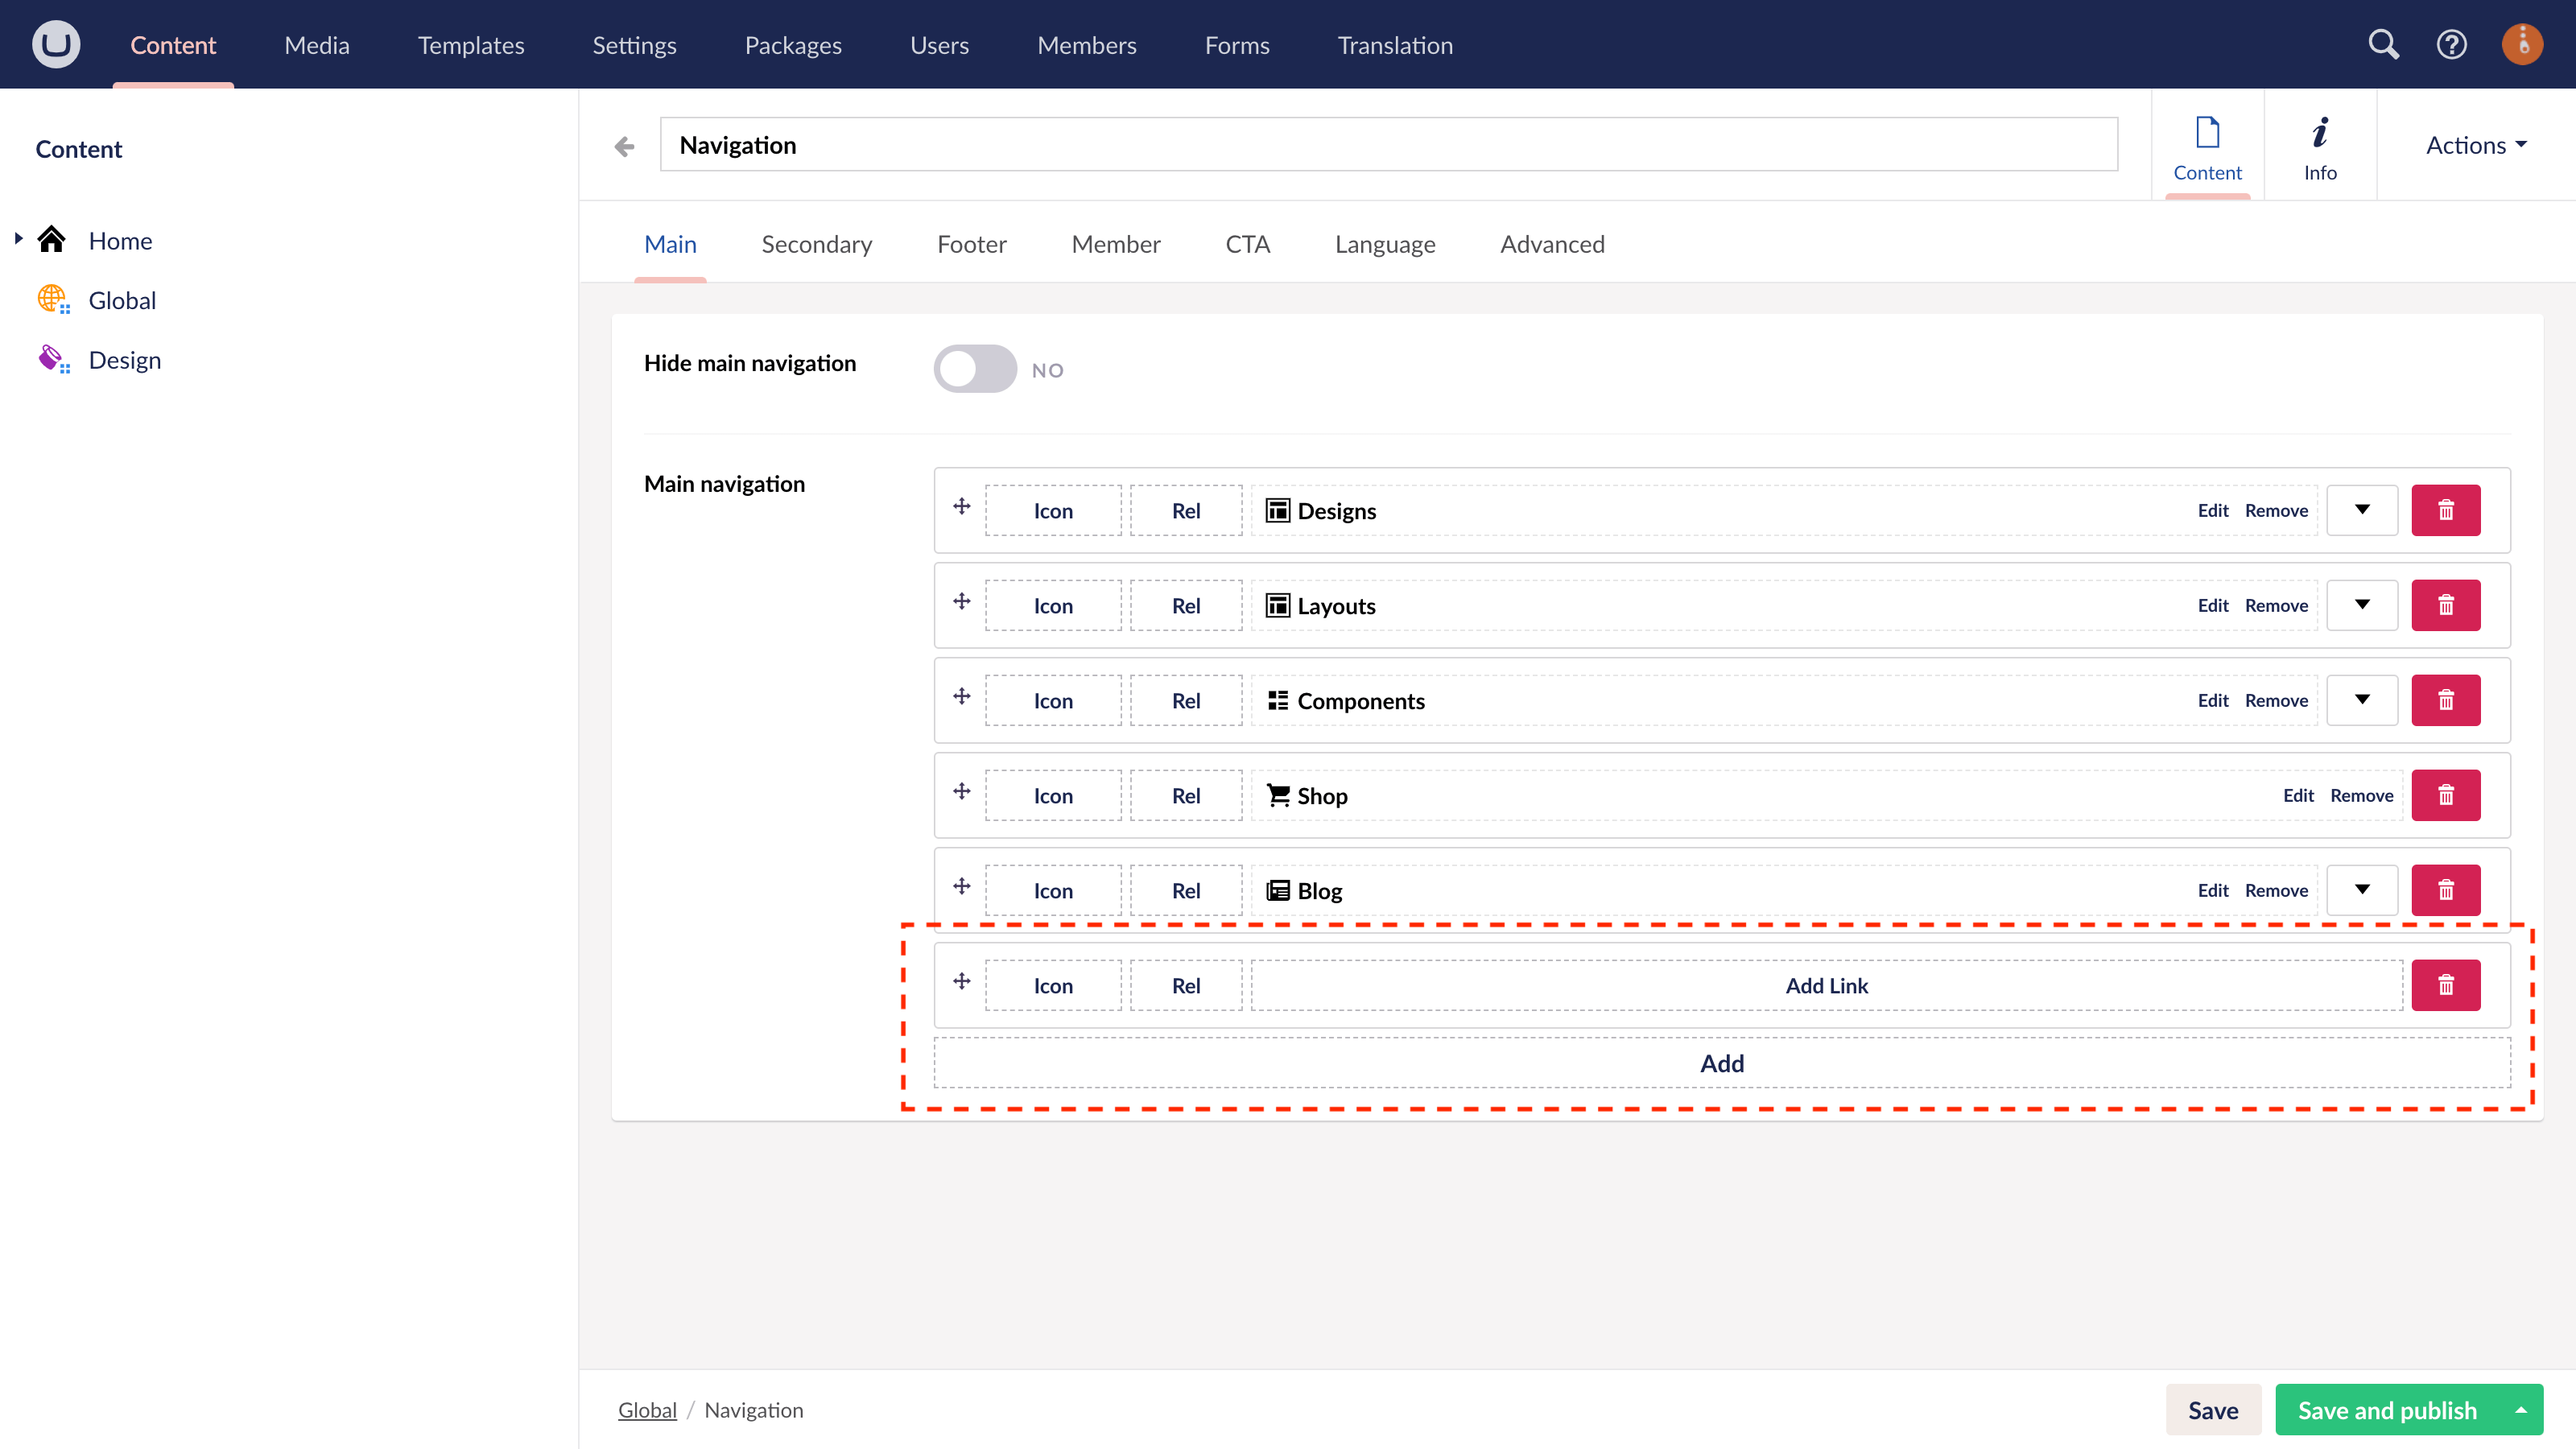
Go to Global > Navigation.
Step 3
On the Main Navigation tab, click to Add > Add Link.
Step 4
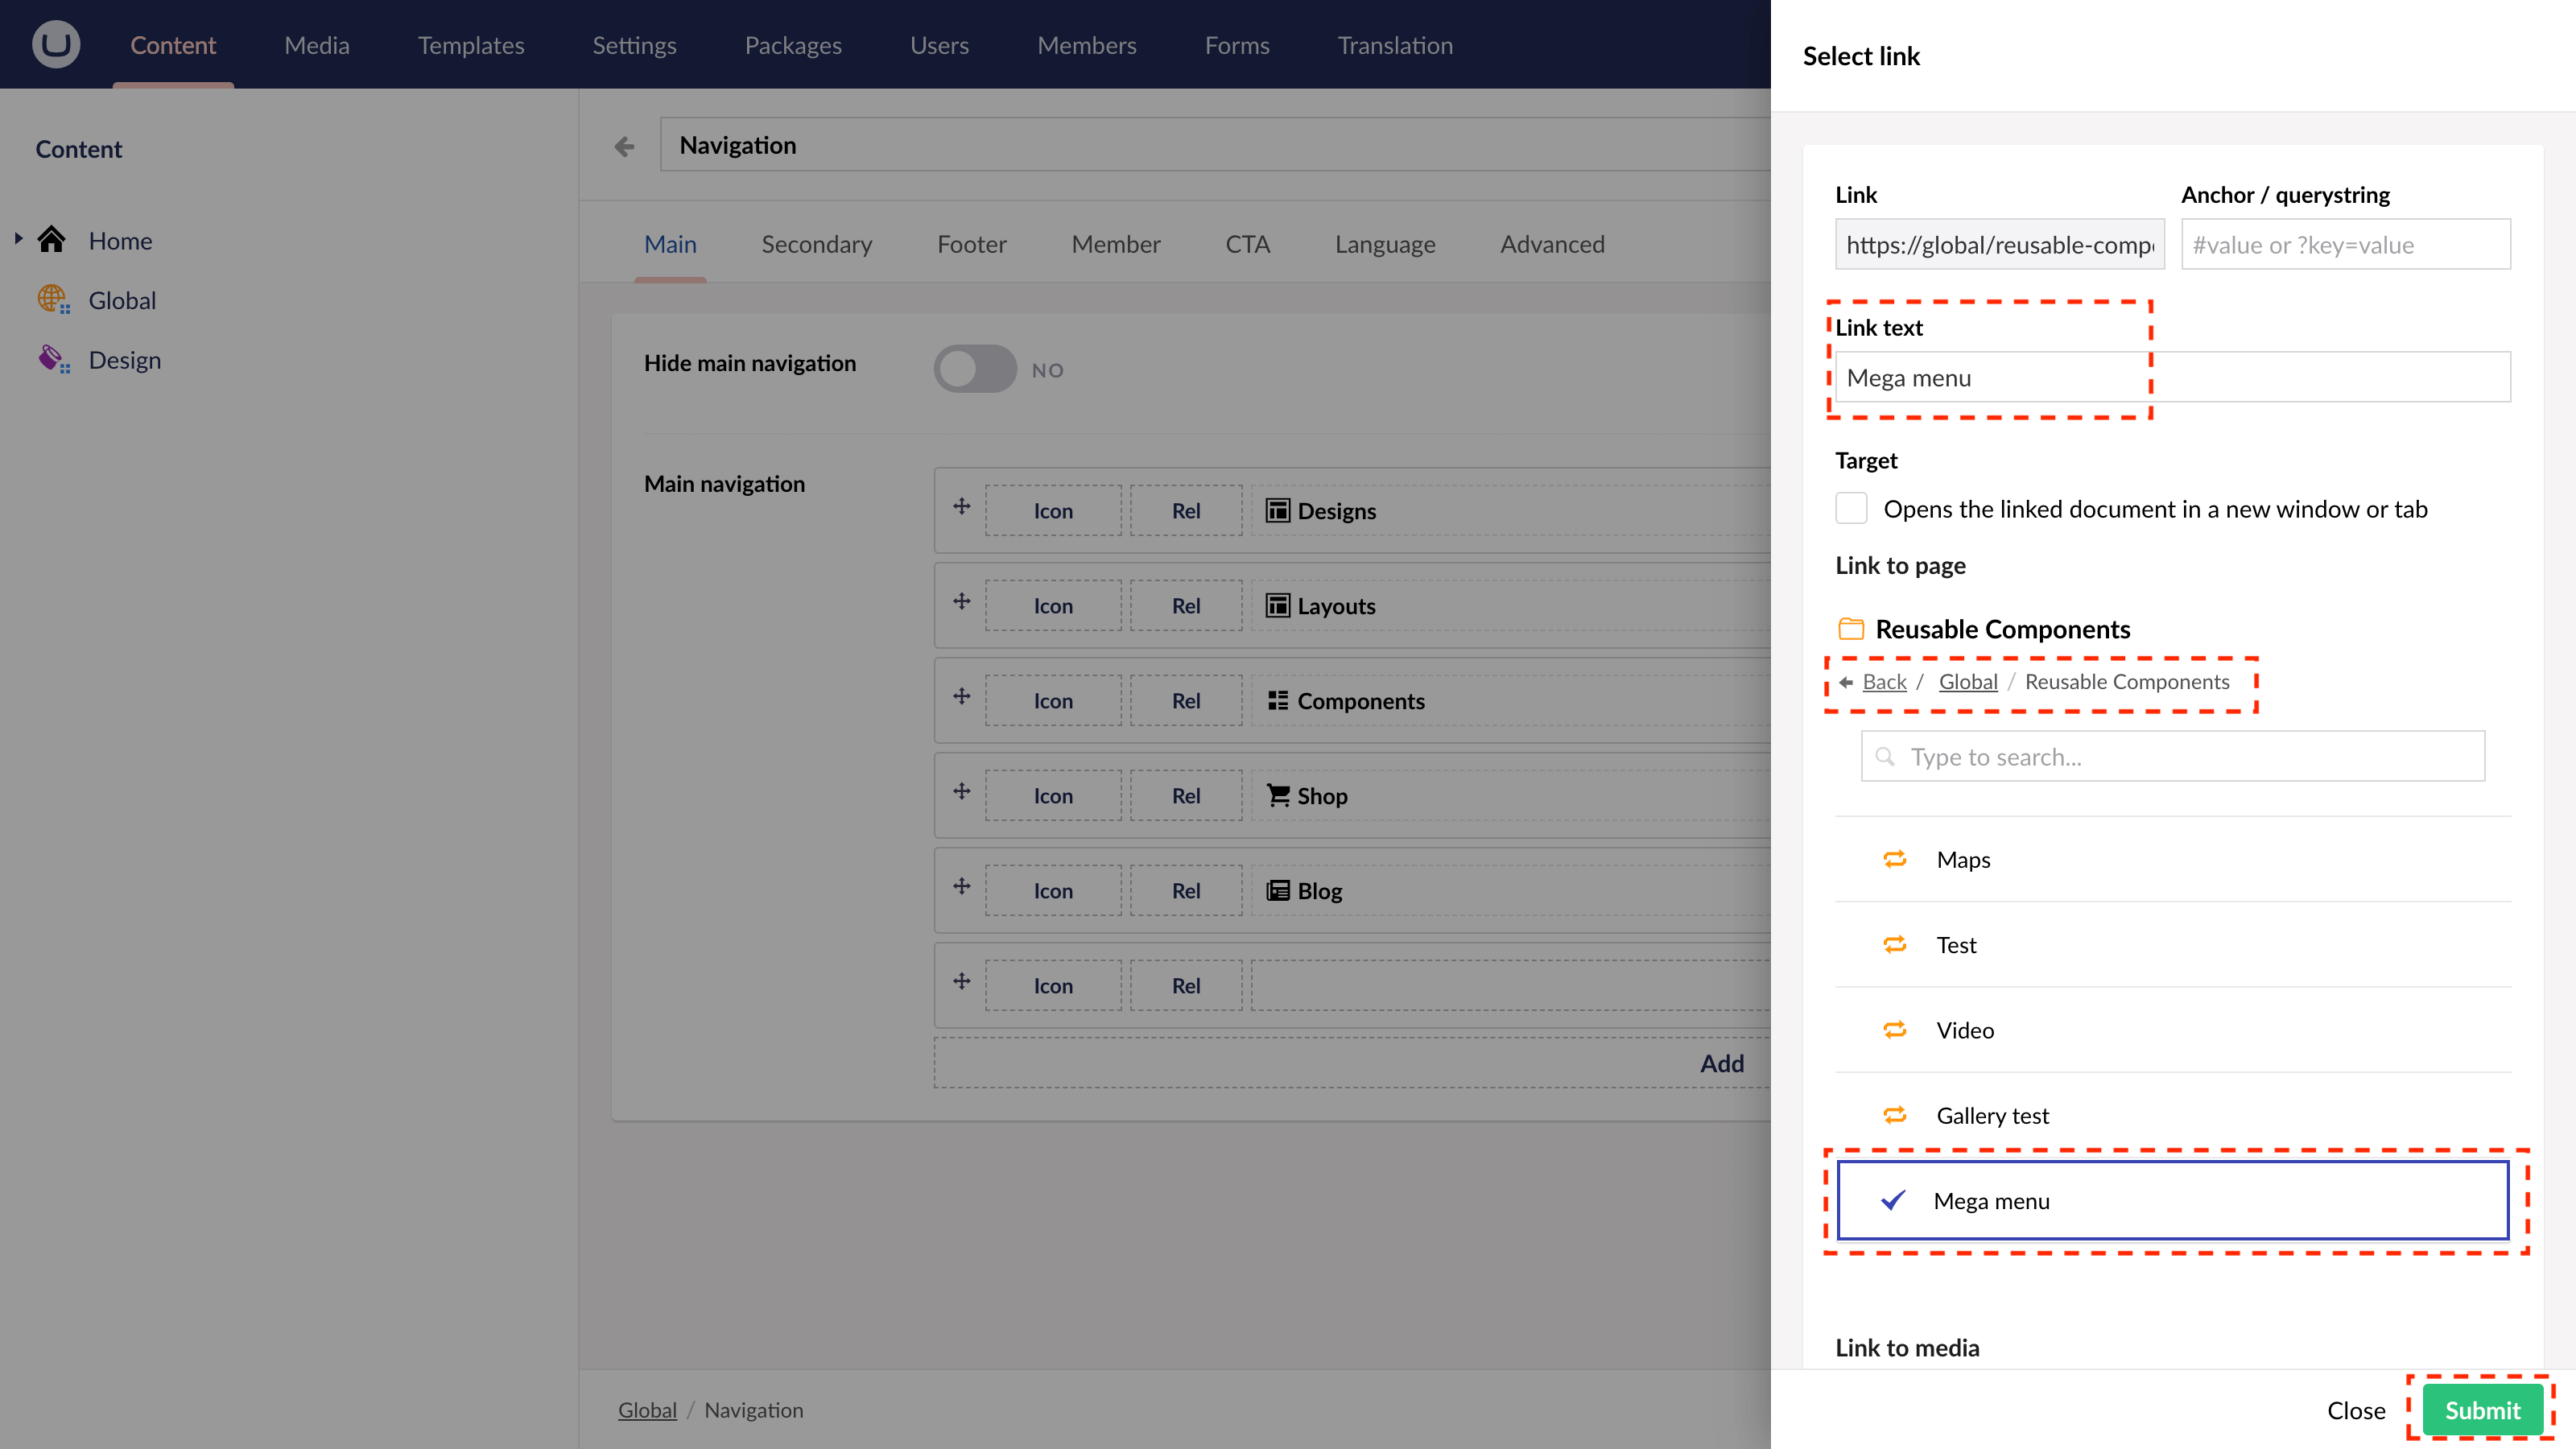
From the slide-out panel, locate Global > Reusable Components > Select the relevant Component Group.
Step 5
Enter appropriate text for the Link title. Click Submit.
Step 6
Once you're happy, click "Save and Publish".
You can now repeat these steps to add more Mega Menu links to your Main Navigation.
See the Mega Menu in action.
#h5yr
If you run into any issues, contact support.
Related content
Step 3
Create
Create content with the Visual Editor and utilise built-in eCommerce and integrations.
Step 4
Go Live
You can host securely on Azure with uSkinned Hosted, or go your own way with a Self-Hosted license.
