How to create an integrated ecommerce Shop
You must be running uSkinned Site Builder 4.1.0 or above to use this functionality.
Get 3 months of Snipcart usage for FREE when you sign up using this uSkinned promotional link: https://app.snipcart.com/register?utm_term=uskinned
See our Integrated Shop in action
Choose your Shop provider
Step 1
In the tree menu, go to Global.
Step 2
From the grid, go to Content and Settings.
Step 3
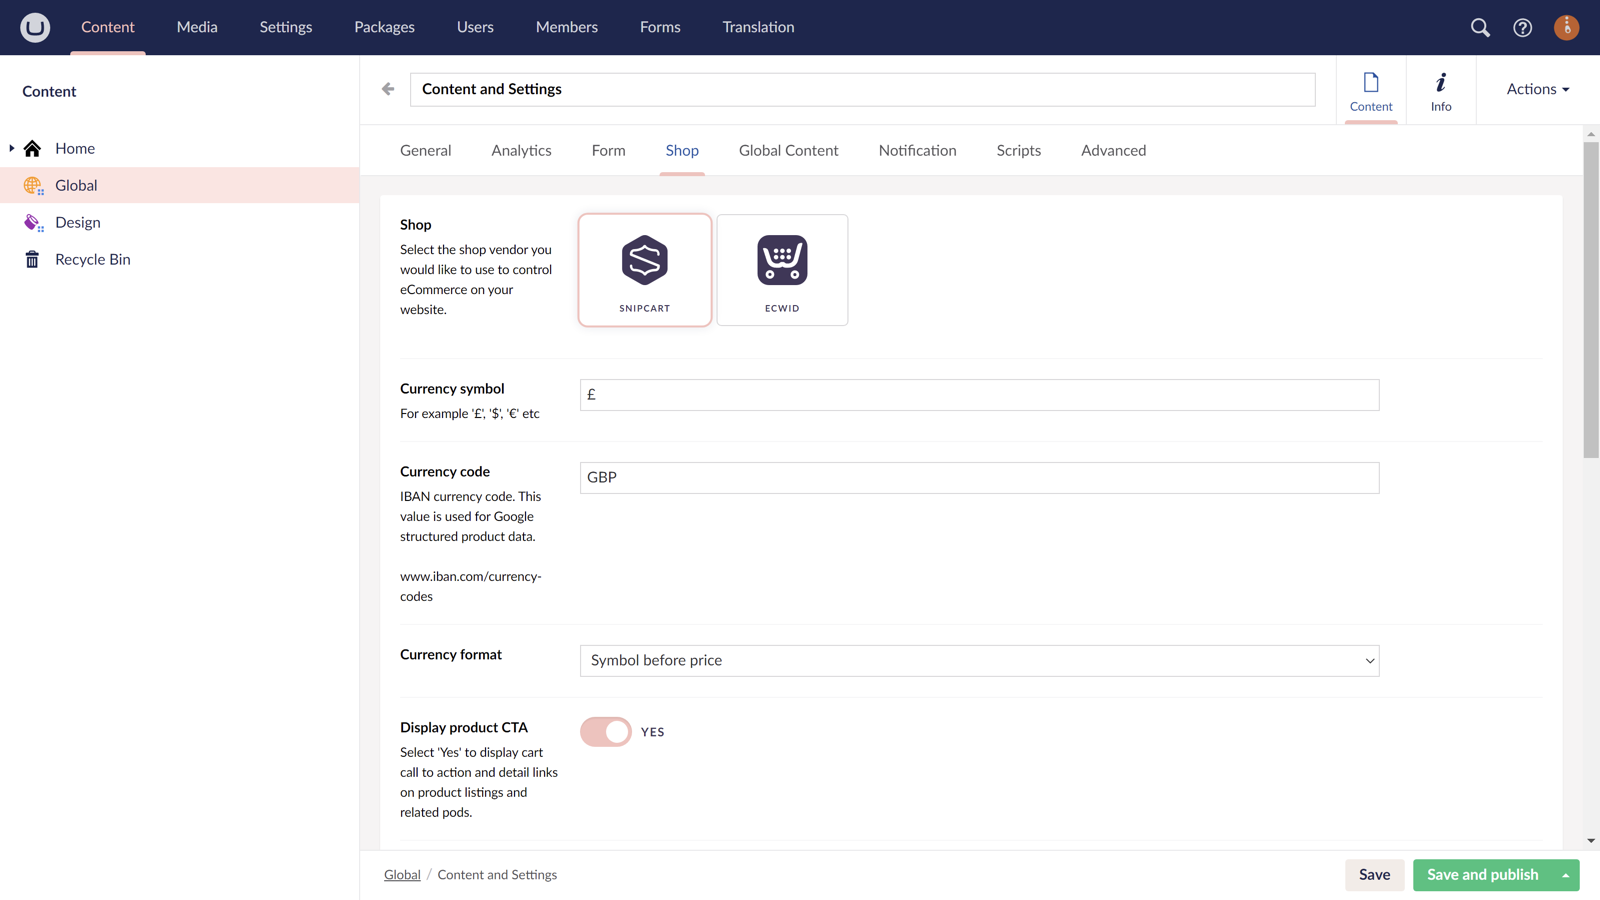
Go to the Shop tab.
Step 4
At the label Shop, choose your provider. In this guide, we will choose Snipcart.
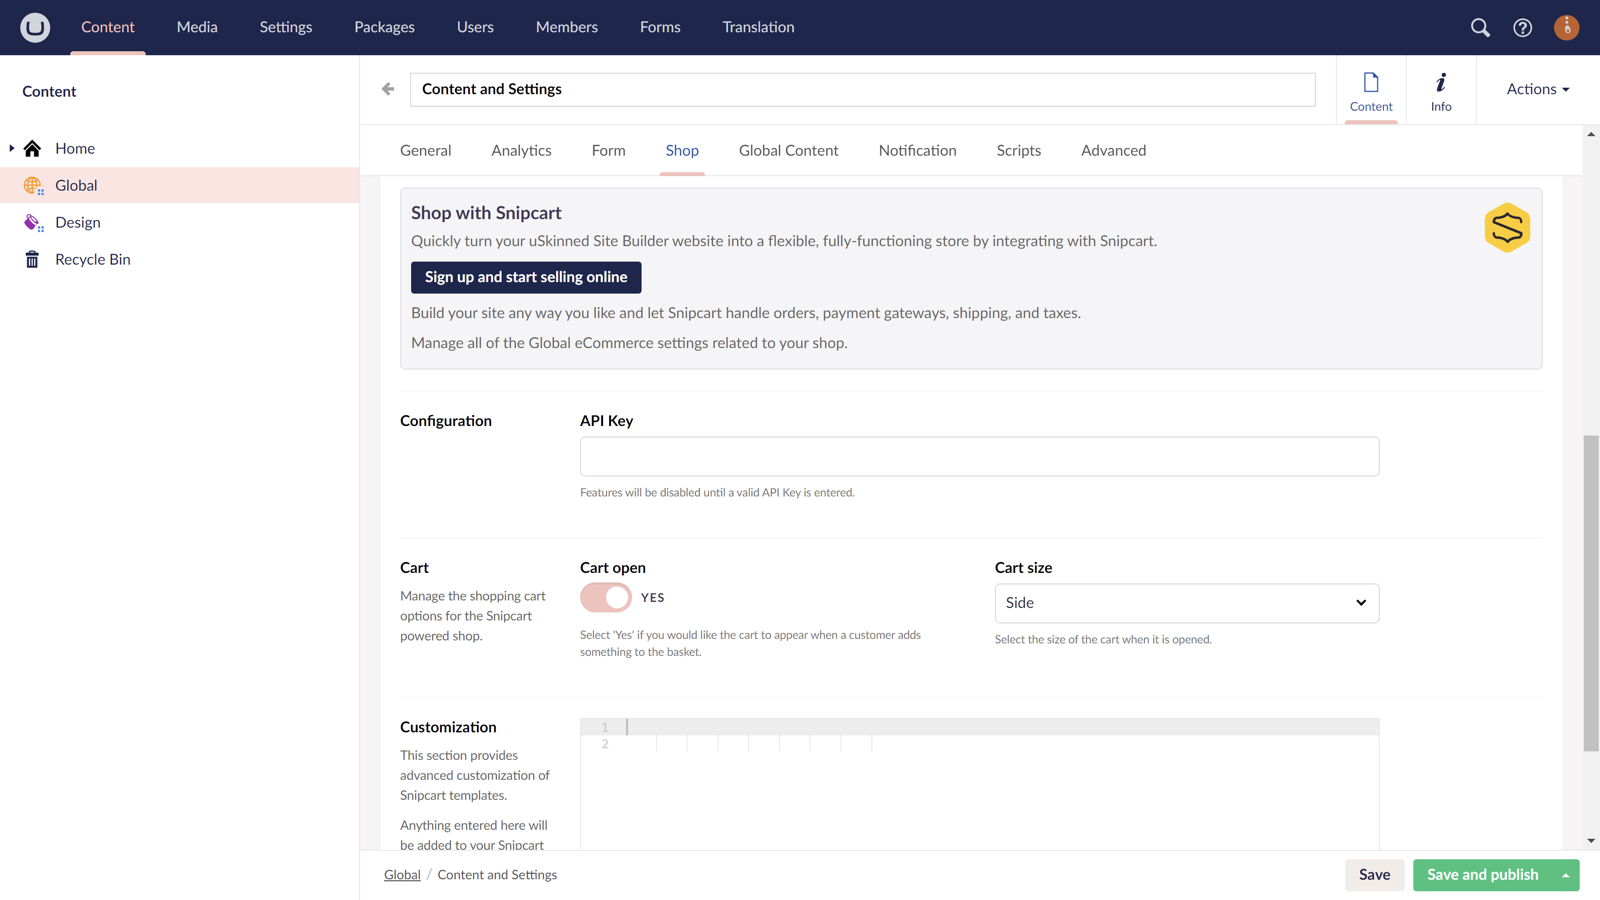
You will now need to create a Snipcart account so that you can start to take orders.
Get 3 months of Snipcart usage for FREE when you sign up using this uSkinned promotional link: https://app.snipcart.com/register?utm_term=uskinned
Step 5
Fill in the relevant fields.
Step 6
Save and publish.
Create your Shop
Step 1
Go to the uSkinned Dashboard.
Step 2
Expand the Quick Create options.
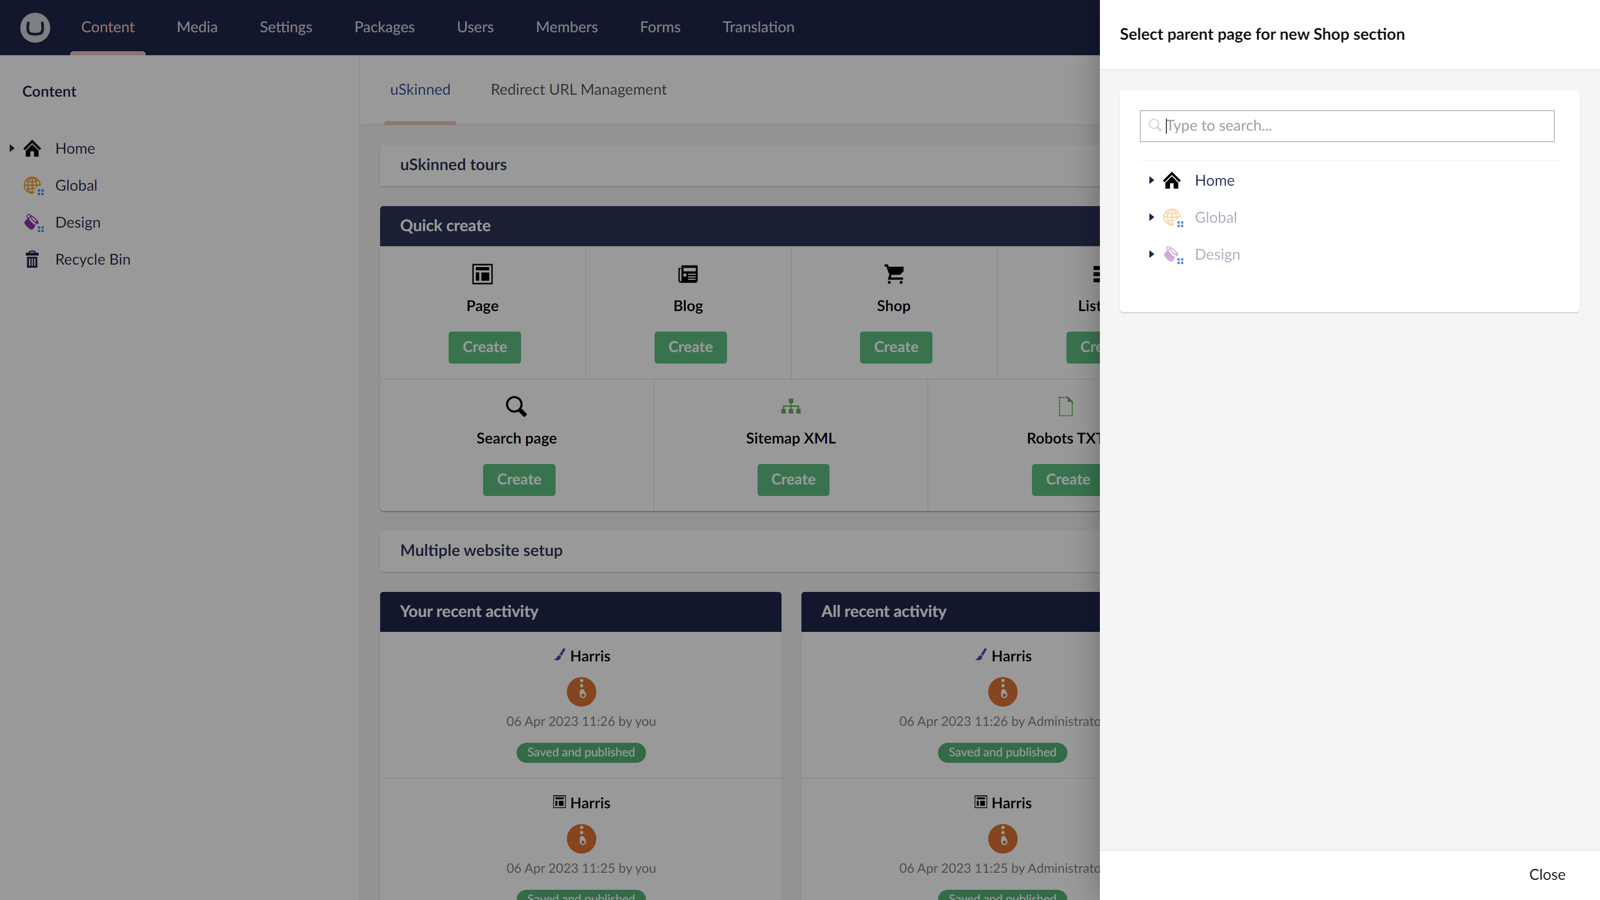
Step 3
Choose to create a Shop.
Step 4
From the slide-out panel, select the placement of your Shop in your site structure.
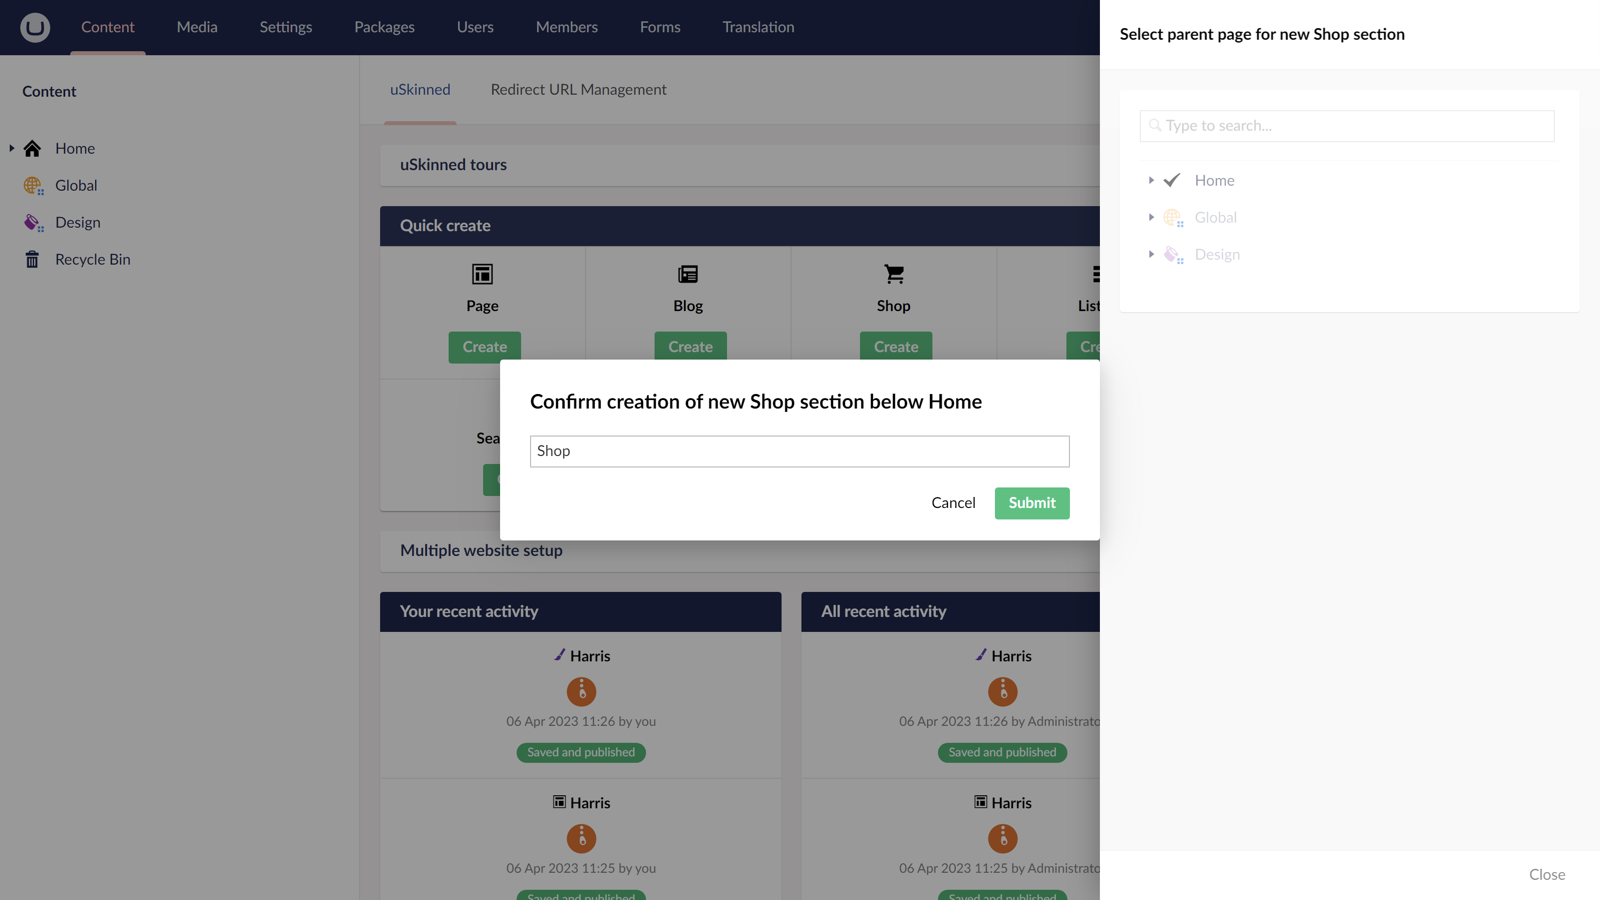
Step 5
Name your Shop.
Step 6
Your Shop node and associated Filters and Products folders have now been automatically generated.
These will all remain Unpublished until you click Save and Publish on each individually.

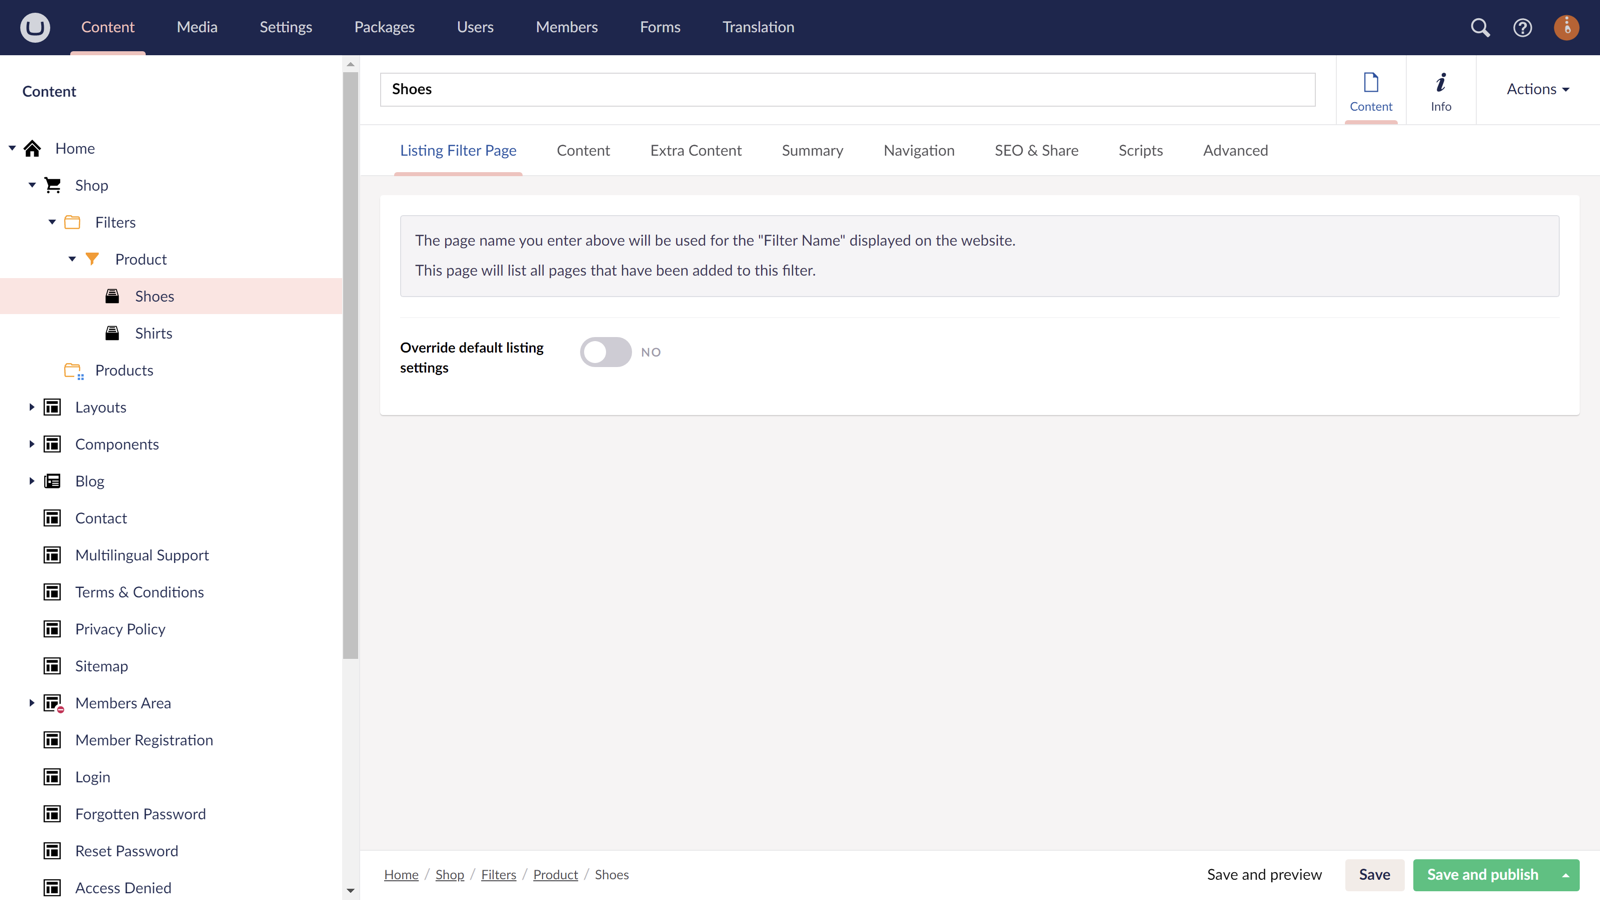

Create your Filters
Step 1
In the tree menu on the left, go to your Shop node.
Step 2
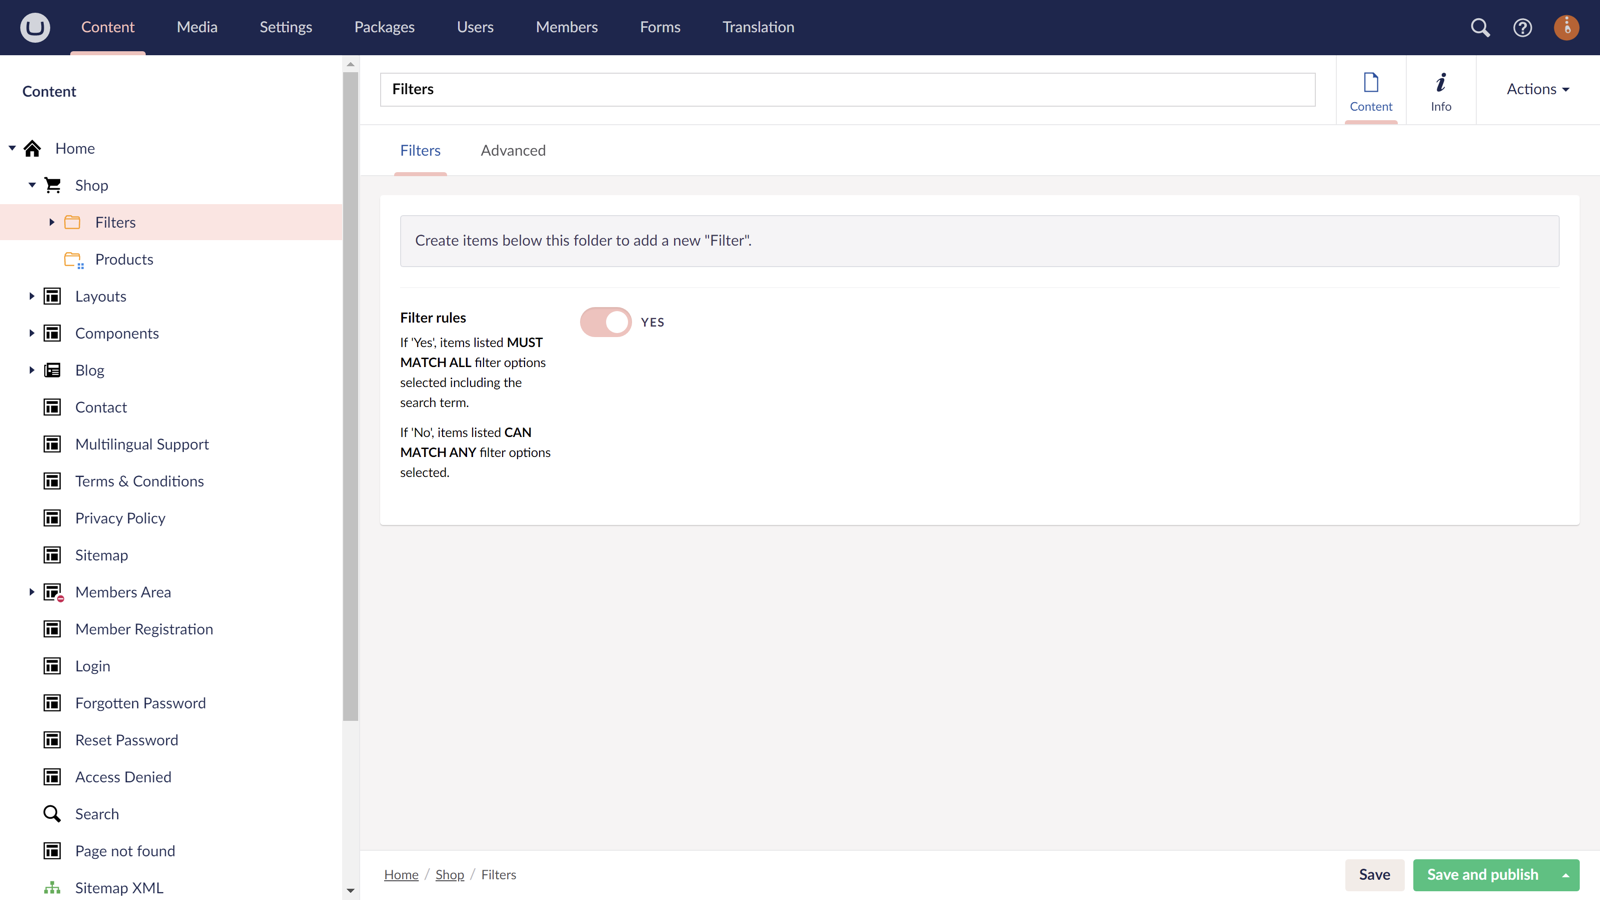
Expand your Shop node and click on Filters.
Step 3
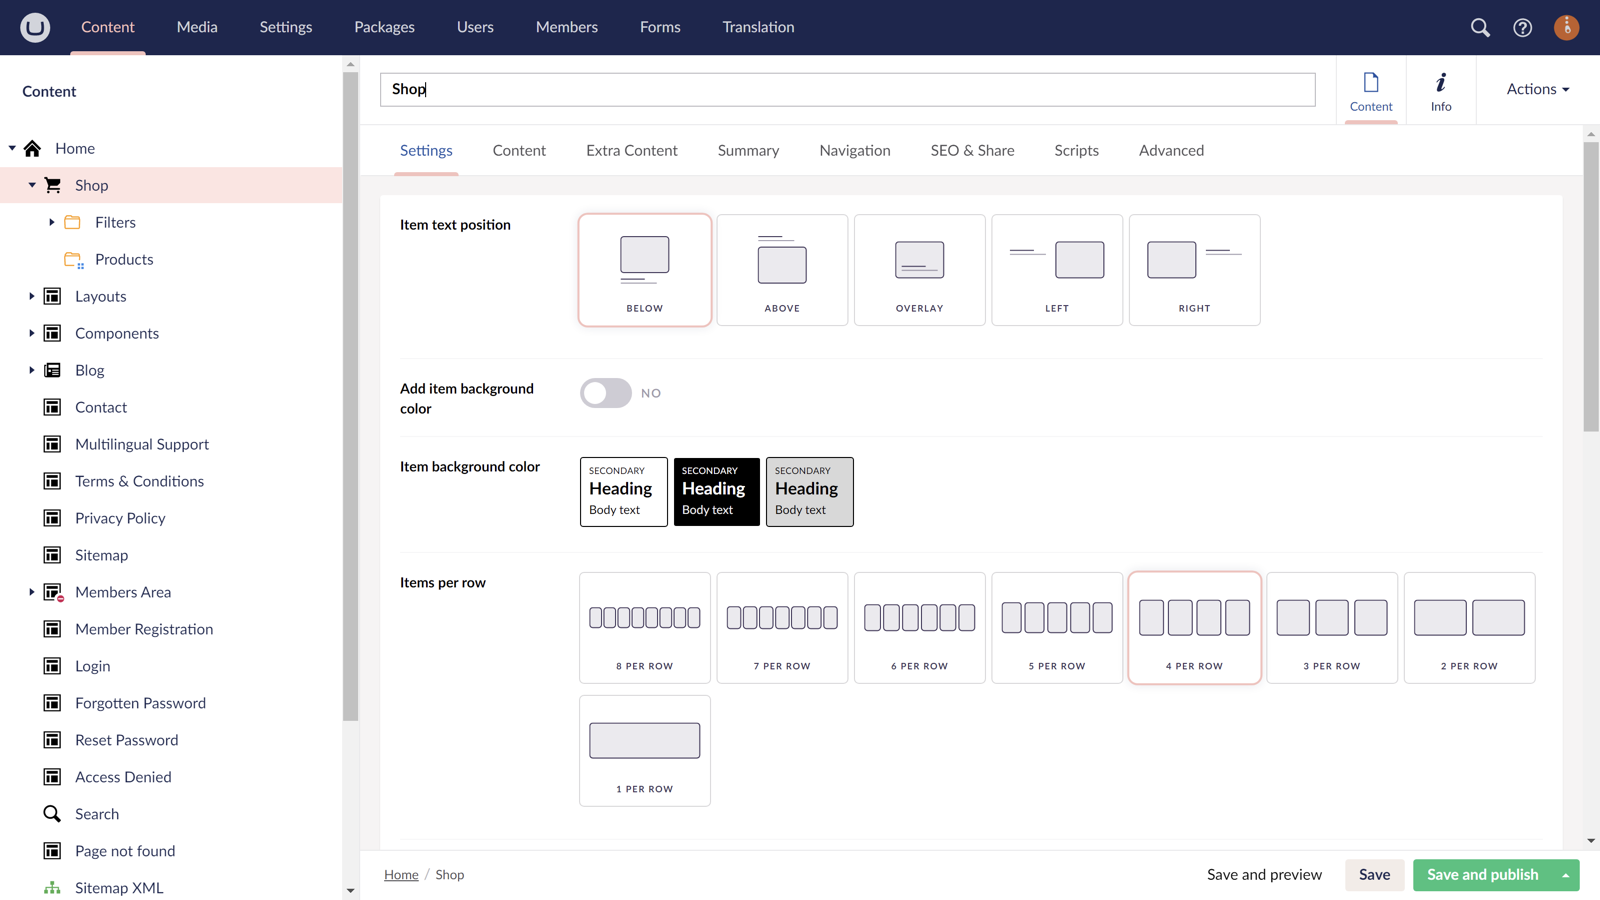
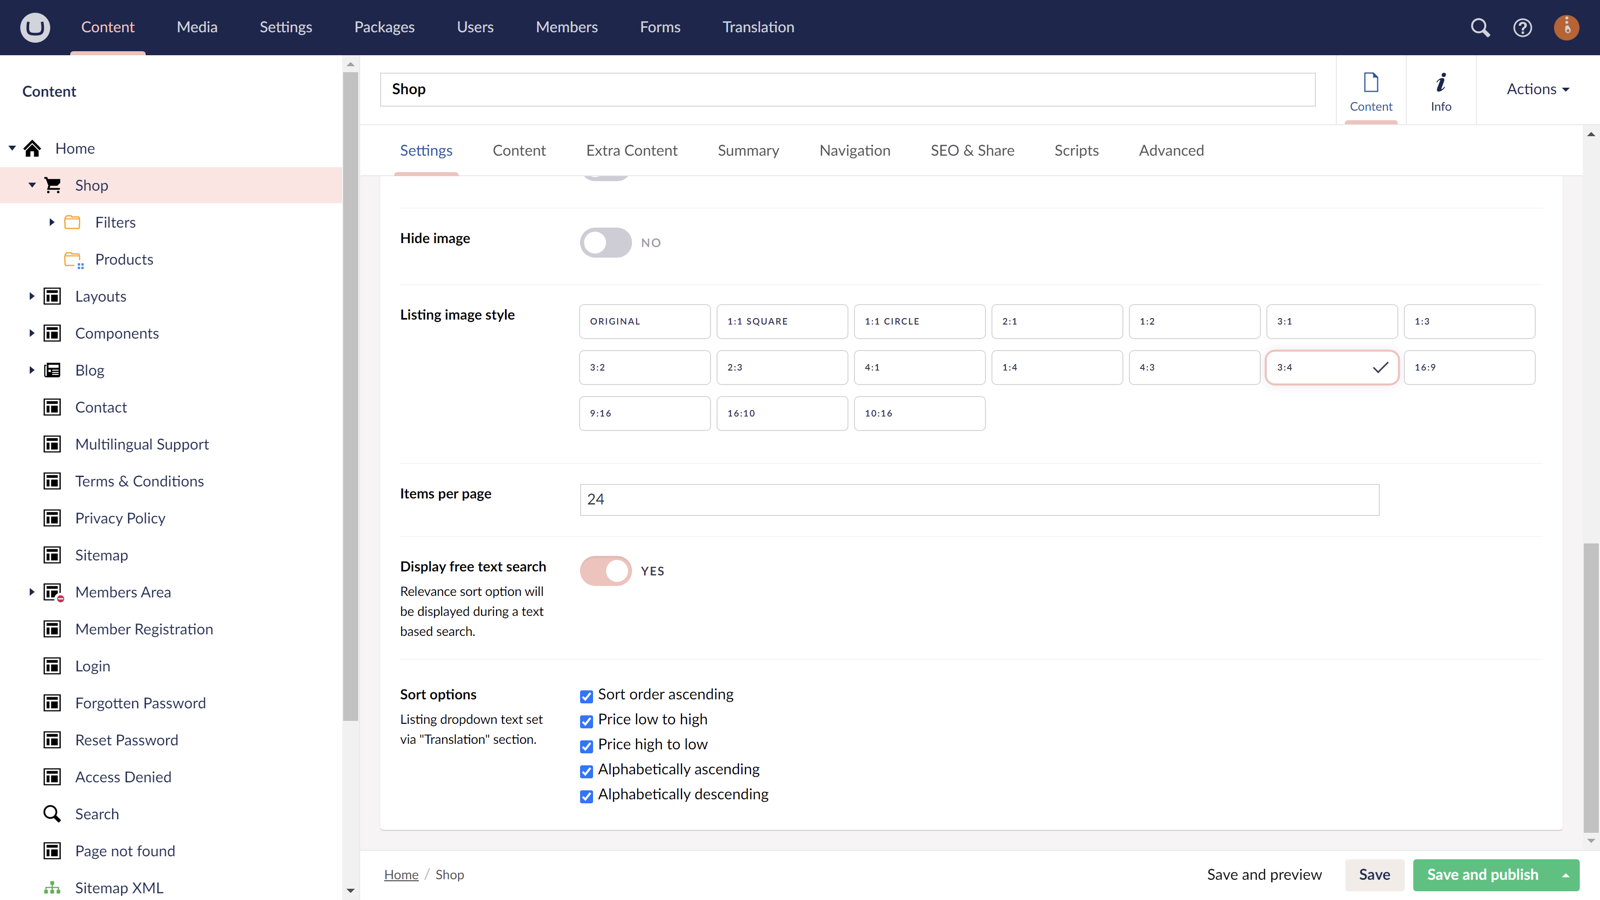
Choose your Filters settings.
Step 4
Create a Filter group below your Filters folder.
Step 5
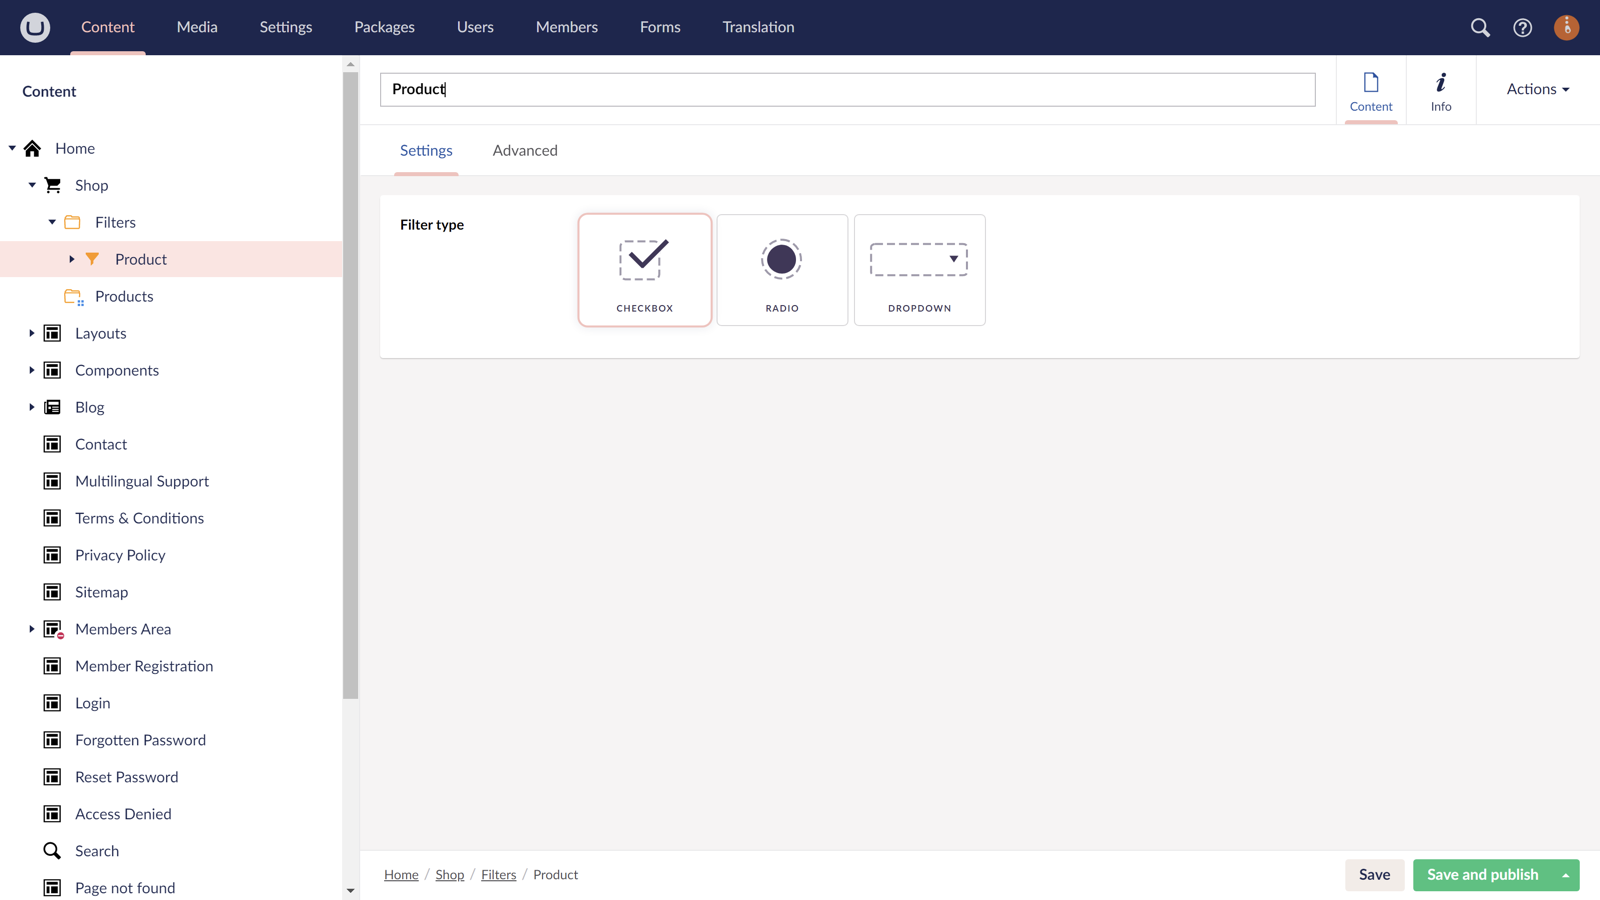
Choose your Filter Group settings.
You can display the filters as Checkboxes, Radio Buttons or a Select Dropdown.
You can add as many Filters Groups as you like. Each Filter Group can have as many Filters as required.
Create your Products
Step 1
In the tree menu on the left, go to your Shop node.
Step 2
Expand your Shop node and click on the Products folder.
Step 3
Above your list of Products, click on the button Create Product Page.
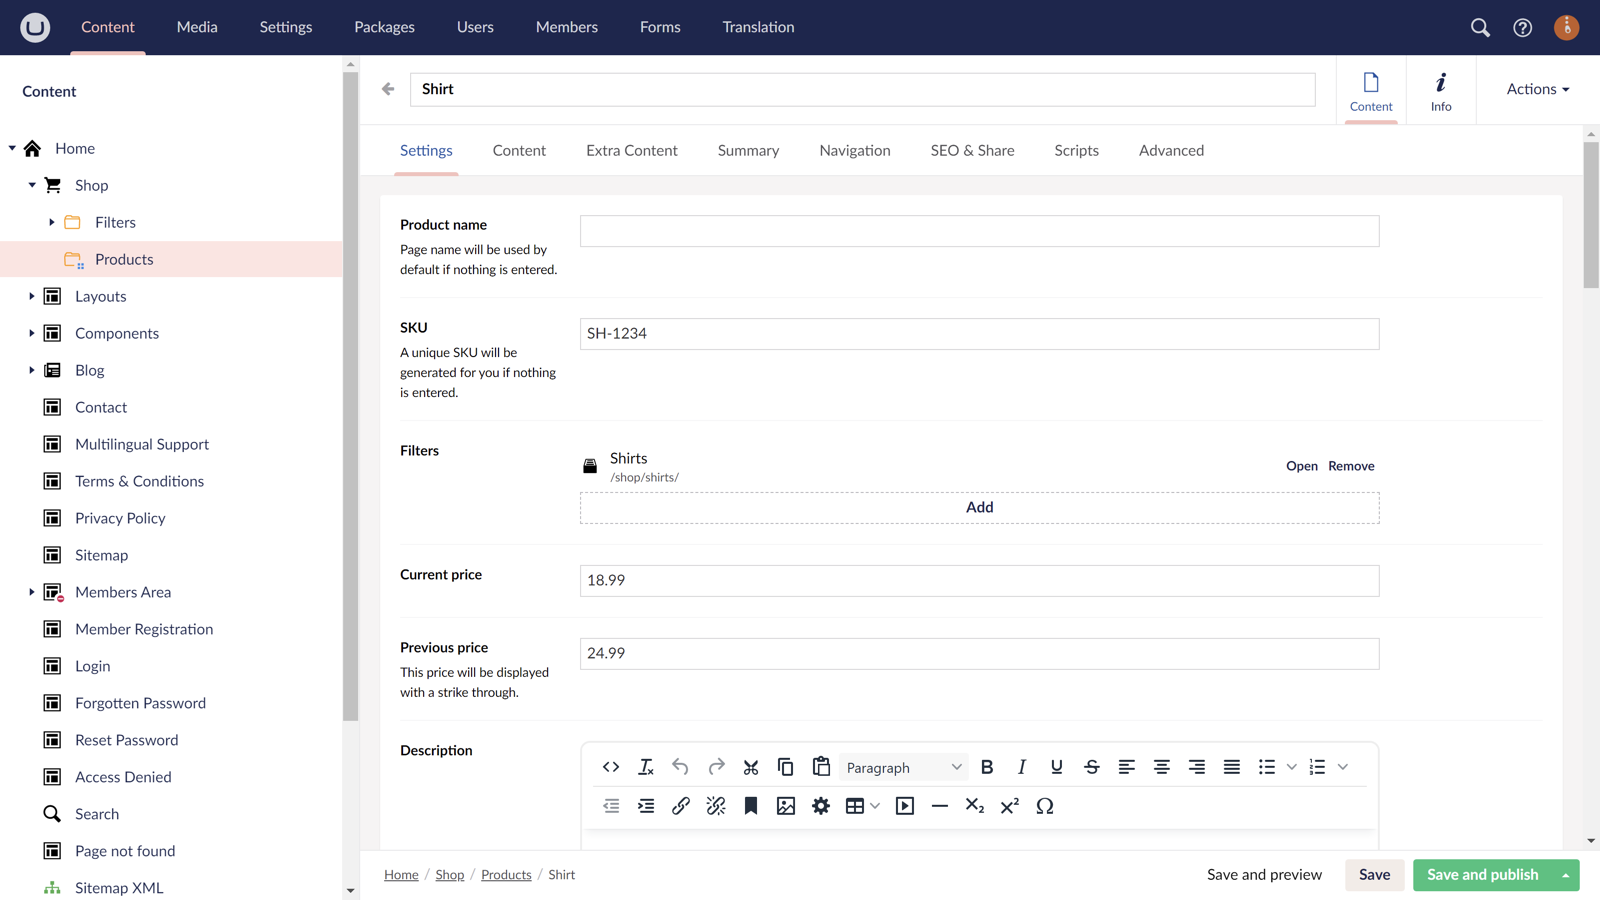
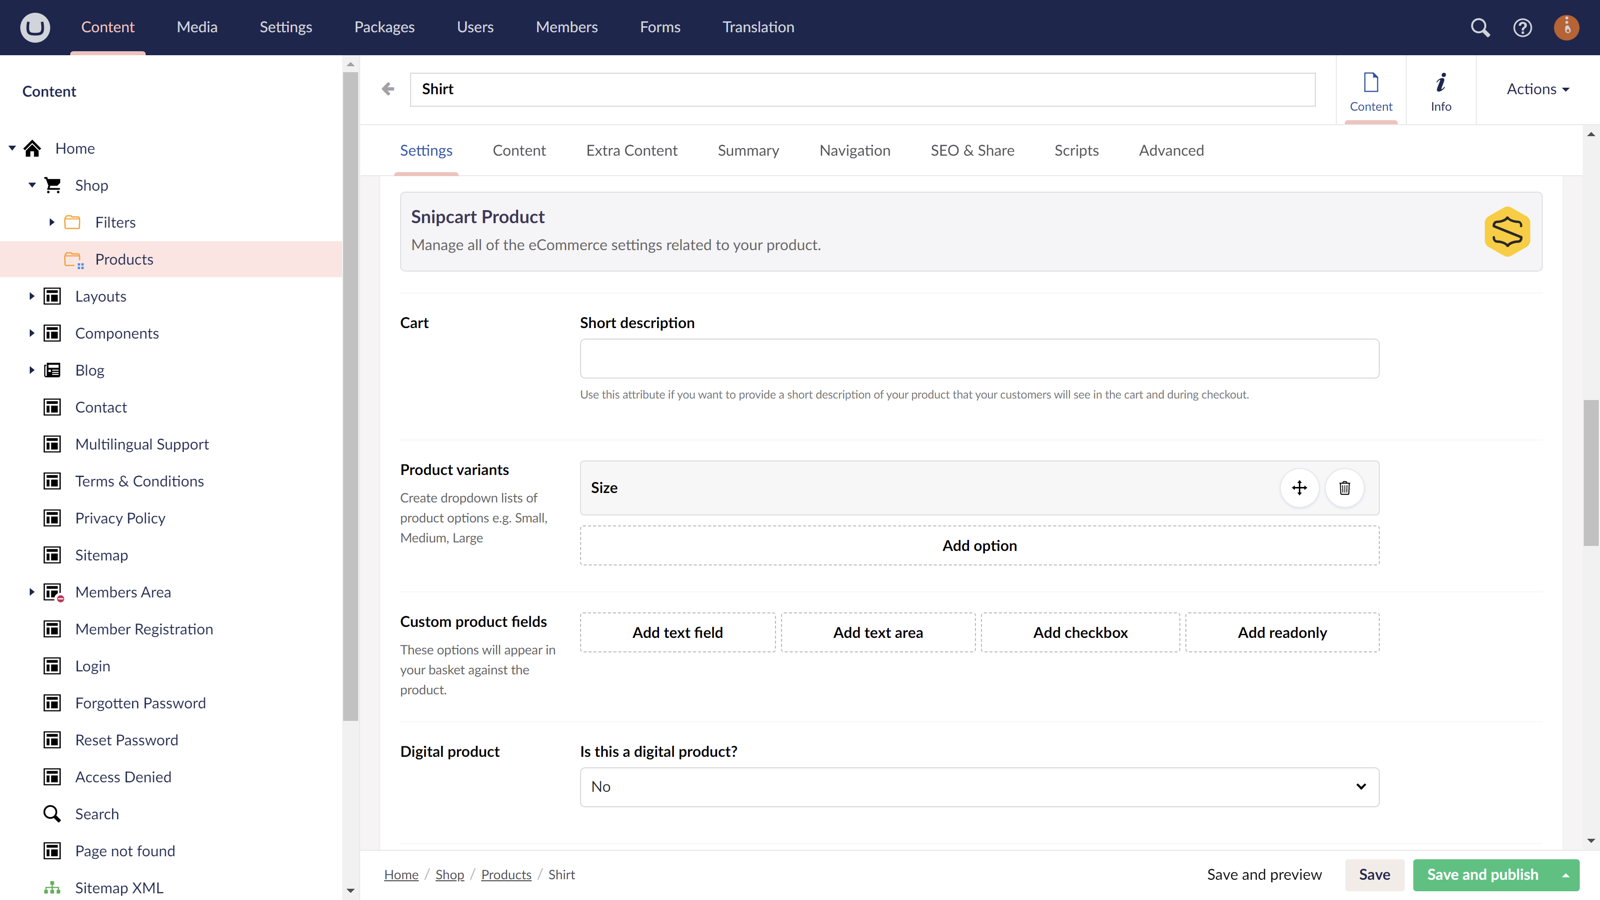
Step 4
Fill in all of the relevant fields, including:
- Product name
- SKU
- Assign Filters
- Price
- Variants and so on.
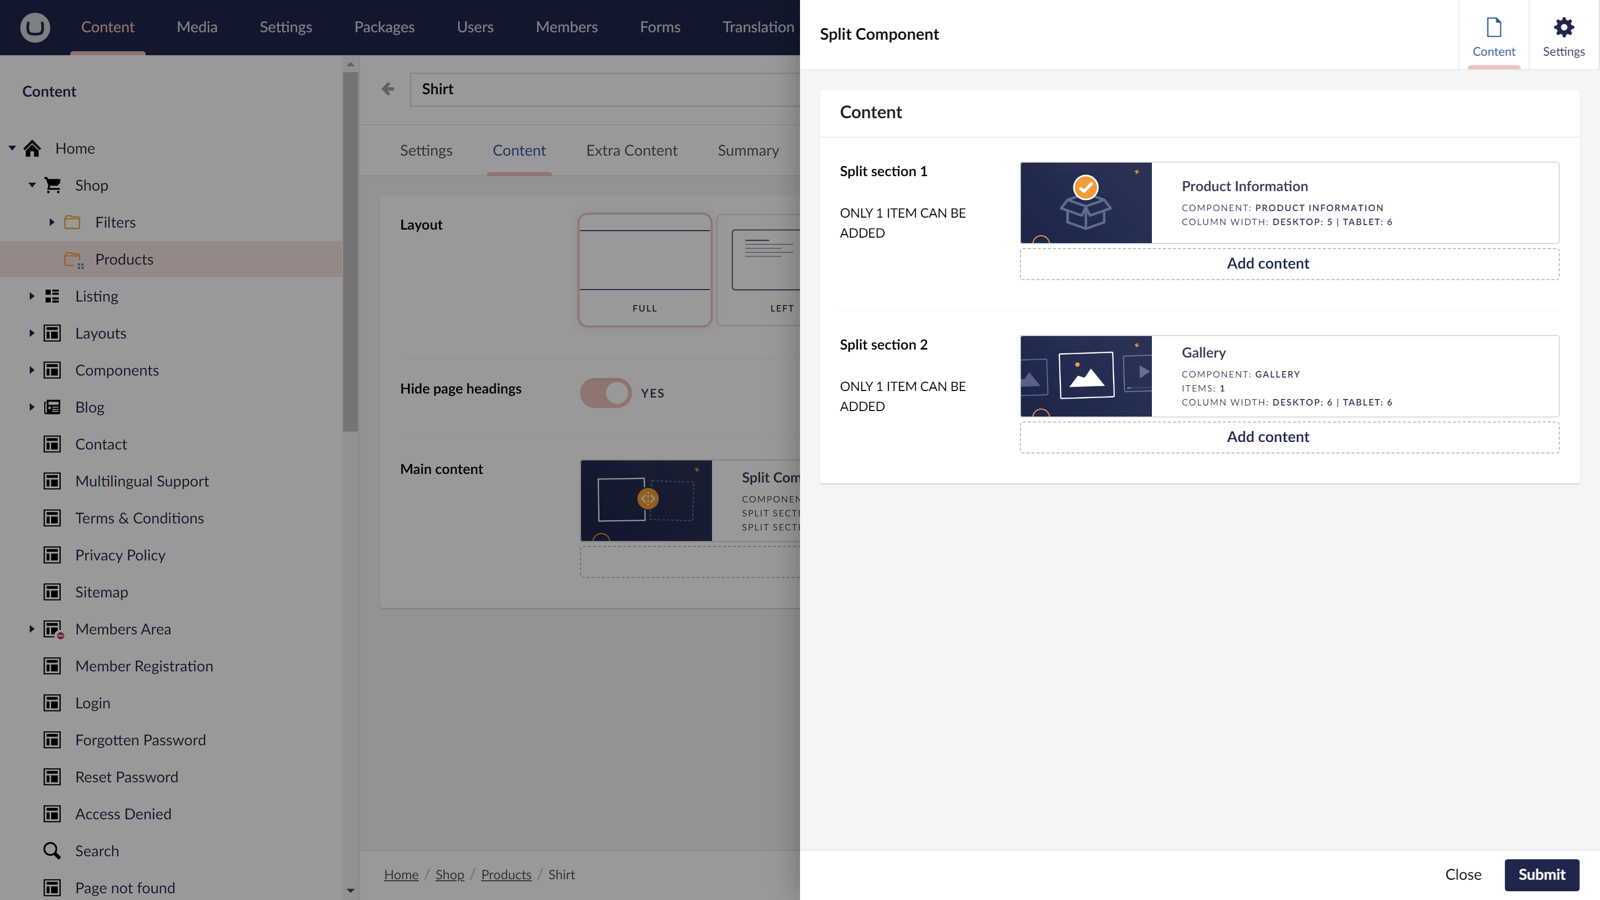
Step 5
Go to the Content tab and build up your Product page the same way you would build up any other page with uSkinned.
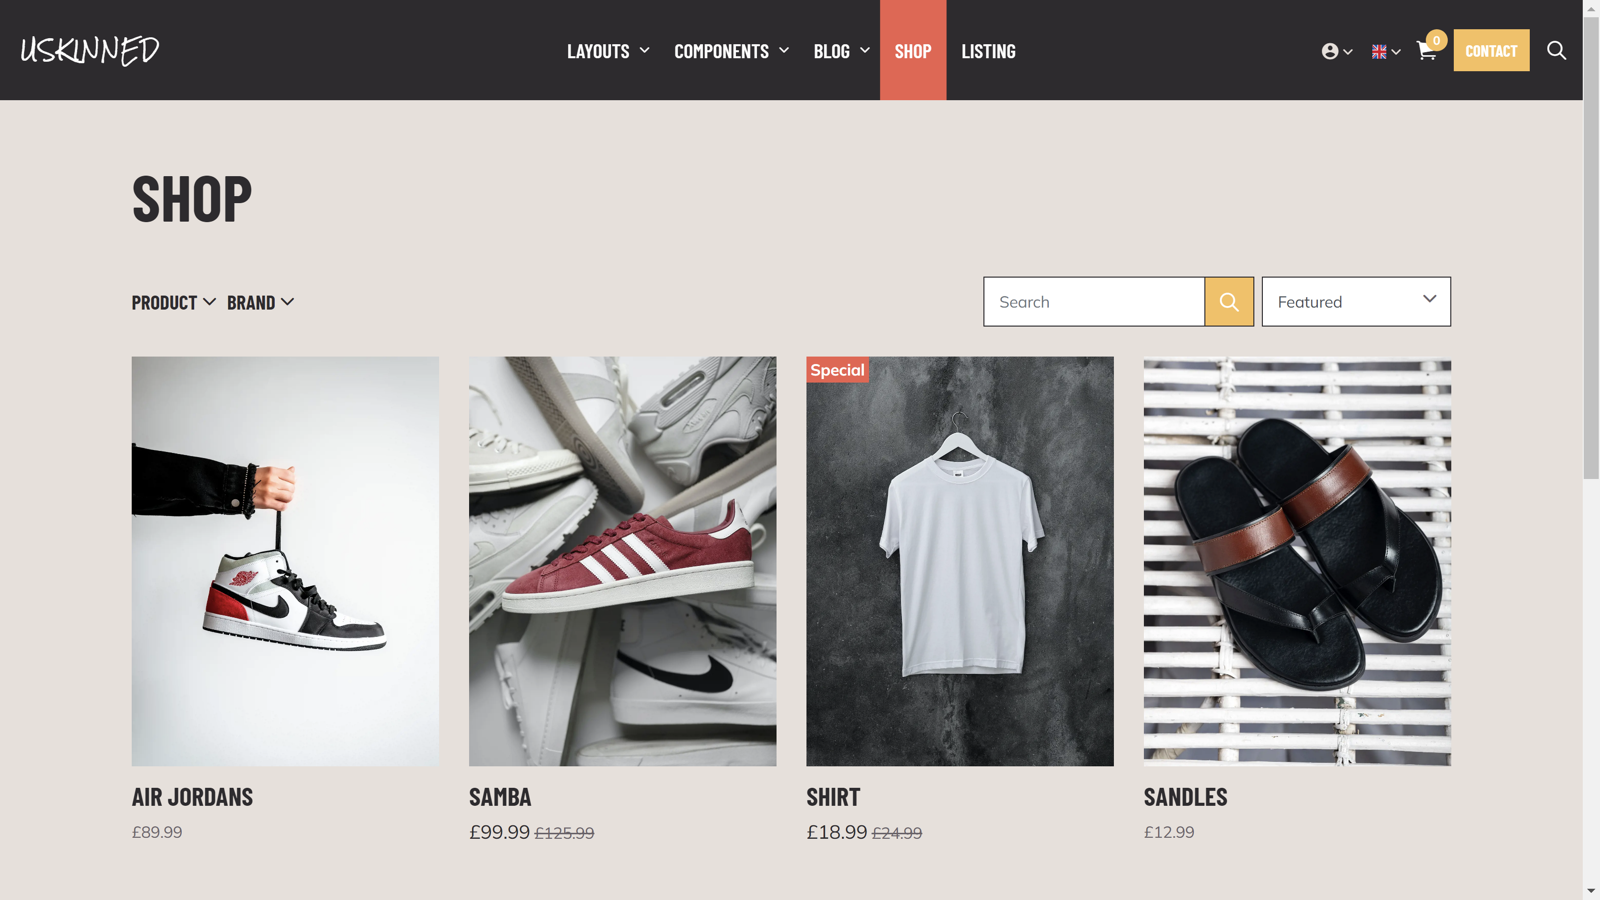
View your Shop
Step 1
Go to your site.
Step 2
Navigate to the location of your new Shop.
Step 3
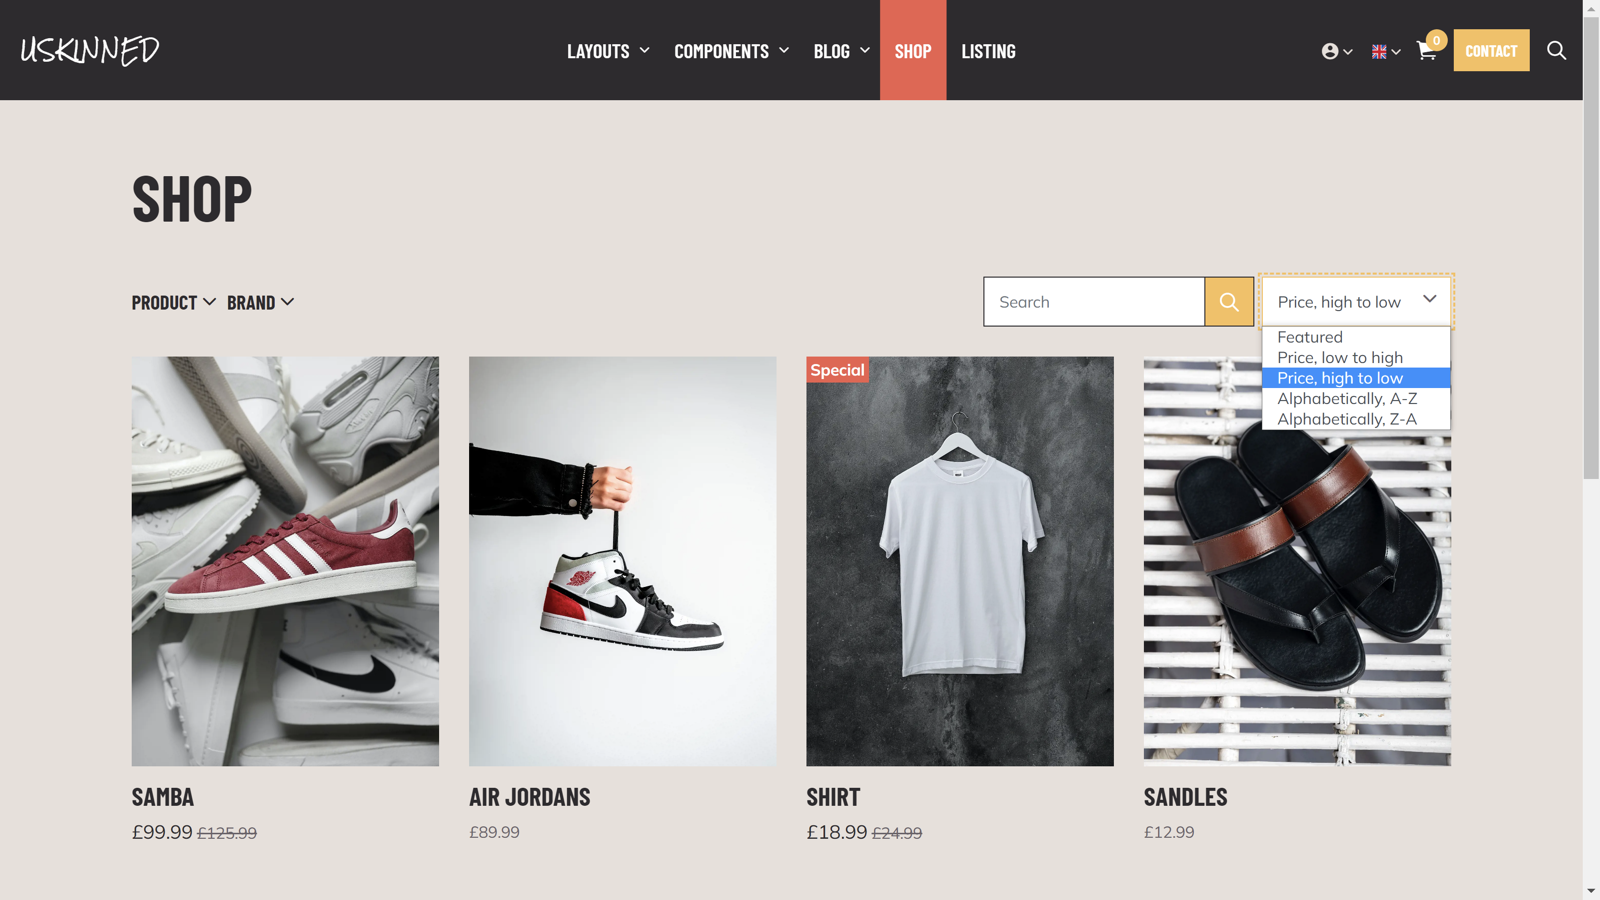
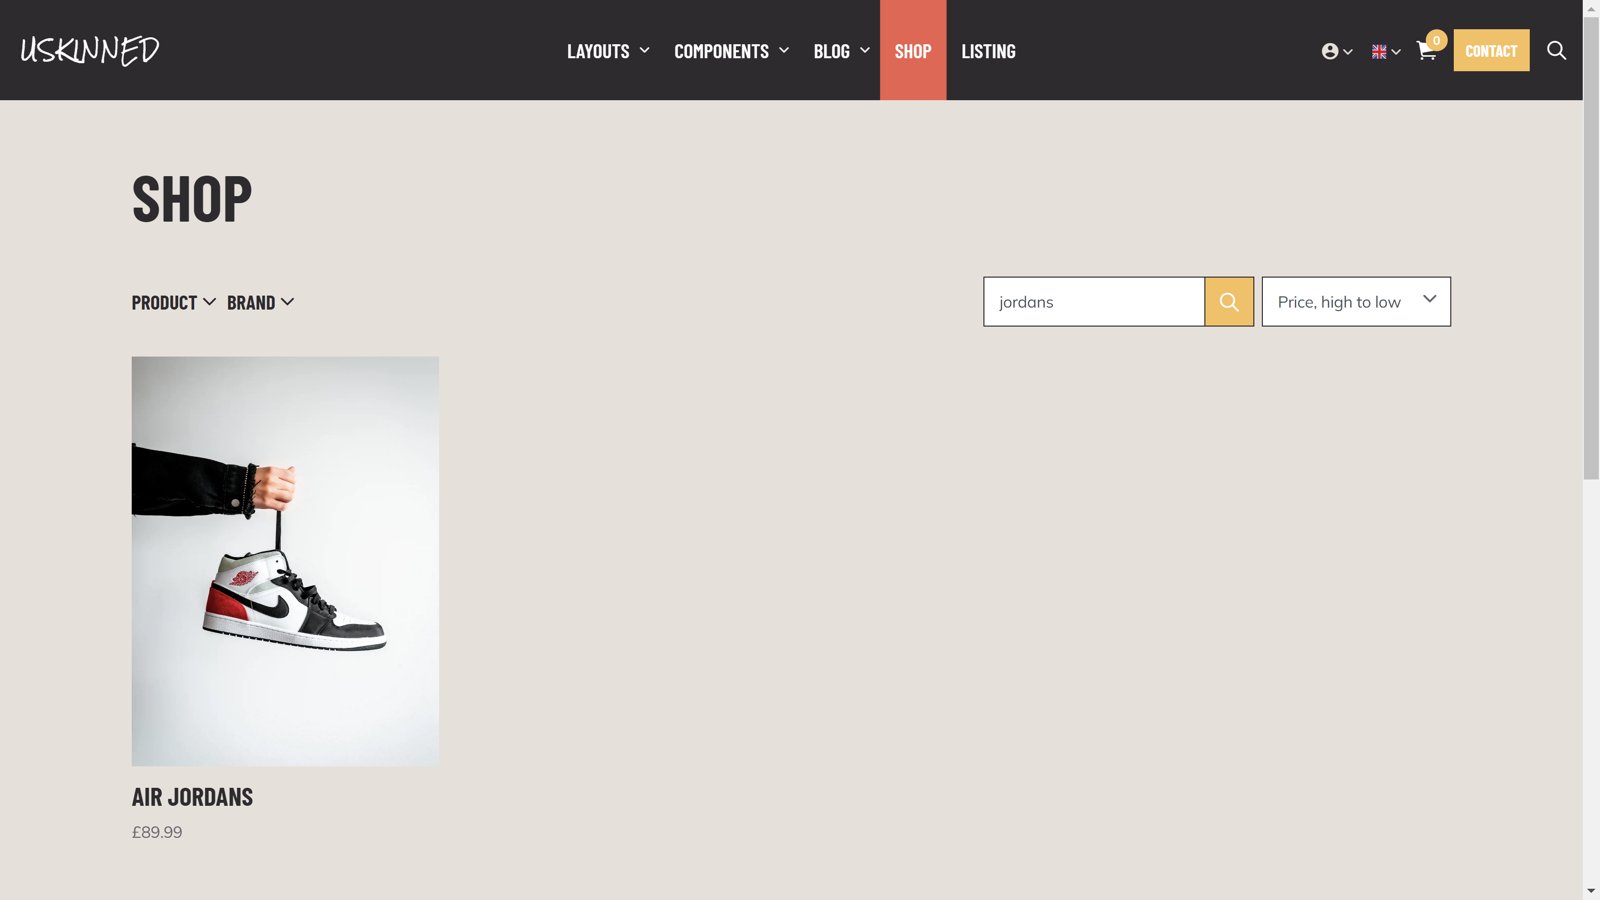
Use the filters you created and browse your products.
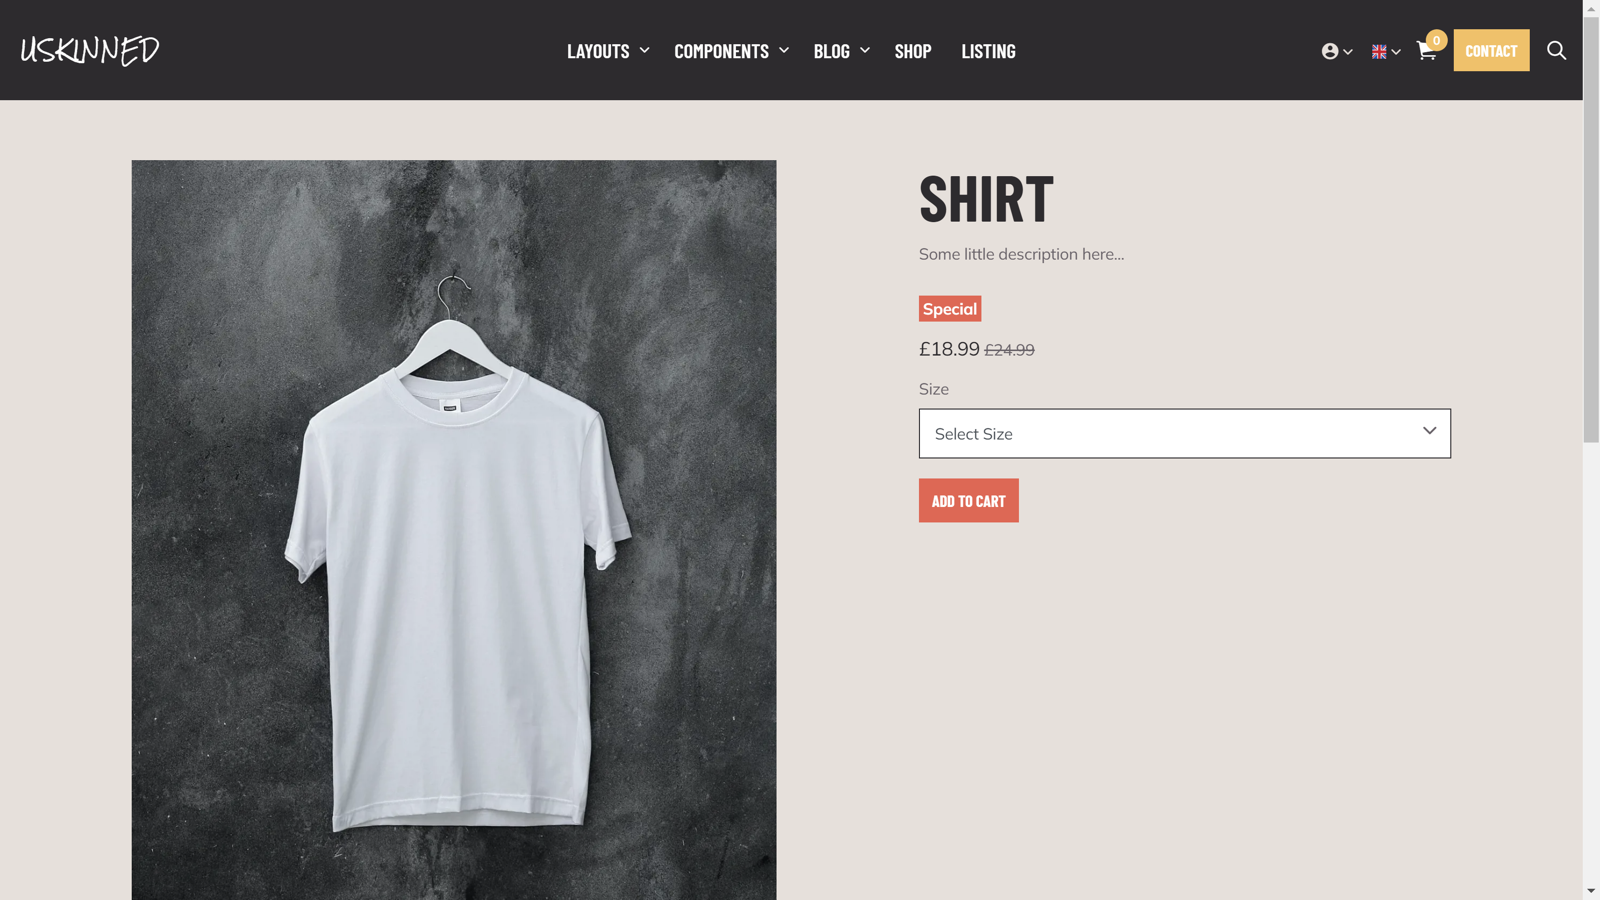
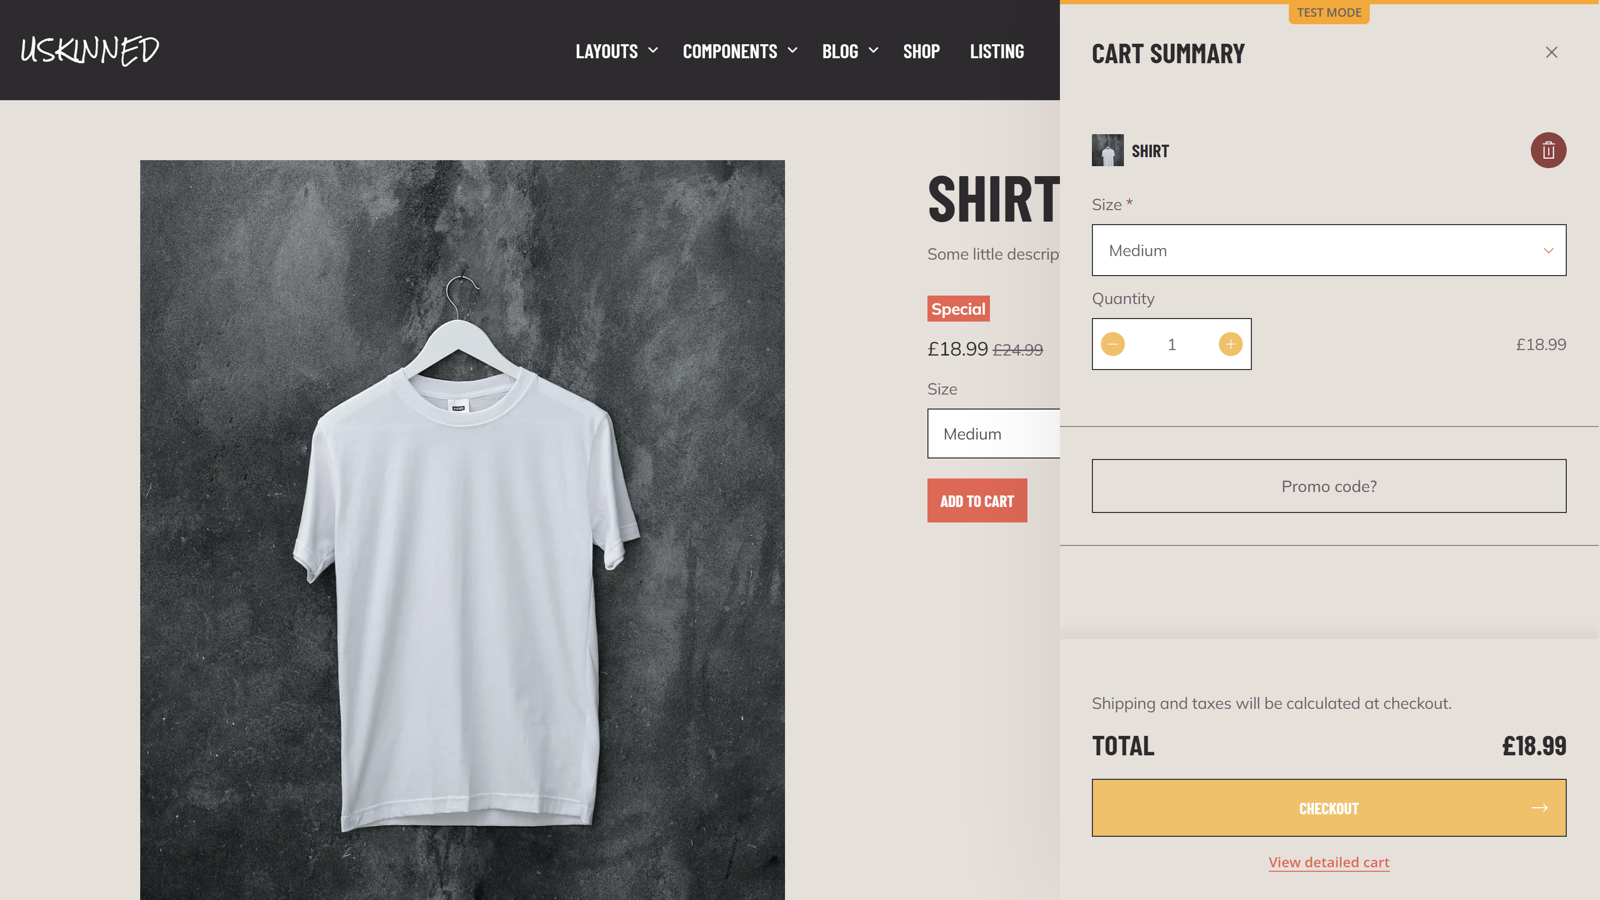
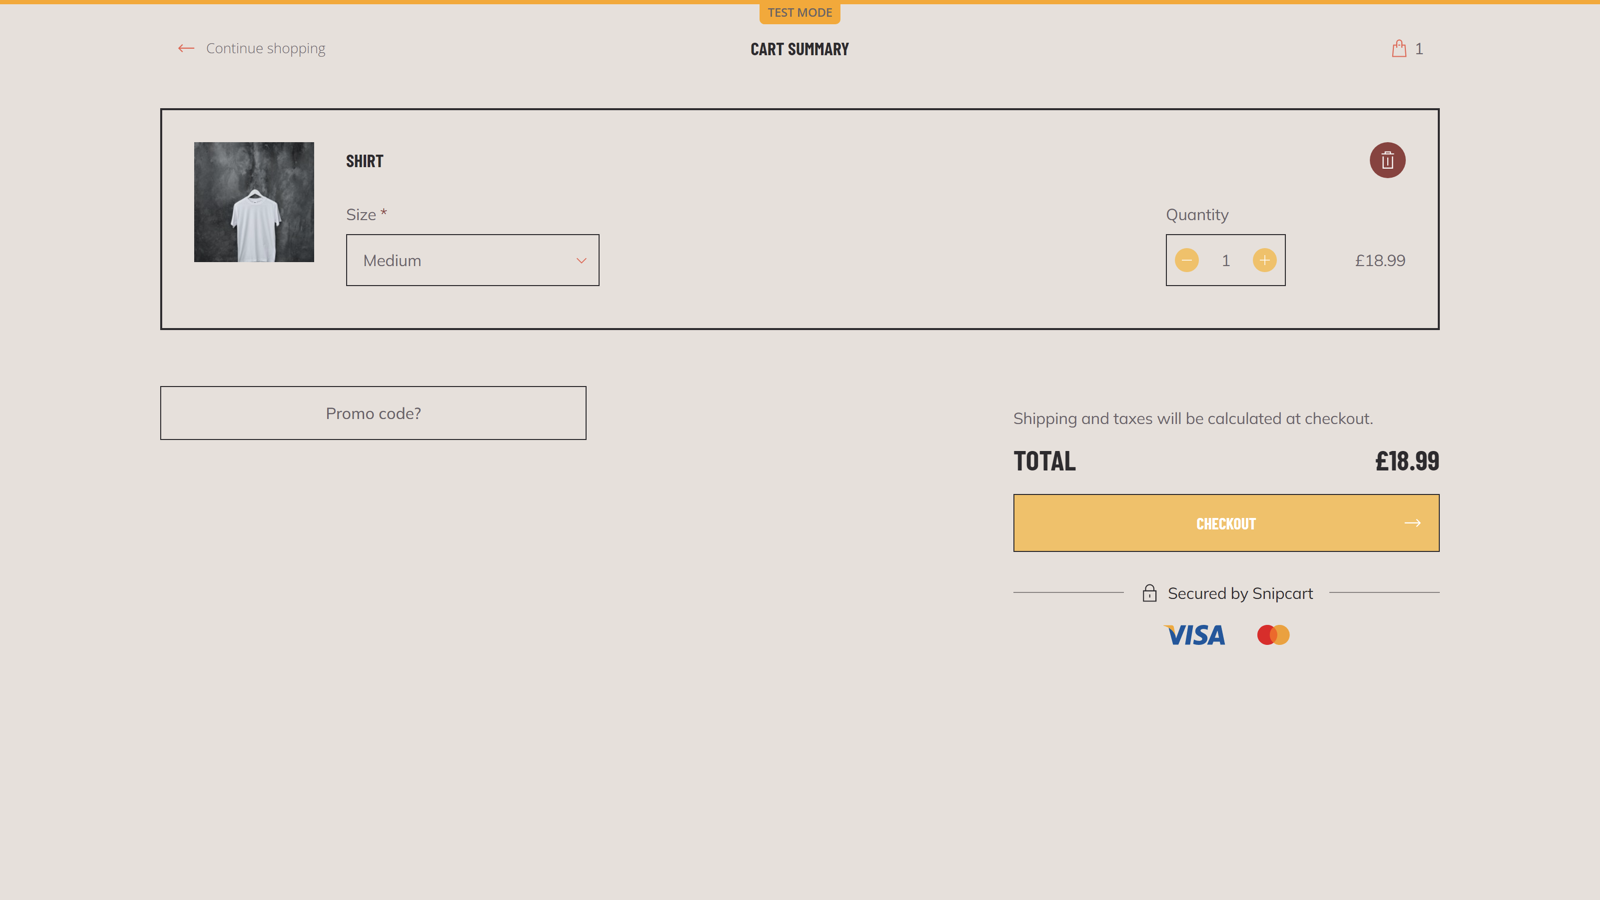
Step 4
Try adding products to your cart and checkout.
Step 5
You're ready to sell!

See our Integrated Shop in action
#h5yr


Step 3
Create
Create content with the Visual Editor and utilise built-in eCommerce and integrations.
Step 4
Go Live
You can host securely on Azure with uSkinned Hosted, or go your own way with a Self-Hosted license.
