How to install Umbraco using Microsoft Azure Marketplace
This guide is for uSkinned Site Builder 1.x with Umbraco 8.x only.
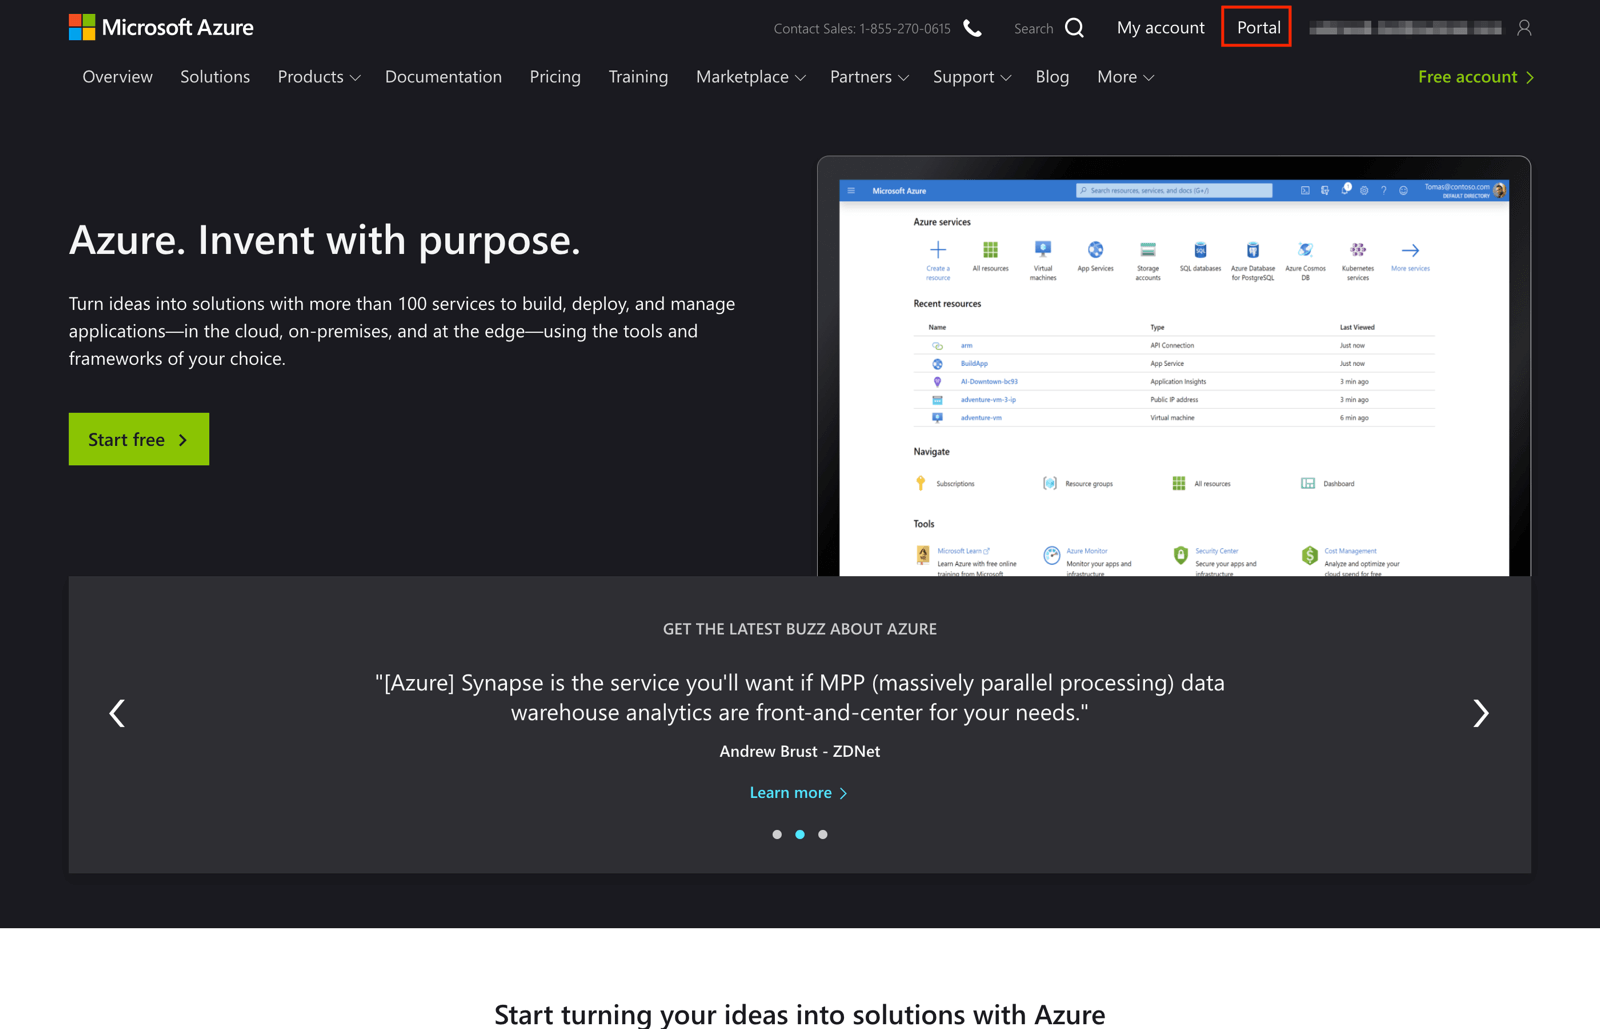
Step 1
Login to your Azure Account and navigate to the Portal.
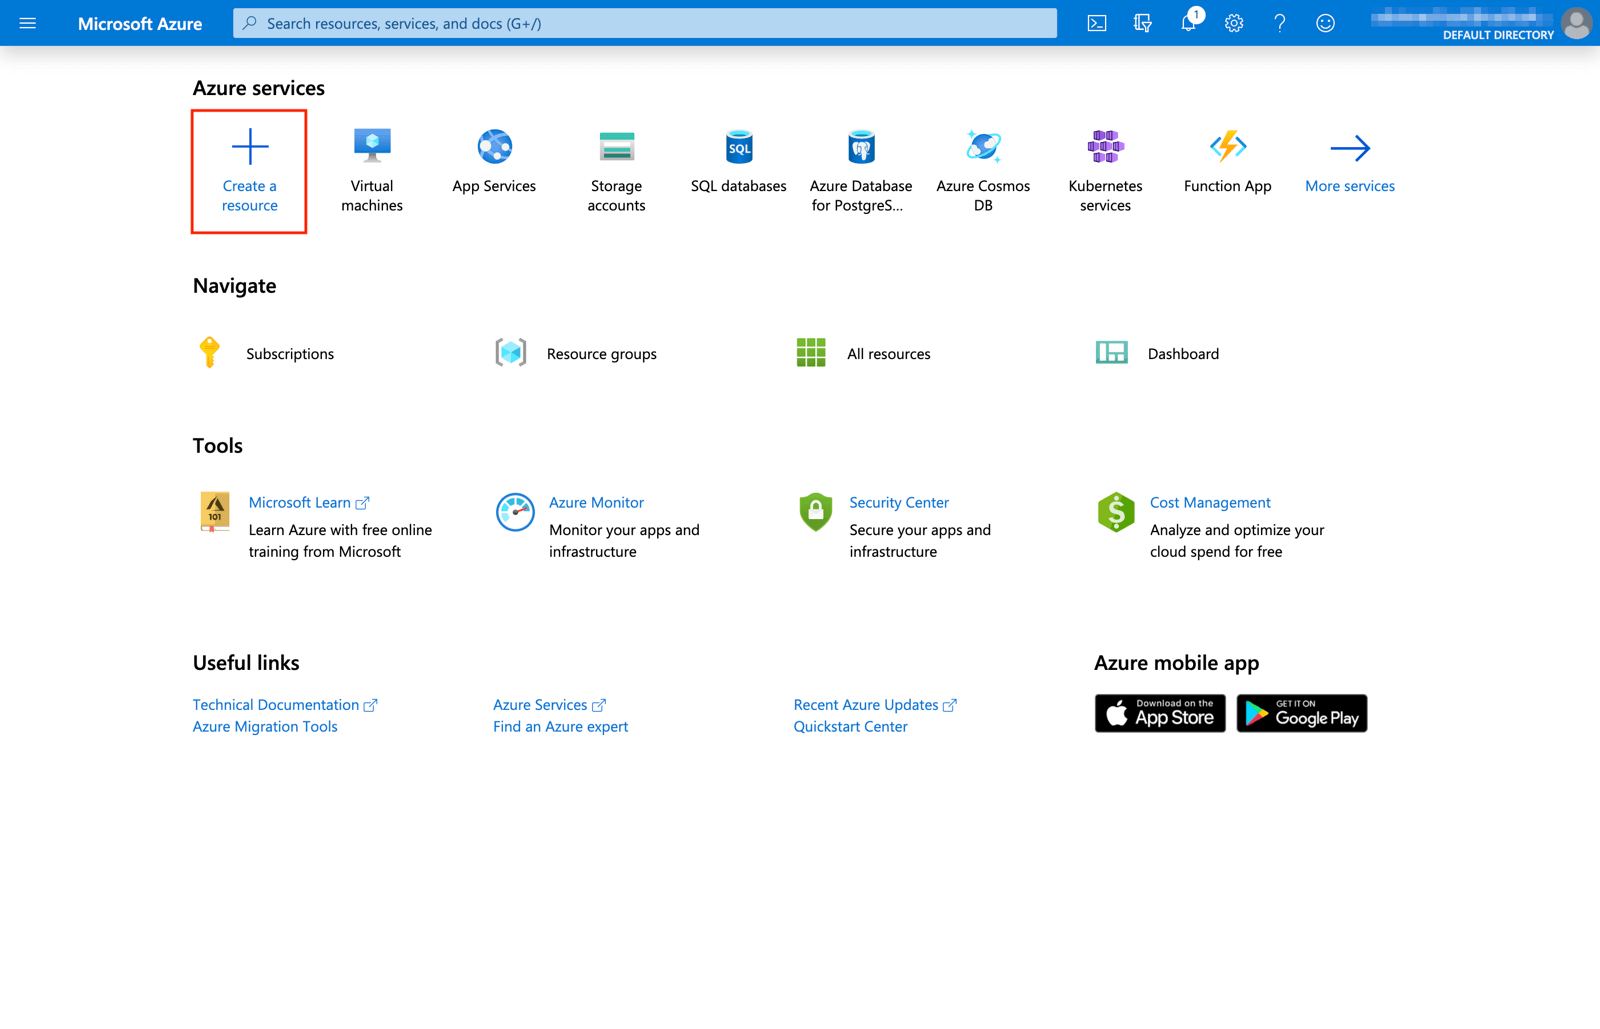
Step 2
Click to "Create a resource".
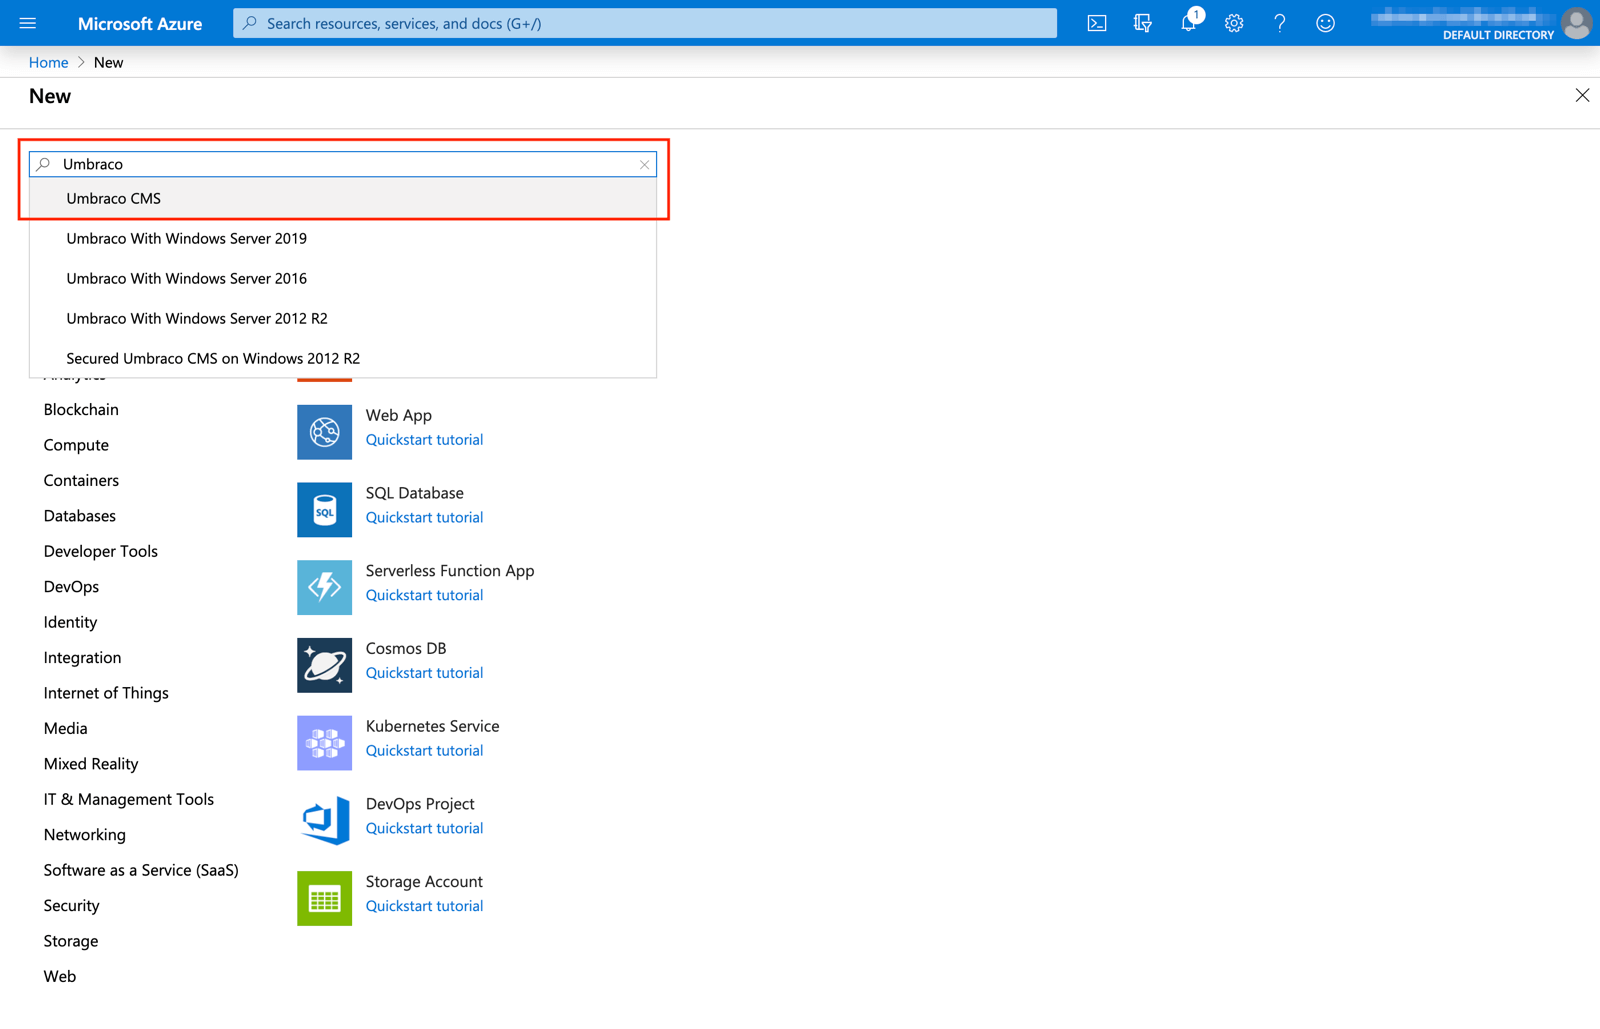
Step 3
In the Marketplace search field type in "Umbraco" and choose "Umbraco CMS".
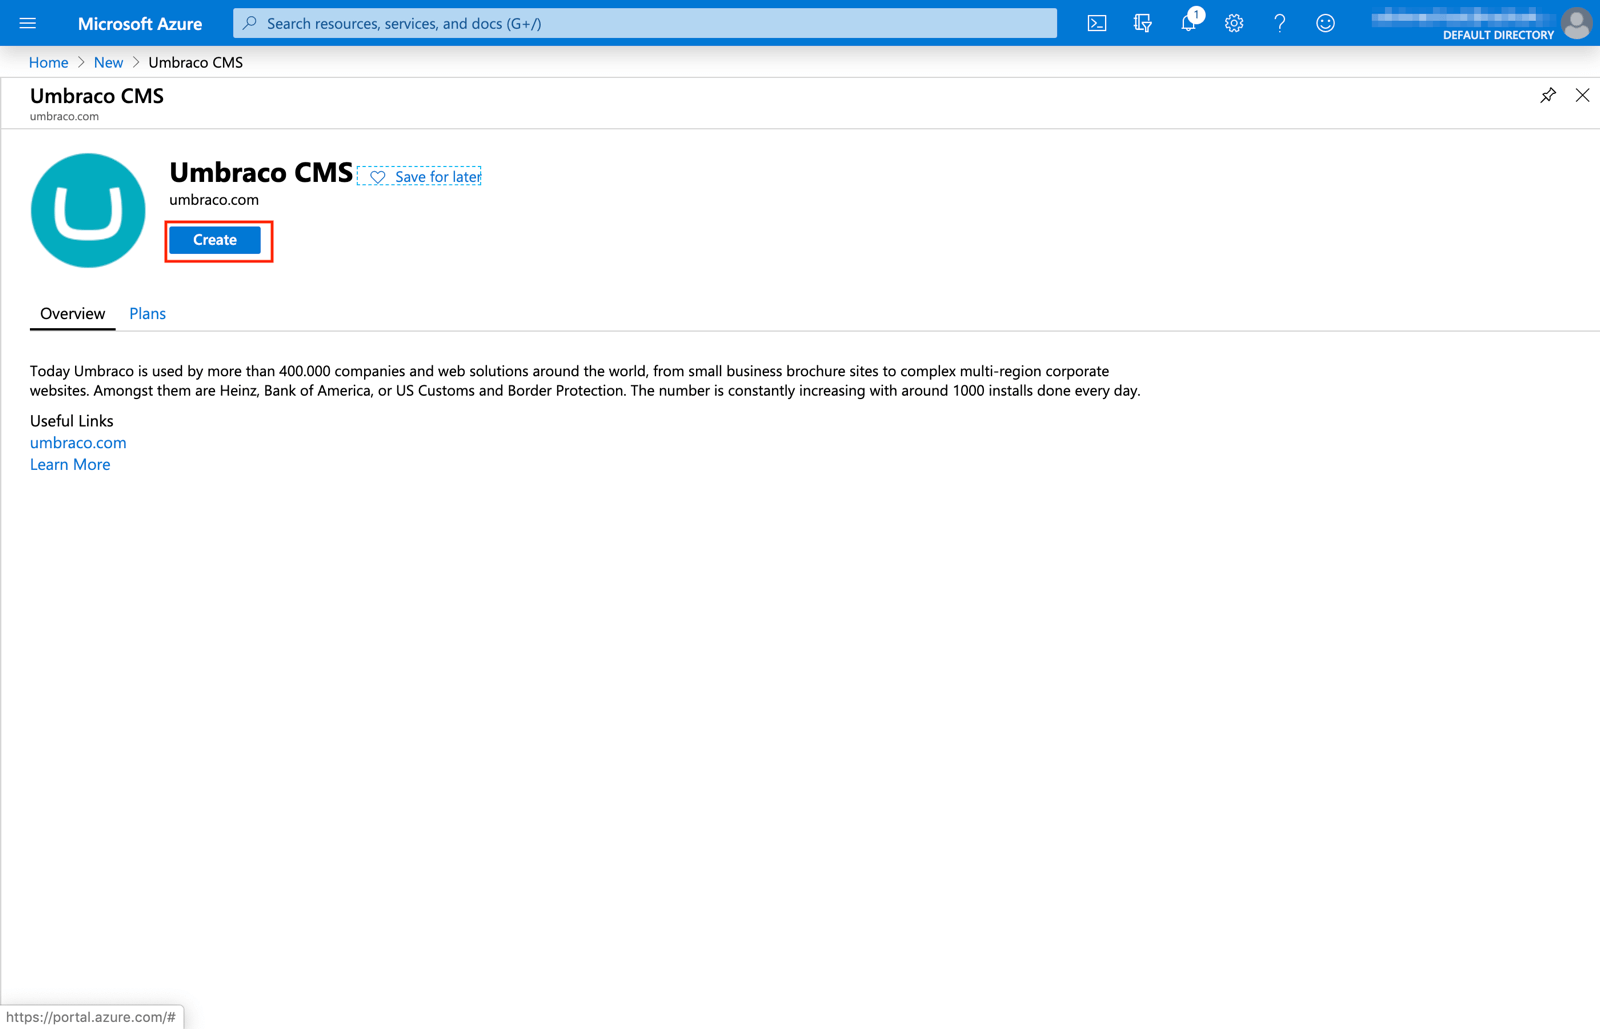
Step 4
On the Umbraco CMS page click "Create.
Step 5
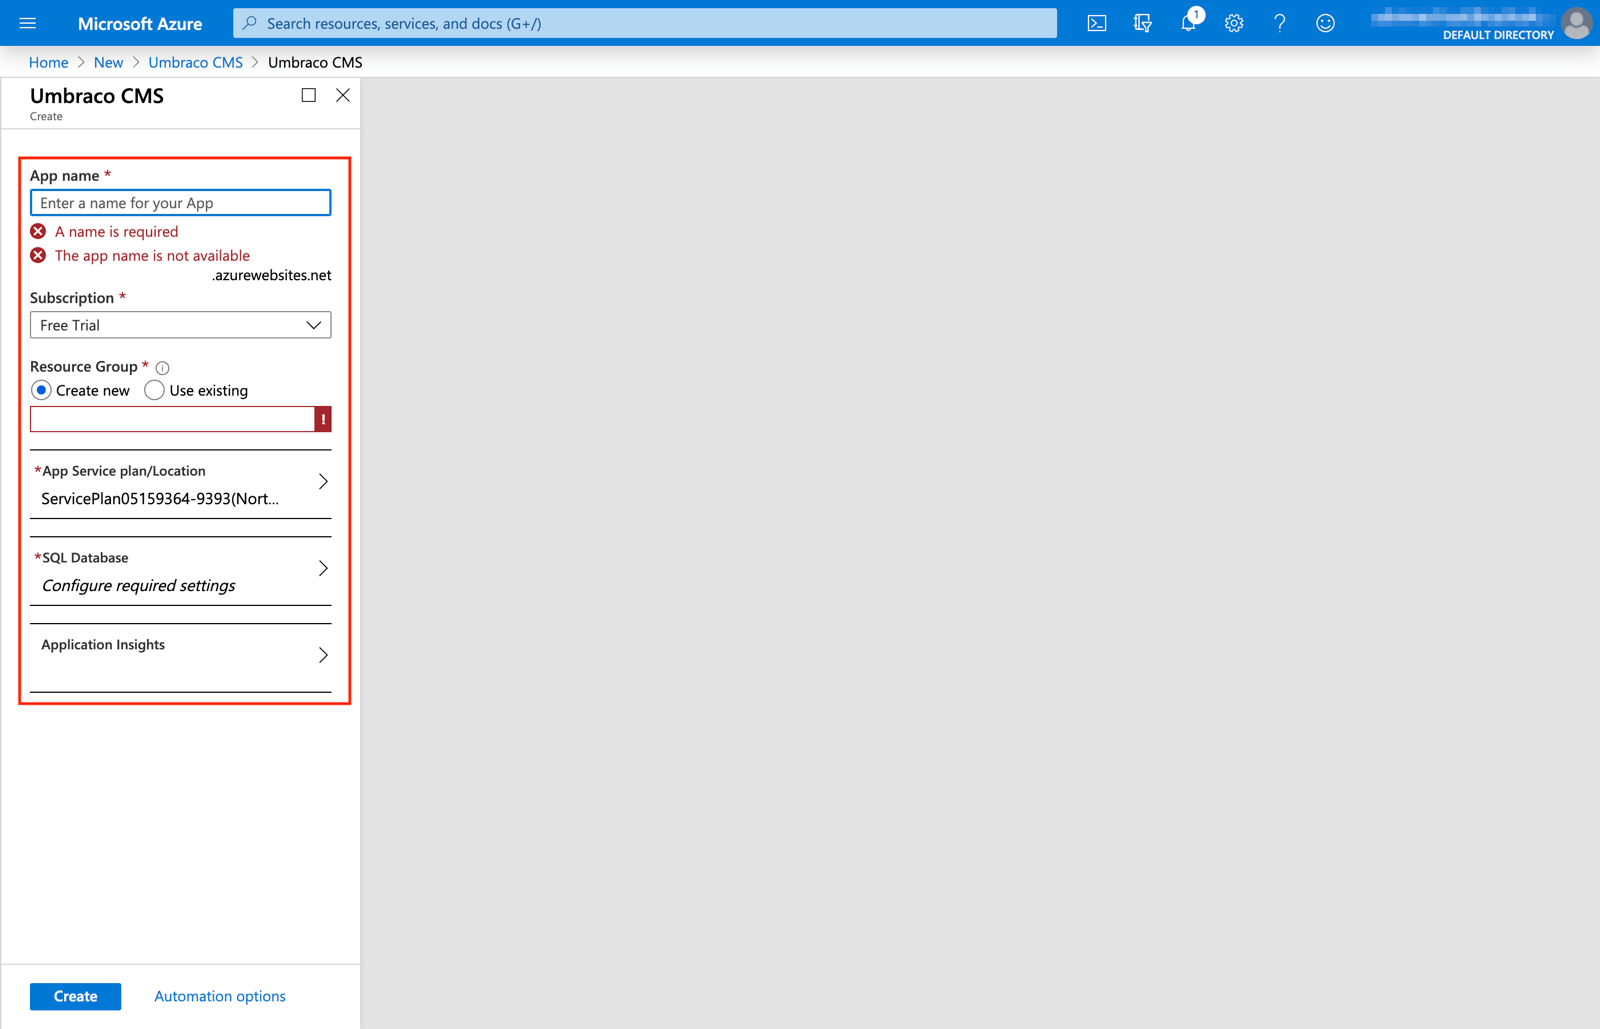
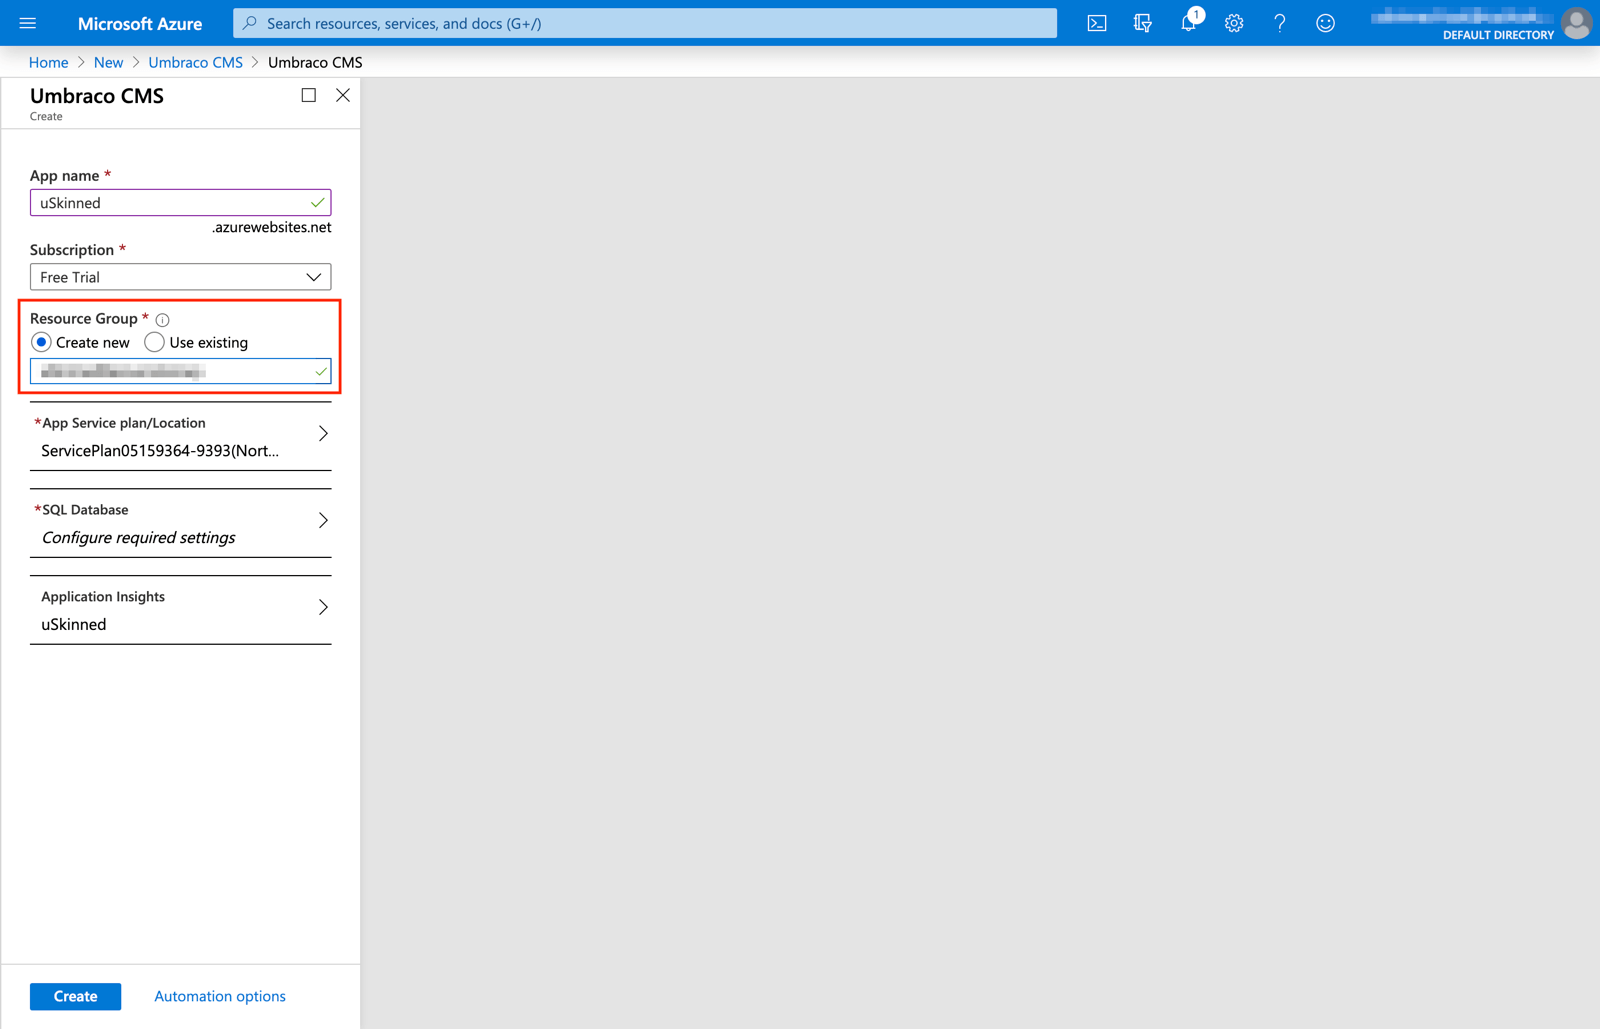
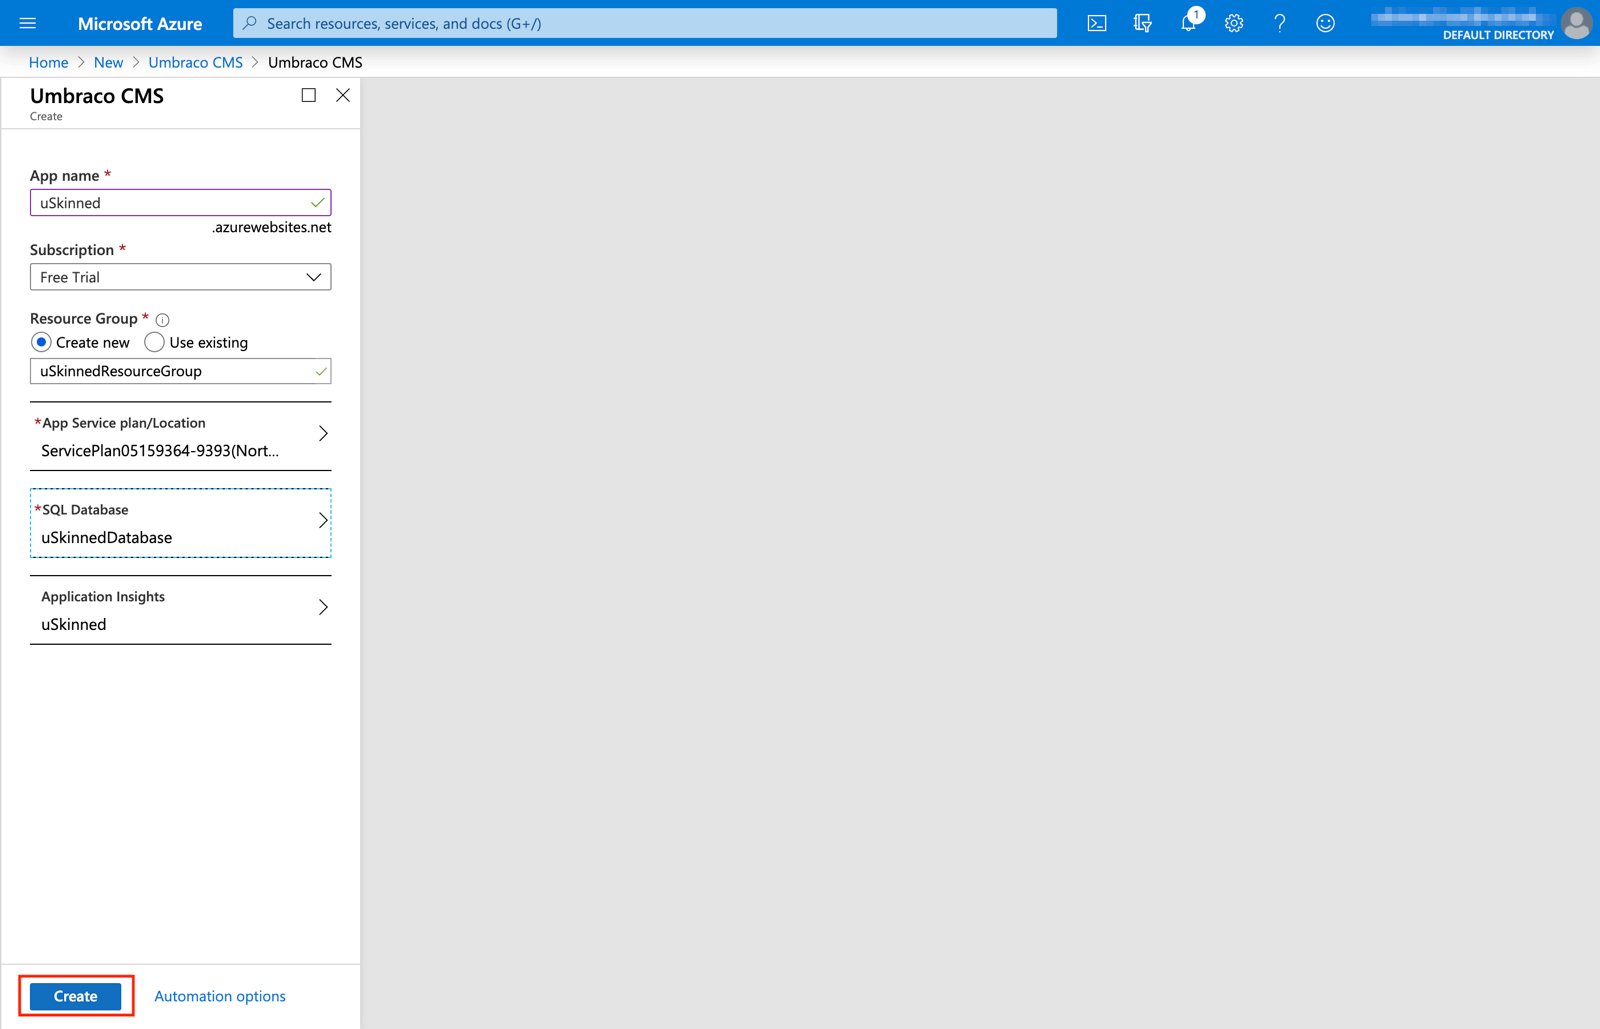
Name your Web App and create a Resource Group. Please take a note of this.
Step 6
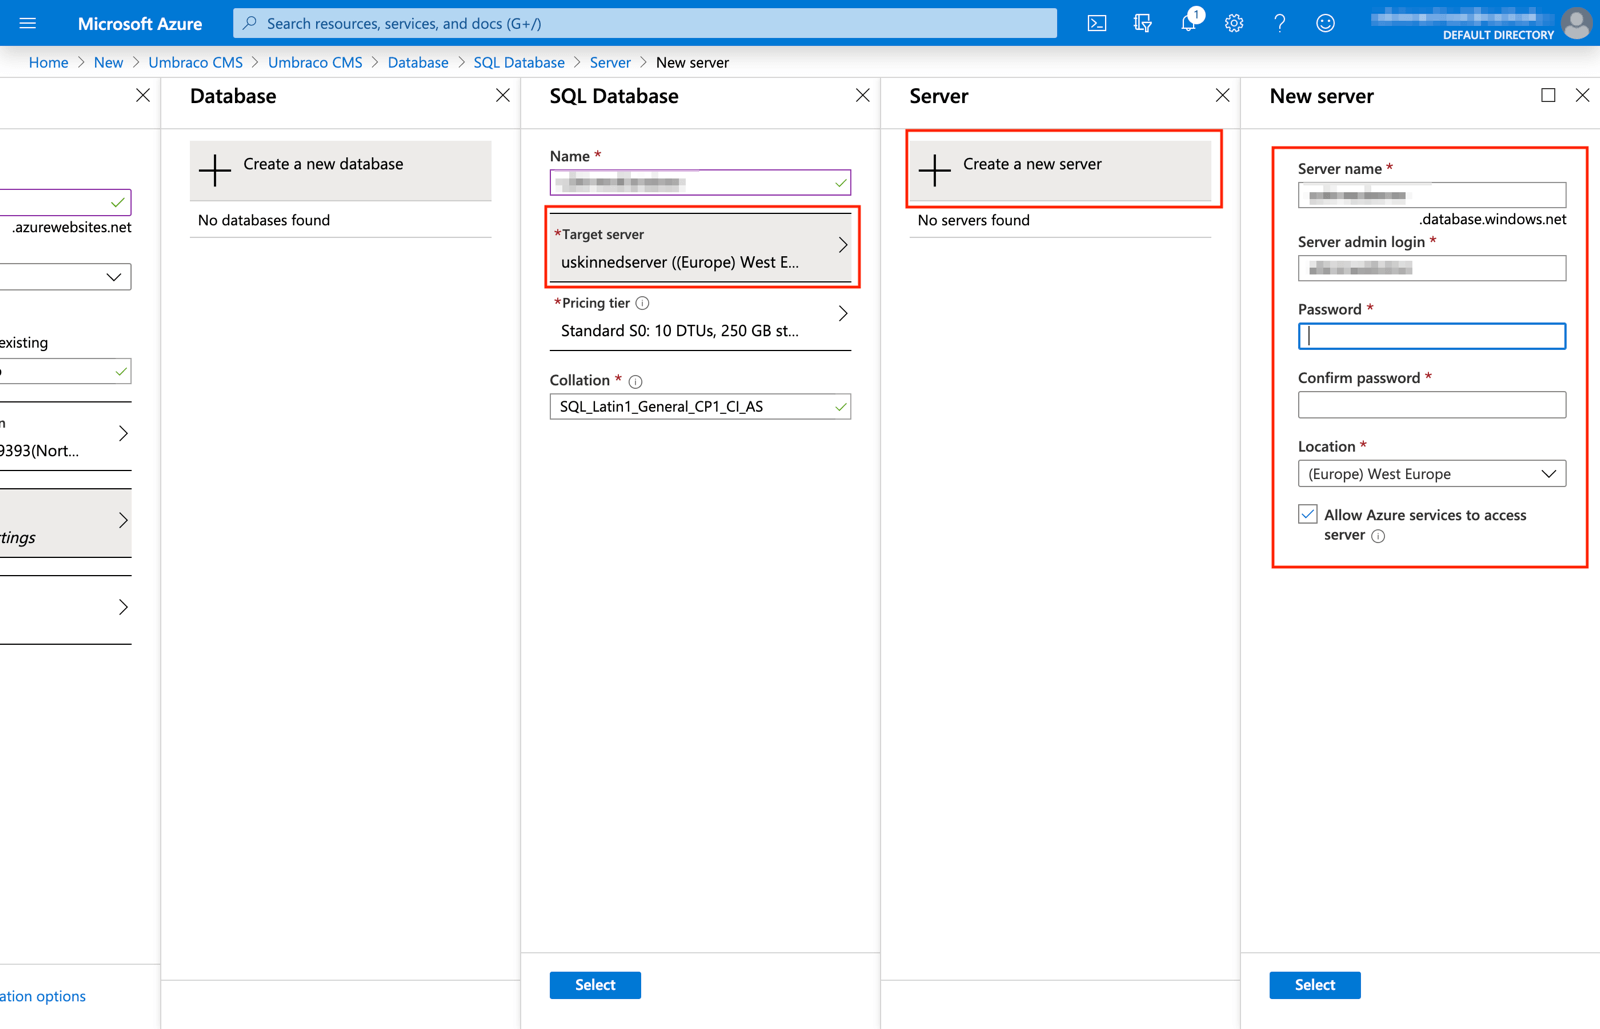
Configure your new Database.

Step 7
Configure the Target Server. Enter a server name and create admin login details. Please take a note of the Database name and login details, you will need them later.
Step 8
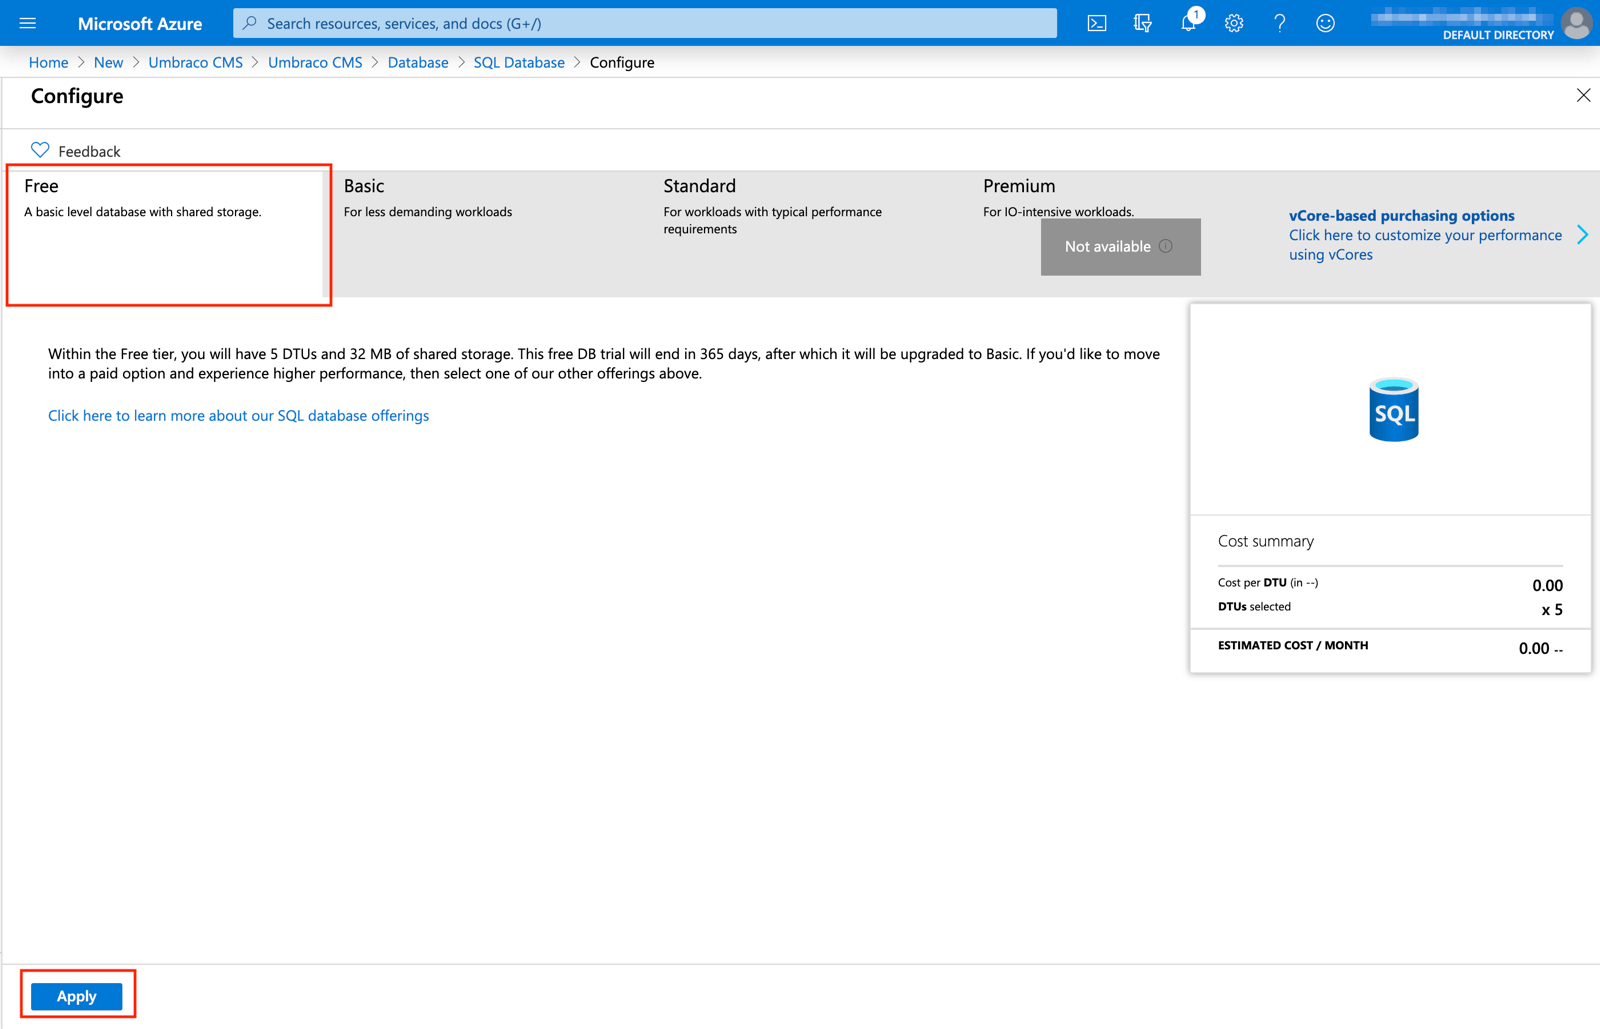
Choose a pricing plan. Here we will use the Free Azure Hosting Plan.
Step 9
Click to "Create" your Web App. Please wait for your Web App to validate.
Step 10
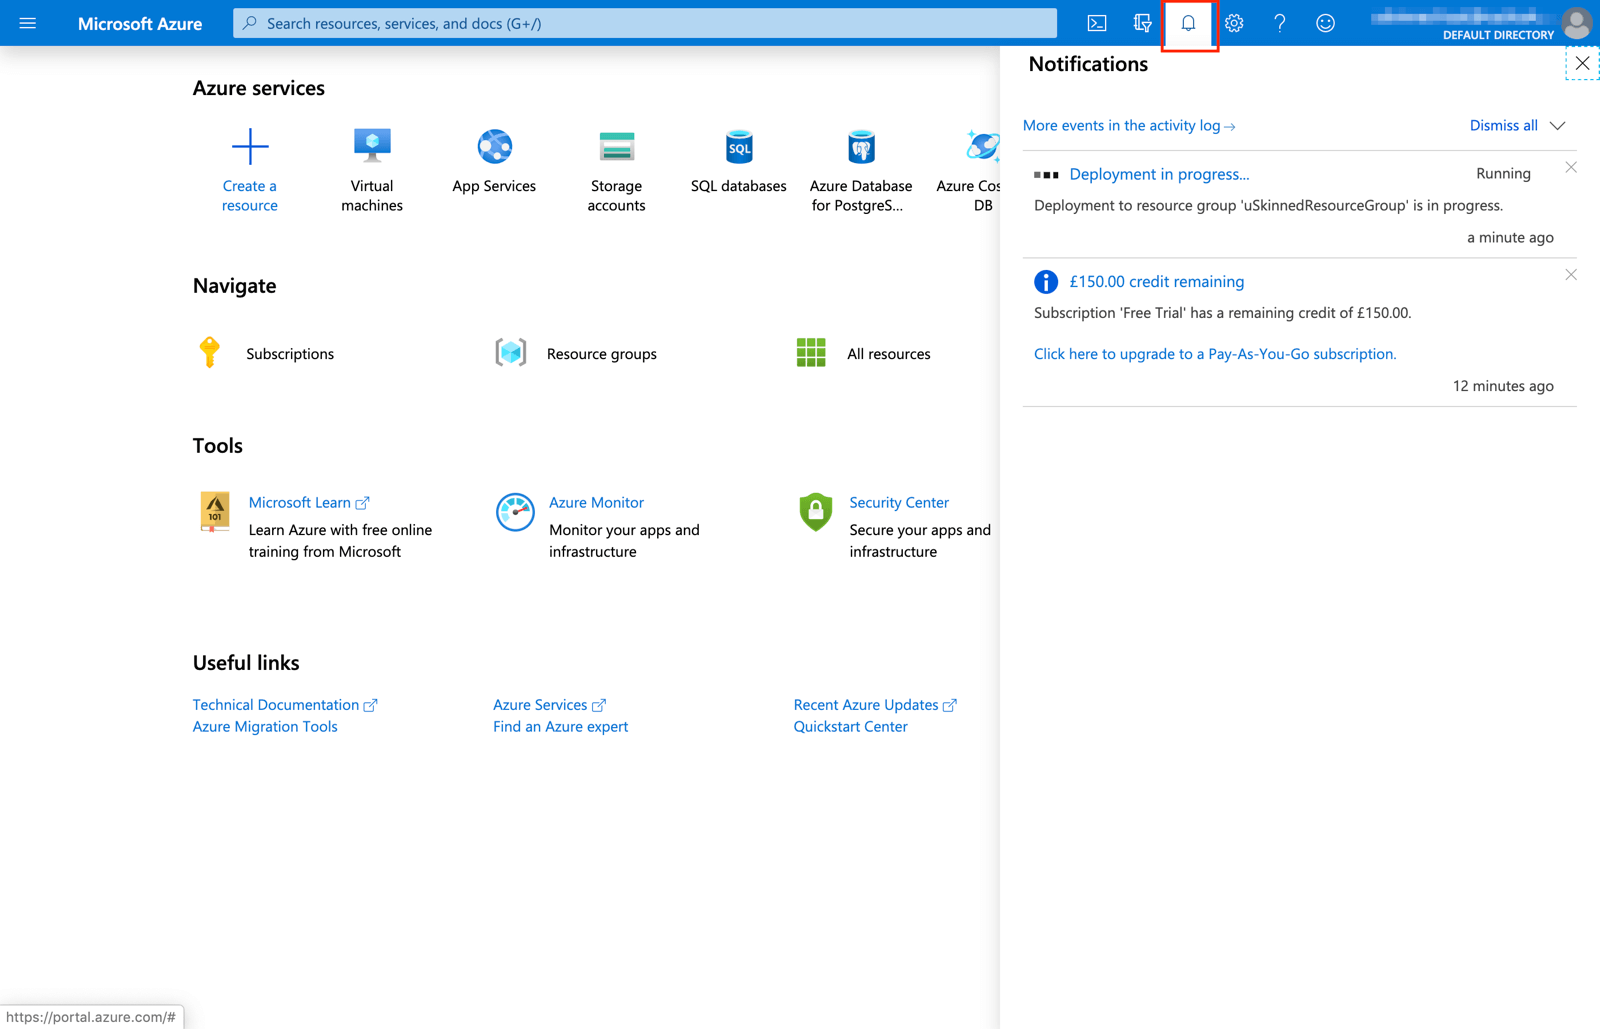
Please wait while your Umbraco website is deployed.
Step 11
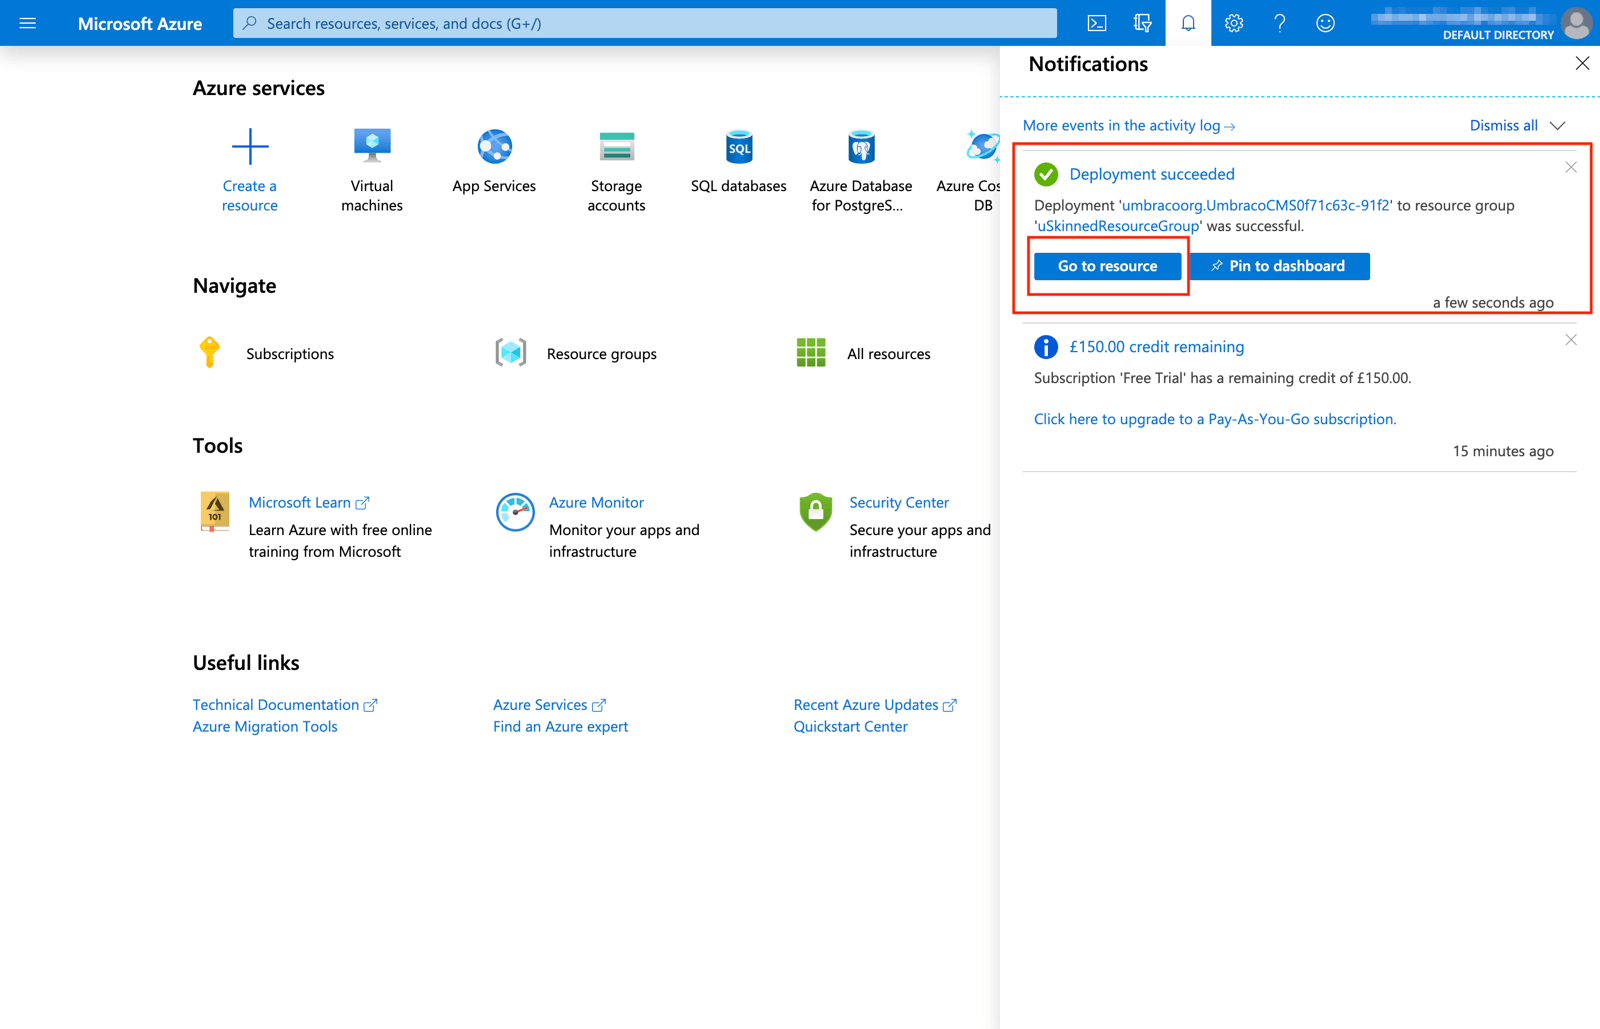
Success! Your Umbraco website has been deployed. Click "Go to resource".
Step 12
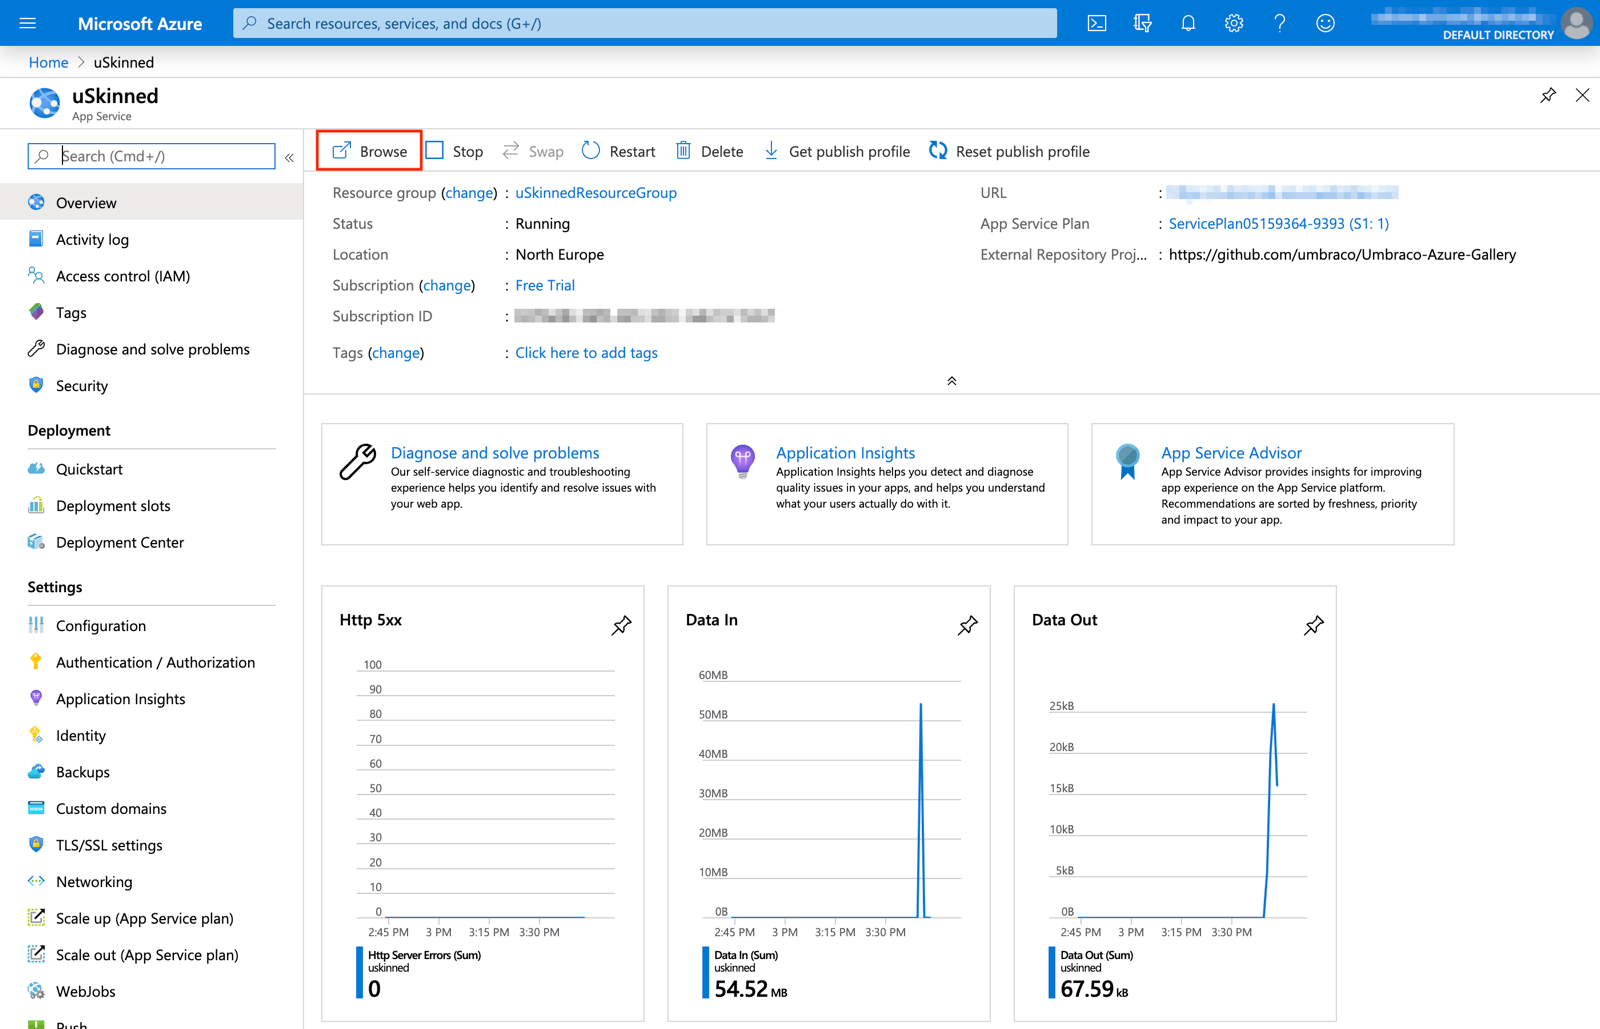
Your new Web App is ready, click "Browse" to access it.
Step 13
You will now see the Umbraco installation screen. Enter your website details here then click "Customize".

Step 14
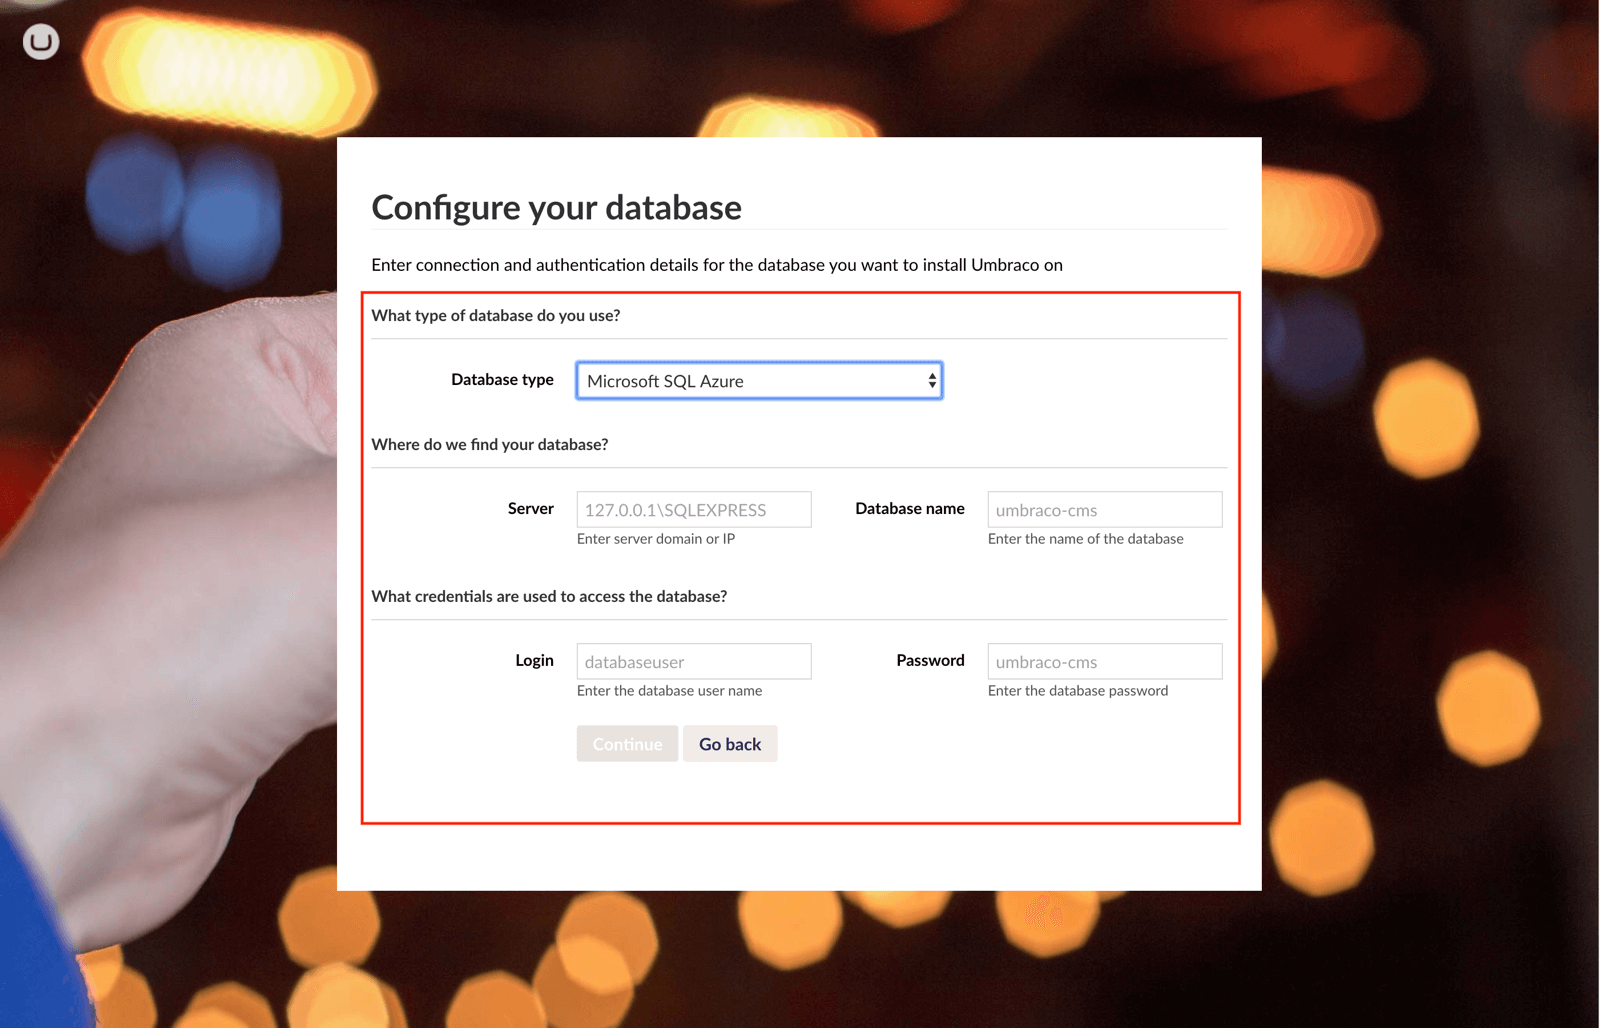
You'll need the information you noted earlier. Select "Microsoft Azure SQL" and input the relevant information from your Azure account.
Step 15
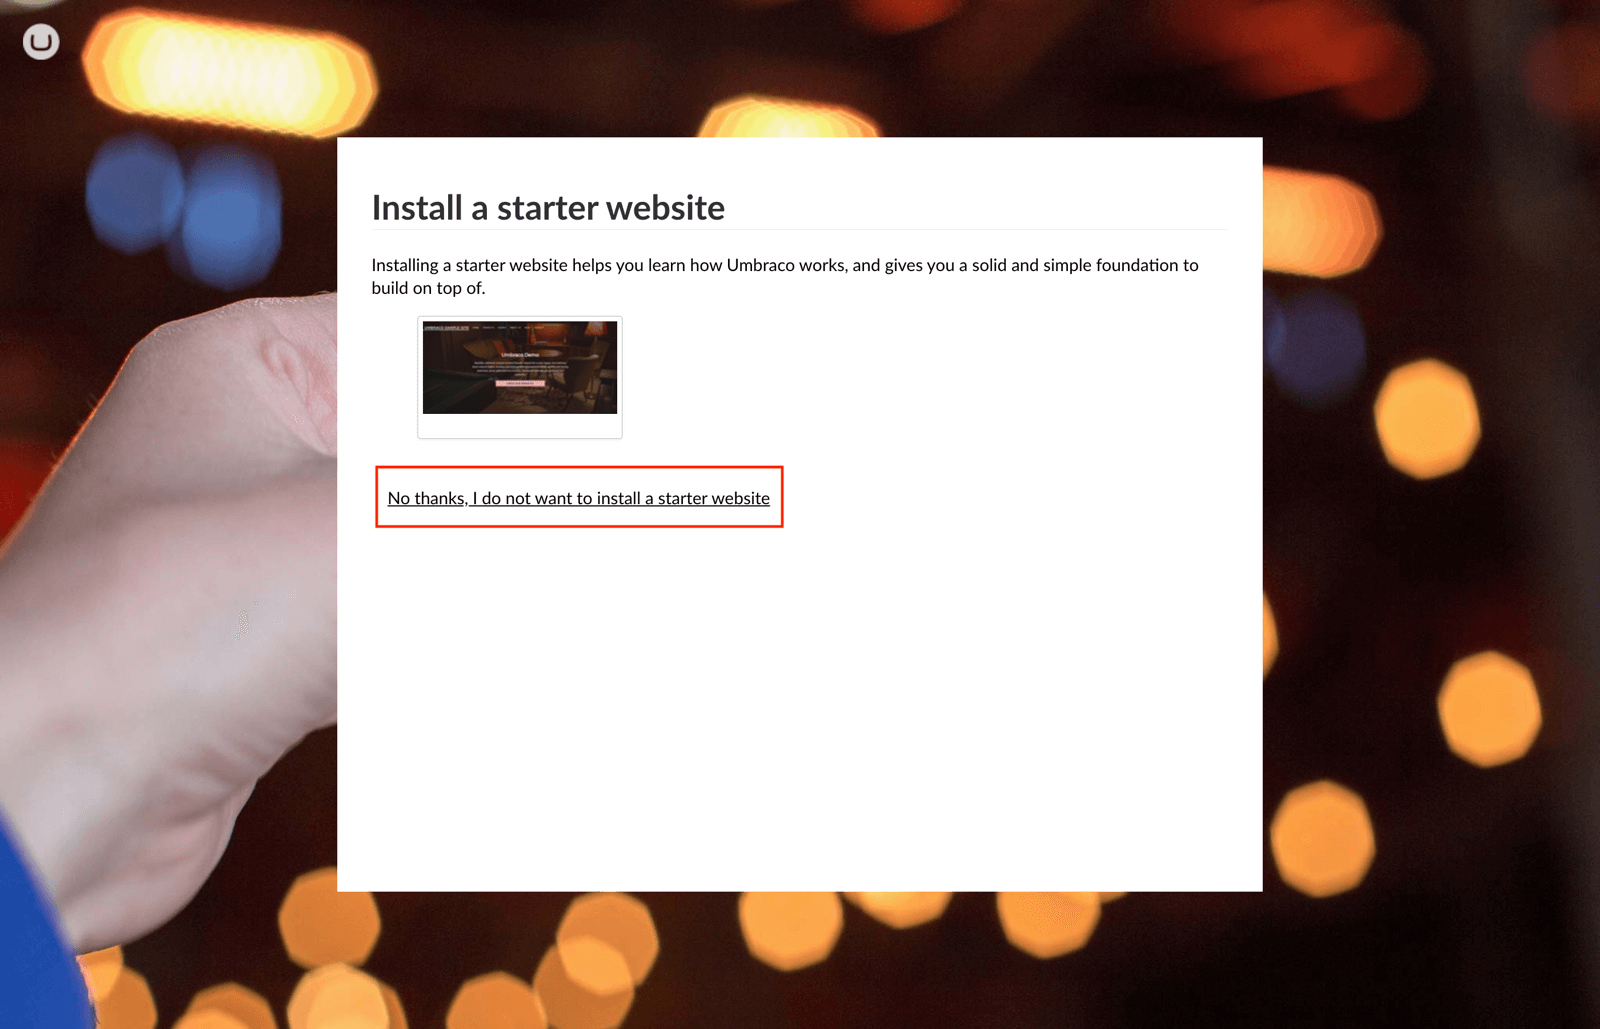
Click "No thanks, I do not want to install a starter website".
Step 16
Please wait as Umbraco CMS completes the installation website.

Step 17
Success! Umbraco CMS has now been successfully installed on Microsoft Azure hosting.
Step 18
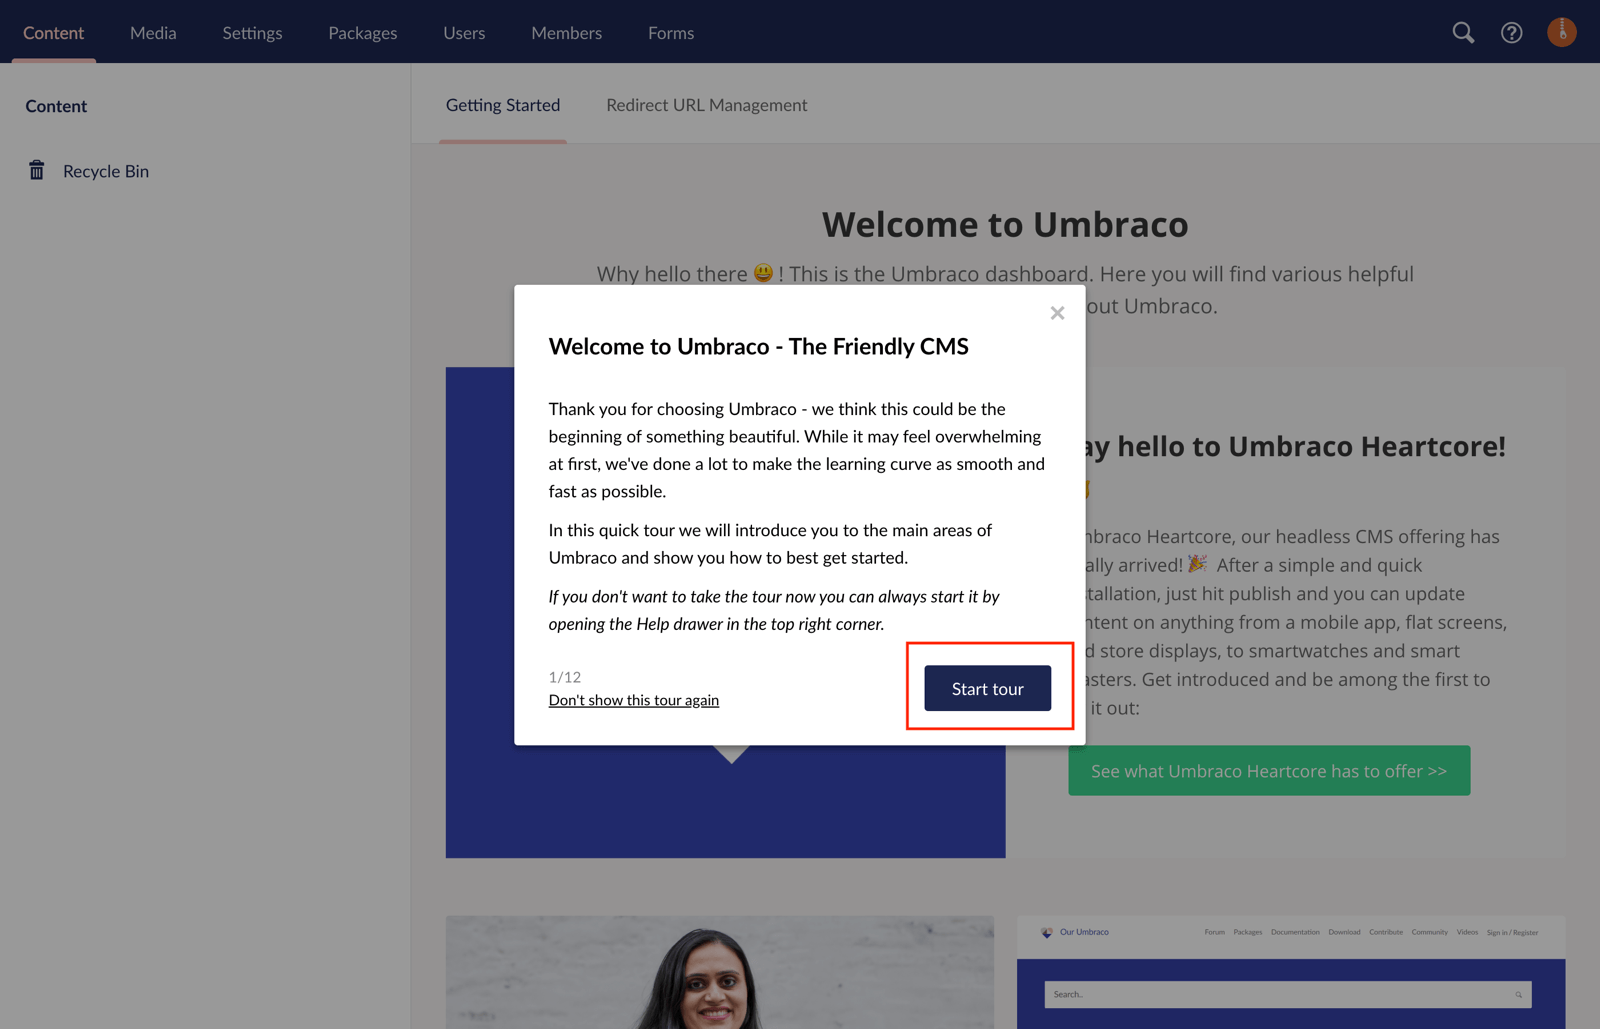
If you're new to Umbraco then we would recommend you take the tour. Otherwise, close it and continue.
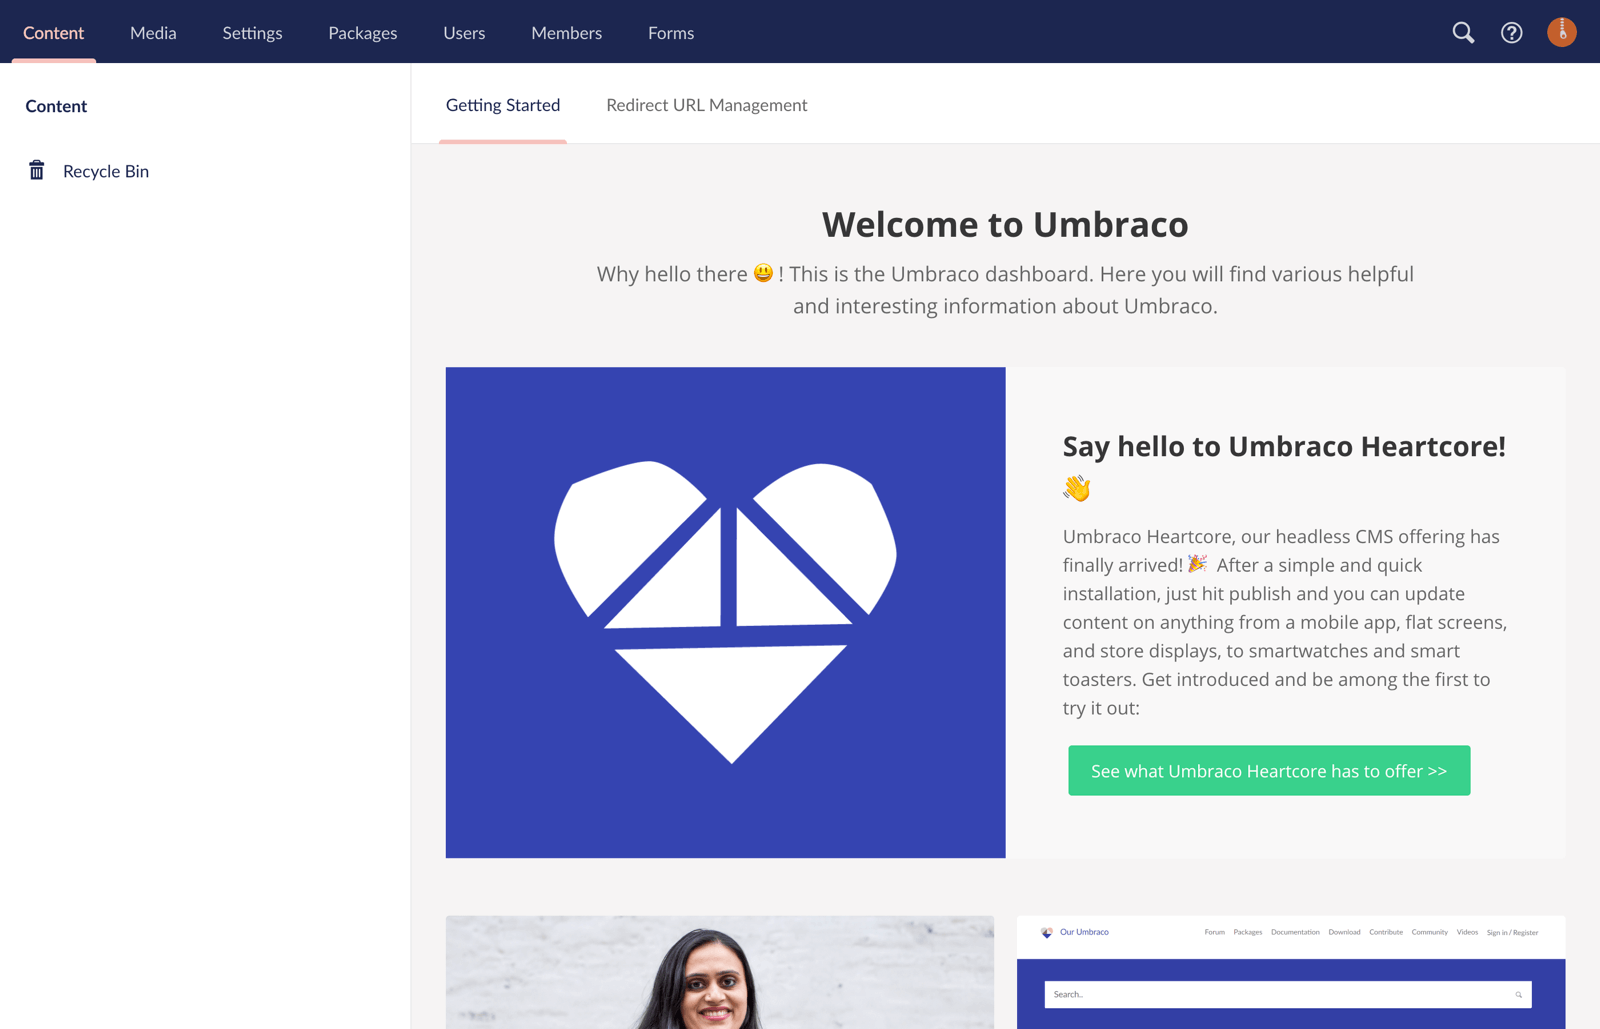
Step 19
You're now ready to start working with Umbraco CMS! :-)
#h5yr
Related guides


